A DIY mini pond is one of the easiest, most rewarding small-space projects you can tackle in a single weekend. Whether you’ve got a balcony, a patio, a tucked-away corner of the backyard, or just a sunny spot near the kitchen window — there’s a version that’ll fit.
In this guide, you’ll get a clear step-by-step plan for building a budget-friendly mini pond from scratch — from choosing the right container to picking low-maintenance plants, keeping mosquitoes out, and making the whole setup look intentional instead of like a forgotten bucket of water.
If you’re working with a tight footprint and want to layer in even more charm, our guide on gorgeous outdoor water fountains pairs beautifully with this project — many of the same materials and design ideas carry right over.
Why a Mini Pond Is the Smartest Small-Space Upgrade
Mini ponds punch way above their weight in a small yard. They cool the air around them on hot days, attract birds and beneficial insects, and create a quiet focal point that calms the whole space. They’re also surprisingly forgiving — once balanced, a small pond practically runs itself.
A few perks worth highlighting:
- They support local wildlife. Frogs, dragonflies, and pollinators all need water sources, and a mini pond gives back to the ecosystem.
- They cost less than most patio furniture. A basic build typically runs anywhere from $30 to $150.
- They fit anywhere. Containers, half-barrels, old sinks, even a deep planter — almost any waterproof vessel can become a pond.
- They’re easy to relocate. Renting? Pop it on a wheeled base and move with you when the time comes.
The best part is that a mini pond doesn’t ask for daily attention. Once your plants are established and the water cycle has stabilized, you’re looking at maybe ten minutes of upkeep a week.
Garden Planner
The 24-page planner timed to your county's real frost dates. Planting windows, monthly checklists, and a harvest log you'll fill with pride by August.
Your Free 24-Page Garden Planner
Built for your exact ZIP code — planting dates, harvest log, and a month-by-month plan. 15-second sign-up.
What You’ll Need to Build a DIY Mini Pond on a Budget
The materials list for a small pond is shorter than most people expect. Here’s the no-frills version:
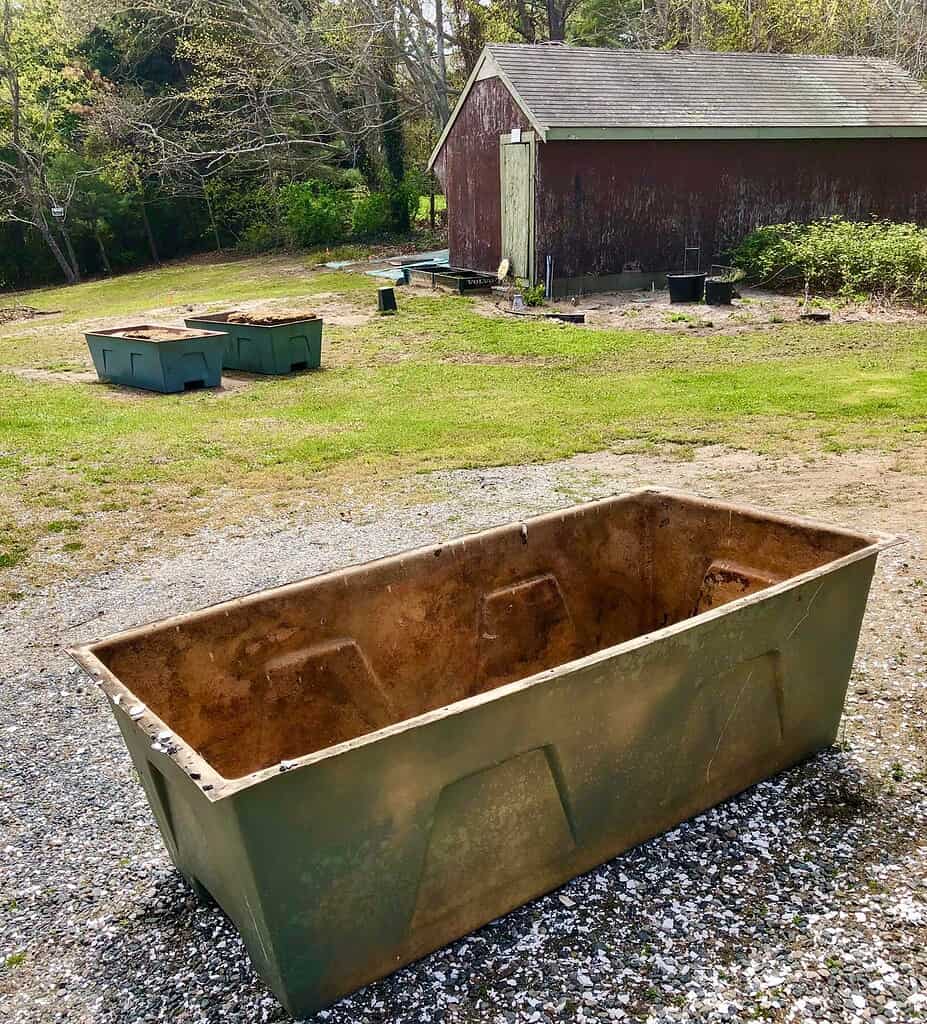
- A watertight container — half whiskey barrel, glazed ceramic pot (with the drainage hole sealed), large galvanized tub, plastic storage bin, or even an unused stock tank.
- A pond liner or heavy-duty plastic sheeting — only if your container isn’t already watertight. Pond-grade EPDM liner is the gold standard, but heavy plastic sheeting works for the tightest budgets.
- River rocks, pea gravel, or coarse sand — for the base and decoration.
- A small solar fountain pump — optional but recommended; keeps water moving and oxygenated. Most run $15 to $40.
- Dechlorinated water — tap water left to sit for 24 hours, or treated with a dechlorinator from any pet shop.
- Aquatic plants — at minimum one floater, one submerged oxygenator, and one marginal (rooted in shallow water).
- Bricks or upturned terracotta pots — to create planting shelves at different water depths.
Total budget if you’re starting from scratch: usually under $100. If you have any of these items already lying around — an old planter, leftover pavers, that half-bag of gravel from last year’s project — you can knock the cost down further.
Looking for an easier water-feature win without going full pond? Our roundup of DIY solar water fountains you can make for your backyard uses many of the same components and might be the perfect starter project.
How to Make a DIY Mini Pond in a Small Space (Step-by-Step)
Don’t overthink the build. Here’s the simple sequence that works every time.
1. Pick the Right Container
Anything that holds water and is at least twelve inches deep can become a pond. The container size shapes everything else, so think about both your space and your goals before deciding.
- For a balcony or small patio: a 15- to 20-gallon glazed ceramic pot or half whiskey barrel.
- For a backyard corner: a 40- to 60-gallon stock tank or large planter.
- For an in-ground mini pond: a preformed plastic pond liner — small ones can run under $40.
Avoid raw galvanized metal containers that aren’t lined — the zinc can leach into the water over time and harm fish or sensitive plants.
2. Choose the Perfect Location
Place your pond where it will get four to six hours of sun a day.
Most pond plants need that much light to thrive, and the gentle warmth helps water-loving creatures move in. Avoid placing it directly under deciduous trees if you can — falling leaves quickly foul the water.
If you live somewhere hot, partial afternoon shade is your friend. It slows evaporation, keeps water temperatures stable, and prevents algae blooms before they start.
3. Prep and Position the Container
If your container has drainage holes, plug them with marine-grade silicone or use a pond liner inside. Set the container on a level, stable surface — uneven footing leads to sloshing, leaning, and stress fractures over time.
For an in-ground build, dig a hole slightly larger than your liner, level the bottom carefully, and tamp down the soil. A thin layer of sand at the base protects the liner from punctures.
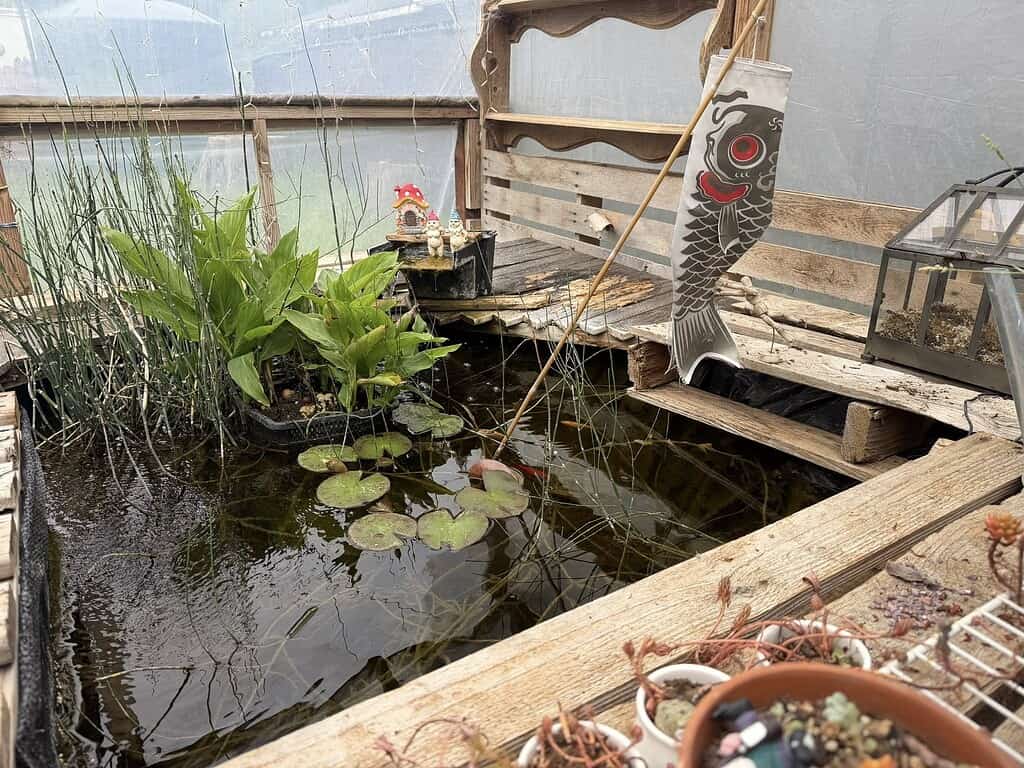
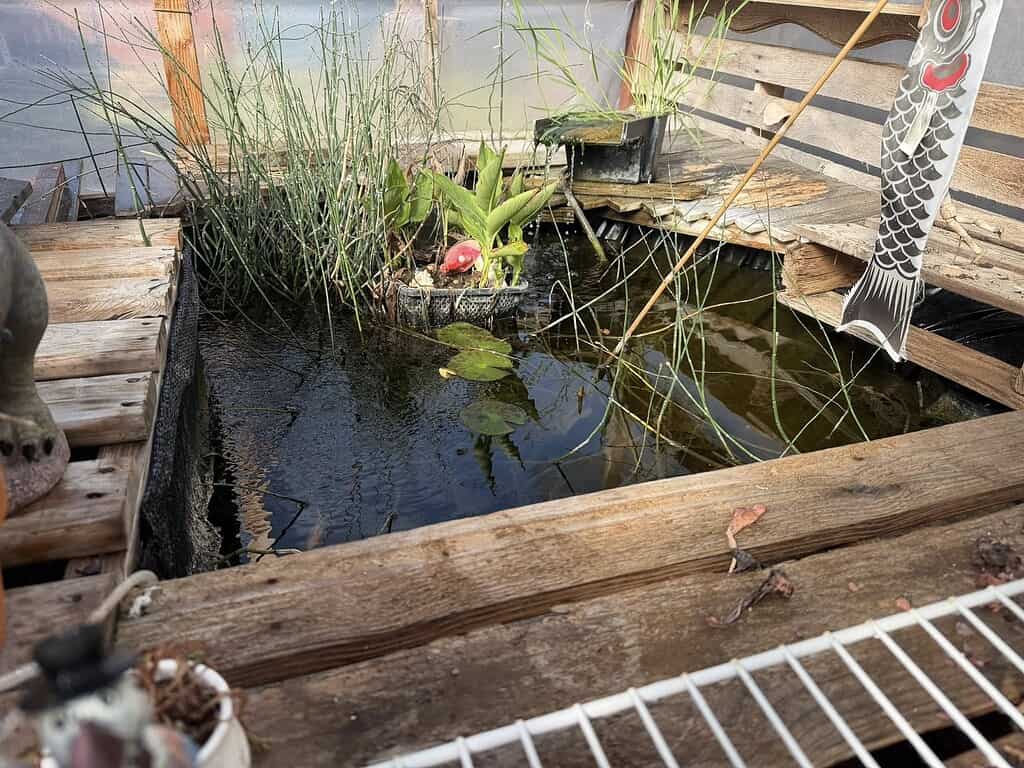
4. Add Your Substrate and Decor
Once the container is in place, line the bottom with two to three inches of pea gravel or river rock. This gives beneficial bacteria a place to colonize and helps anchor your plants.
Stack a few clean bricks or flipped terracotta pots inside to create planting shelves. Aquatic plants need different water depths, so this small step pays off big once you start adding greenery.
If you love that natural, layered look around the edges, our budget-friendly river rock landscaping ideas post has dozens of creative ways to extend the look beyond the pond itself.
5. Fill, Plant, and Add Water Features
Fill your pond slowly with dechlorinated water, pausing a few times to settle the gravel.
Once full, position your aquatic plants on the shelves you created — taller marginals around the edges, oxygenators along the bottom, and floaters resting on the surface.
If you’re using a solar fountain pump, set it up according to the package instructions. The gentle bubbling adds oxygen, deters mosquitoes, and brings that magical trickling sound to your space.
6. Let It Cycle Before Adding Fish
This is the step everyone wants to skip. Don’t.
Let your pond sit for at least one to two weeks before adding any fish. The water needs time to cycle, the plants need time to establish, and beneficial bacteria need time to colonize the gravel. Adding fish too early is the fastest route to a cloudy, smelly pond and stressed-out animals.
Miss it by a week and you lose the crop. The free 24-page planner pins down your exact dates — last frost, first frost, and the weekly steps between — so you plant on the days that actually work for your ZIP.
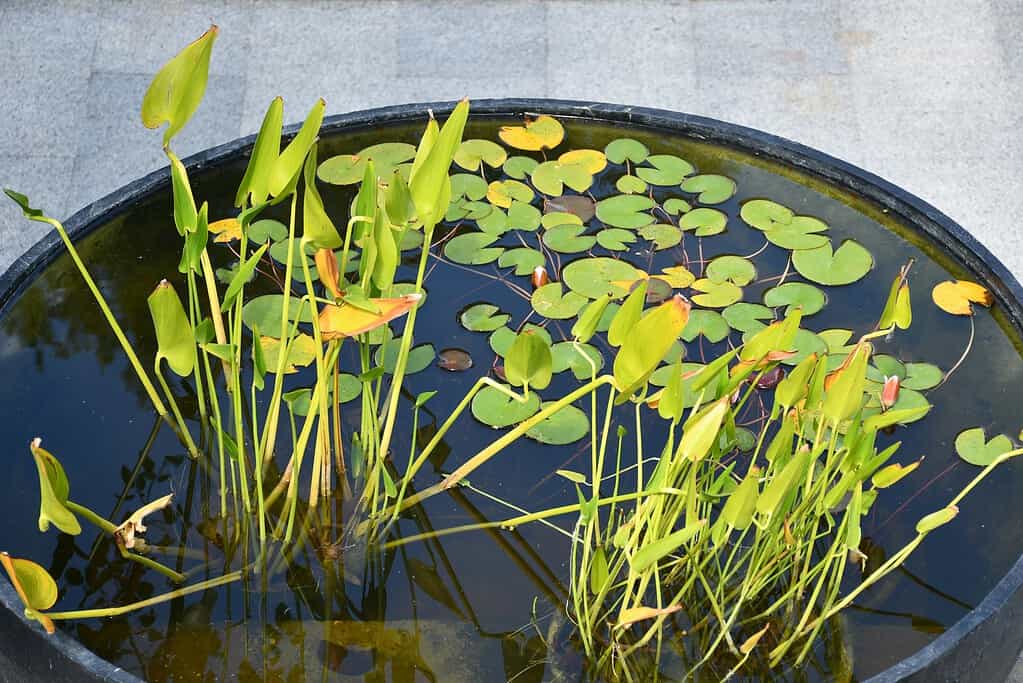
Best Plants for a Small DIY Pond
Plants are the engine of a healthy mini pond — they oxygenate the water, absorb excess nutrients, and shade the surface. You don’t need many. Three or four well-chosen plants will balance a small container nicely.
Aim for one of each type:
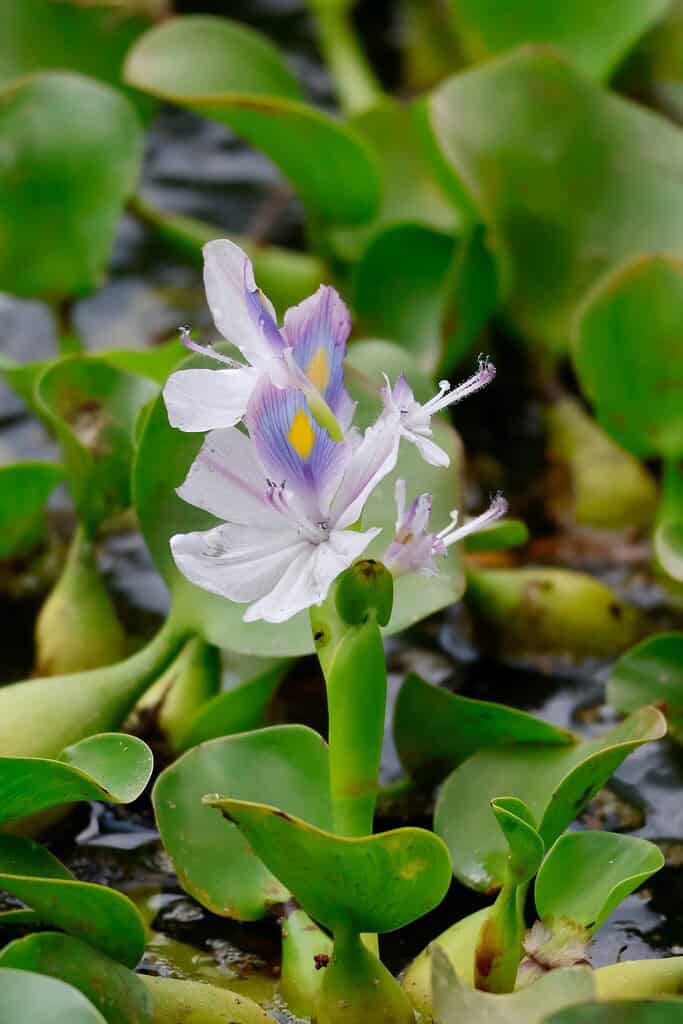
- Floaters — water lettuce, water hyacinth, or duckweed (use the last one sparingly). They shade the surface and out-compete algae.
- Oxygenators — hornwort or anacharis. These submerged plants quietly do the work of keeping water clear.
- Marginals — dwarf cattails, water iris, or pickerel weed. They sit at the edge with their roots in shallow water and add height and texture.
Skip aggressive growers in tiny containers — invasive water plants can choke a 20-gallon pond in a single season. Always check what’s allowed in your area before planting; some species are restricted in certain states.
Adding Fish or Wildlife to Your Mini Pond
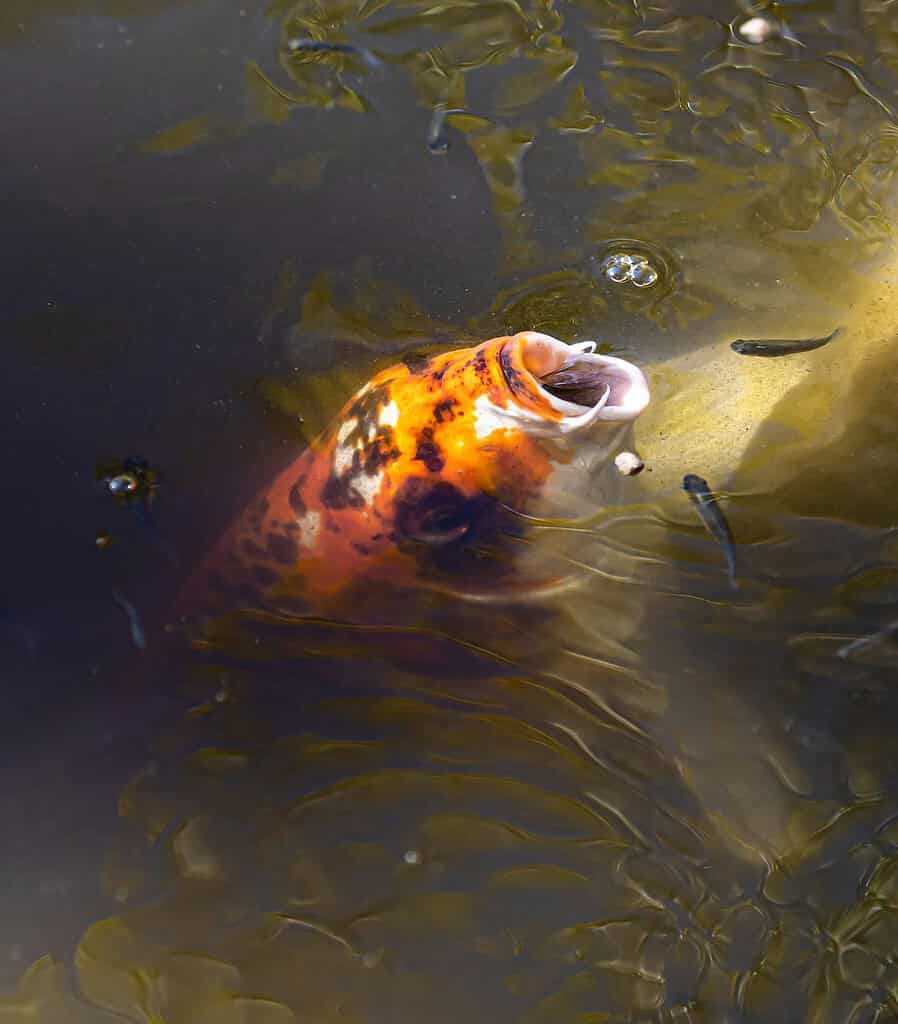
A mini pond doesn’t need fish to feel alive — and in containers under twenty gallons, you really shouldn’t add any.
Smaller volumes don’t hold enough oxygen to keep fish healthy through hot weather.
If you have at least thirty gallons of water, you can consider a small number of fish:
- White cloud minnows — hardy, peaceful, and tolerant of cooler water.
- Mosquito fish — tiny, prolific, and brilliant at eating mosquito larvae.
- Goldfish — only in larger containers (50+ gallons) since they grow fast and produce a lot of waste.
Even without fish, your pond will quickly attract life. Within a few weeks, expect dragonflies, hoverflies, and the occasional curious frog or bird visitor. That’s the whole point.
Best gardening planner I've used in 10 years — and I keep coming back to it every season.
Easy Maintenance Tips to Keep Your Mini Pond Thriving
Mini ponds reward consistency more than effort. Build these into your weekly habits:
- Top off the water as it evaporates, especially in summer. Use dechlorinated water whenever you can.
- Skim debris off the surface with an aquarium net or your hand.
- Trim back overgrown plants monthly so one species doesn’t dominate.
- Rinse the pump filter every two to four weeks if you’re running one.
- Do a 10 to 20 percent water change every four to six weeks to keep nitrate levels in check.
Algae will show up — that’s not a failure, it’s the ecosystem finding balance.
A thin film on the rocks is fine. Pea-soup green water signals too many nutrients and not enough plants, so add another floater or oxygenator before reaching for chemicals.
In winter, ponds in colder climates need a little prep. If temperatures drop below freezing, drain a small container pond entirely or move it into a sheltered garage or shed.
Larger in-ground builds can be kept open with a small de-icer if fish are overwintering.
Creative Mini Pond Ideas for Even Tighter Spaces
You don’t need a yard at all to enjoy a mini pond. A few creative builds that work in the smallest footprints:
- Tabletop pond bowl — A wide, shallow ceramic bowl with one floater and a single small pump fits on any patio table.
- Half-barrel duo — Two half-barrels side by side, one slightly elevated, makes a stunning DIY waterfall feature.
- Stock tank pond — Galvanized stock tanks have a clean, modern look and come in sizes from 30 to 100+ gallons.
- Sunken corner pond — A preformed liner tucked into a corner garden bed, edged with paving stones.
- Trough garden combo — Half pond, half planter, all in one repurposed feed trough.
If you’re laying out an entire small homestead and trying to figure out where this fits, our guide on how to turn your tiny backyard into a homestead breaks down how to layer water features, food production, and beauty in even the most cramped layout.
For a more wildlife-focused build with feathered company, the same principles apply when you scale up — and our 10 duck pond setups your ducks will love post is a fun read if that’s where your homestead is headed next.
- Tomatoes
- Peppers
- Beans
- Squash
- Cucumbers
- Basil
How Hard Is It to Garden in Your County?
Every county has a unique Gardening Difficulty Score based on frost risk, soil quality, drought, altitude, and climate trends. Find yours — plus personalized frost dates, planting calendars, and soil data.
Check Your County's Score →Build Your Mini Pond This Weekend
You really can have a working DIY mini pond by Sunday evening.
The materials are simple, the build is forgiving, and the payoff — that quiet, sparkling little ecosystem just outside your door — keeps giving long after the project is done.
Start small, choose plants that fit your container, and resist the urge to over-stock or over-engineer. The best mini ponds are the ones that feel like they’ve always been there.
Have you built a mini pond in a small space, or are you planning your first one this season? Drop your tips, questions, or favorite mini-pond moments in the comments below. Your story might be exactly what another reader needs to take the leap.
Plan Your Garden With Confidence!

Ever start planting… and then realize halfway through that things feel a little scattered?
A simple plan changes everything.
When you sketch your layout first, you can see what fits, what flows, and what actually makes sense for your space. It saves time, money, and a whole lot of second-guessing later.
Our free Garden Planner helps you map out beds, organize plant spacing, rotate crops, and keep track of seasonal tasks – all in a clean, printable format you can actually use.
Whether you’re designing a low maintenance front yard or planning your full homestead garden, this gives you a clear starting point.
Less chaos. More clarity. A garden that works.
Frequently Asked Questions
Can I keep a DIY mini pond on an apartment balcony if it’s structurally limited?
Yes — but check your balcony’s load rating before you start. Water is heavy: a single gallon weighs about 8.3 pounds, so a 20-gallon mini pond comes in around 170 pounds before you add gravel and decor. Most modern apartment balconies handle this without issue, but older buildings or wood balconies may not.
If weight is a concern, opt for a smaller 5- to 10-gallon pond bowl instead of a half-barrel, place it close to a wall (where the balcony is structurally strongest), and avoid stacking heavy stones inside.
How do I keep mosquitoes from breeding in my mini pond?
Standing water draws mosquitoes, but a balanced pond actively discourages them. The two best moves are keeping the water moving with a small pump or fountain (mosquitoes don’t lay eggs in disturbed water) and adding mosquito fish or a few dragonfly nymphs that prey on the larvae.
If fish aren’t an option, mosquito dunks are a safe, plant- and pet-friendly larvicide that uses a naturally occurring bacteria. Drop one in monthly during warm weather and you’re set. Pairing your pond with a few mosquito-repelling plants nearby is a smart bonus layer of defense.
Do I really need a pump for a small DIY mini pond?
Not always. A heavily planted pond with floaters, oxygenators, and no fish can run perfectly still — it’s called a balanced “wildlife pond” and it’s how natural ponds operate.
A pump becomes important when you add fish, when summer temperatures spike for weeks at a time, or when you want the visual and acoustic appeal of moving water.
Solar pumps are a great middle ground: no electrical work, no monthly bill, and they switch off naturally at night when oxygen demand drops anyway.
Will a mini pond freeze and crack in winter?
Container ponds in regions that drop below 25°F are at real risk of cracking — water expands as it freezes, and a fully frozen ceramic or terracotta container often splits.
The safest move is to drain small containers entirely before the first hard freeze, store any pump indoors, and overwinter floating plants in a bucket inside.
In milder climates, simply lowering the water level by half and floating a piece of foam or a tennis ball on the surface gives the ice room to expand without splitting the vessel.
How long does a DIY mini pond last before it needs a full reset?
A well-built mini pond should run for several seasons without a complete teardown. Most builds need a deep clean every two to three years — emptying the water, scrubbing the gravel, dividing overgrown plants, and replacing any worn pump parts.
Year-to-year, you’re mostly topping off water, trimming plants, and rinsing the pump. The container itself usually outlasts the project; ceramic pots, stock tanks, and pond liners can comfortably last five to ten years if they aren’t damaged by freezing or punctured during cleaning.
Level Up Your Garden
Our most popular gardening guides


