Strawberry rhubarb jam has a way of showing up in quiet kitchens where folks like to make things from scratch and put food by for later.
It’s sweet, a little tart, and full of real fruit flavor. If you’ve got strawberries, rhubarb, sugar, and a few jars, you’ve got what you need.
This isn’t a hard recipe, but it does take some time and a bit of care. If you want more ideas for making sweet preserves, check out our strawberry jam recipe for another simple, fruit-packed treat.
Whether you’re new to canning or just looking for a dependable way to make a big batch of jam, this guide lays it all out step by step so you can get it right the first time.
Ingredients and Tools You’ll Need

Before you start cooking, gather everything you’ll need. Jam making moves quickly once the fruit starts to boil, and stopping midway to search for a funnel or lid is stressful.
This recipe yields about 7 half-pint (8 oz) jars.
Ingredients
- 1½ pounds rhubarb stalks – washed, trimmed (discard leaves, which are toxic), cut into ½-inch pieces
- 1½ quarts fresh strawberries – washed, hulled, lightly crushed
- 6 cups sugar – do not reduce unless using a low-sugar pectin recipe
- 1 pouch (6 oz) liquid fruit pectin or powdered pectin as directed on packaging (but follow tested instructions – pectin types aren’t interchangeable)
- 2 tablespoons bottled lemon juice – ensures acidity for safety and setting
- ½ teaspoon butter or margarine (optional) – reduces foaming during boiling
Tools
- Boiling water canner or large stockpot with rack (jars must sit on a rack, not the pot bottom)
- 7 half-pint canning jars with new lids and clean rings
- Large heavy-bottomed pot for cooking the fruit
- Canning funnel, ladle, and jar lifter
- Thin spatula or bubble remover
- Clean cloths or paper towels
Looking for more ways to fill your pantry? This recipe is included in our Jam Series. Take a peek at the others here.
How to Make Strawberry Rhubarb Jam (Step-by-Step)
Making jam at home can feel intimidating the first time, but once you see how the steps flow together, it becomes a simple, almost meditative process.
Follow these steps in order, and you’ll have a shelf of jewel-toned jars ready to brighten breakfasts and share with loved ones.
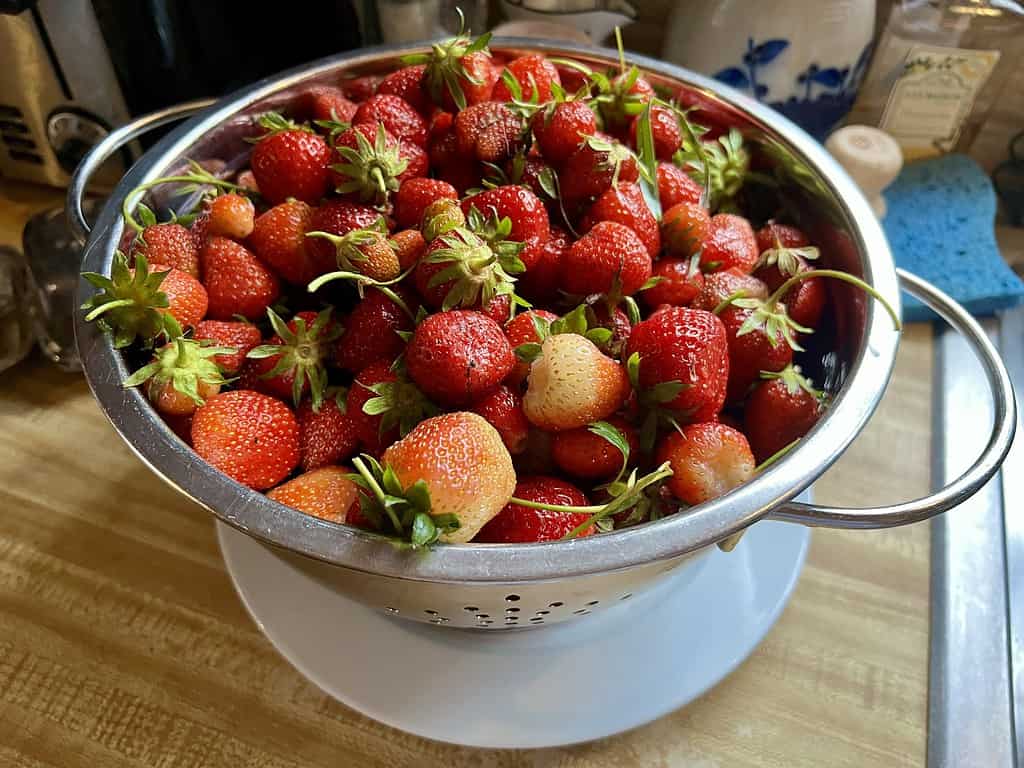
Step 1: Prepare Your Fruit and Workspace
Wash rhubarb and strawberries thoroughly. Trim off rhubarb leaves completely (they are poisonous) and discard them.
Dice the stalks evenly, and crush strawberries just enough to release juices but leave some texture.
Measure carefully – jam recipes rely on precise ratios of fruit, sugar, pectin, and acid to set and to stay safe. Lay out jars, lids, utensils, and towels before you start cooking.
Step 2: Cook the Fruit
In your large pot, combine rhubarb, crushed strawberries, bottled lemon juice, and pectin (check if your brand calls for pectin before or after adding sugar).
Stir well. Place over medium heat, stirring often until the mixture starts to soften and release juice.
Step 3: Add Sugar
Bring the fruit mixture to a boil. Add the sugar (all at once if using liquid pectin recipes, or gradually if using powdered pectin per package instructions). Stir constantly until dissolved.
Sugar is not only for sweetness – it helps jam gel and preserves it safely. Do not reduce the amount unless using a tested low-sugar pectin recipe.
Step 4: Boil Hard
Turn the heat to medium-high and bring the mixture to a full rolling boil (the kind that doesn’t stop when stirred). Boil hard for 1 full minute, stirring constantly.
This activates the pectin and ensures the jam will set. Remove from heat, skim off foam, and stir in optional butter if you like.
Step 5: Prepare Jars
While jam cooks, keep jars hot in simmering water (or a dishwasher cycle that ends hot). Hot jars prevent thermal shock when filled with boiling jam. Lids should be clean and warm but not boiled.
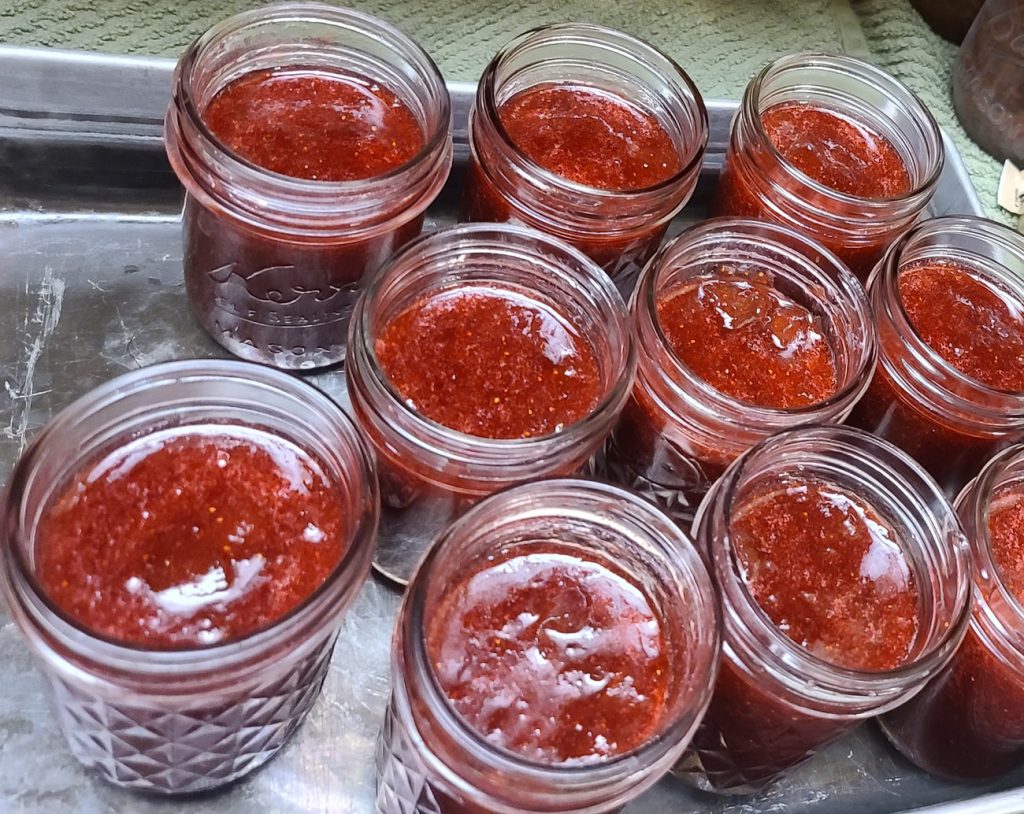
Step 6: Fill the Jars
Using a ladle and funnel, fill jars to ¼-inch headspace (space between jam and lid).
Remove air bubbles with a spatula, then wipe rims clean with a damp cloth. Place lids on and screw bands fingertip-tight.
Step 7: Process in Boiling Water Bath
Place filled jars upright in a boiling water canner. Water must cover jars by at least 1 inch. Cover pot, bring back to a rolling boil, and process:
- 5 minutes at 0–1,000 ft altitude
- 10 minutes at 1,001–6,000 ft
- 15 minutes above 6,000 ft
Adjusting for altitude is non-negotiable: lower times at high altitude may not kill spoilage organisms.
If you’re new to this method, see our easy water bath canning guide to show you exactly how to do it.
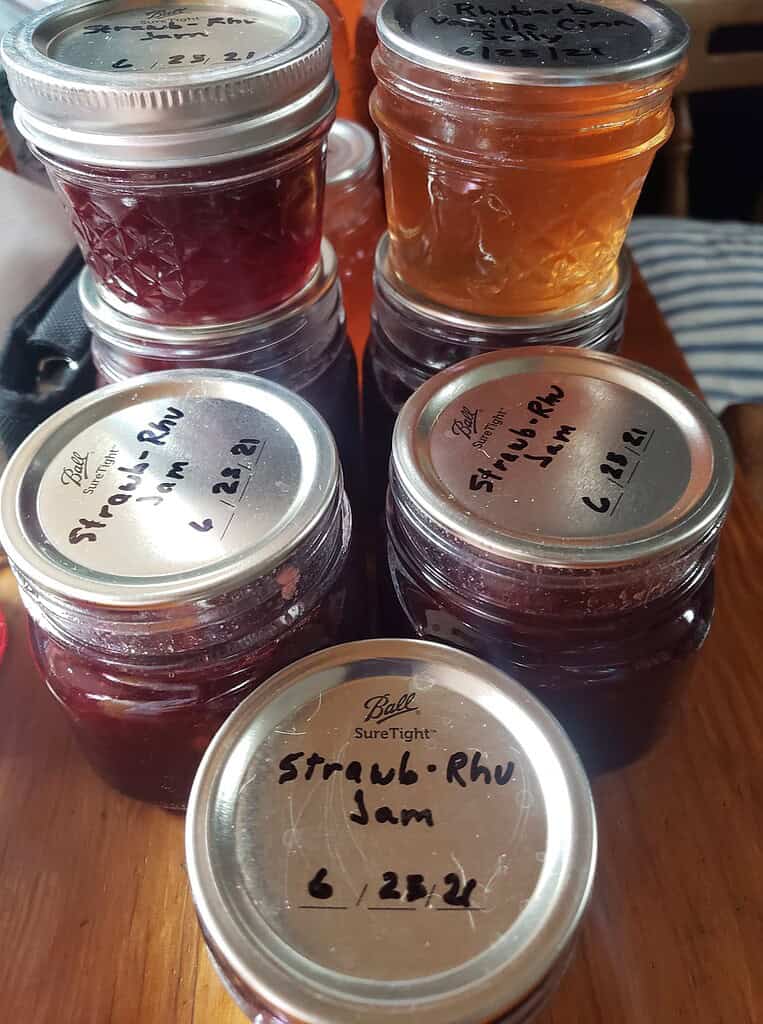
Step 8: Cool and Check Seals
After processing, remove jars with a lifter, placing them on a towel in a draft-free spot. Let sit undisturbed for 12–24 hours.
Check seals: press the center of the lid. A sealed lid won’t flex. If it pops up and down, refrigerate and use within a few weeks.
Remove rings for storage – this prevents rust and makes failed seals easier to spot.
How to Store Strawberry Rhubarb Jam for Long Shelf Life
Homemade jam is only as good as the way you store it. Following safe storage practices ensures your jars keep their flavor, color, and freshness for months to come.
Unopened jars: Store in a cool, dark, dry place (below 75°F). Best quality within 12 months. After that, jam may still be safe if sealed, but color and flavor will fade.
Opened jars: Refrigerate and use within 2–3 weeks.
Spoilage signs: If you see mold, bubbling, off-smell, or separation, discard without tasting.
For more detailed advice on storing canned goods safely, check out our best canned food storage tips.
Delicious Ways to Use Strawberry Rhubarb Jam
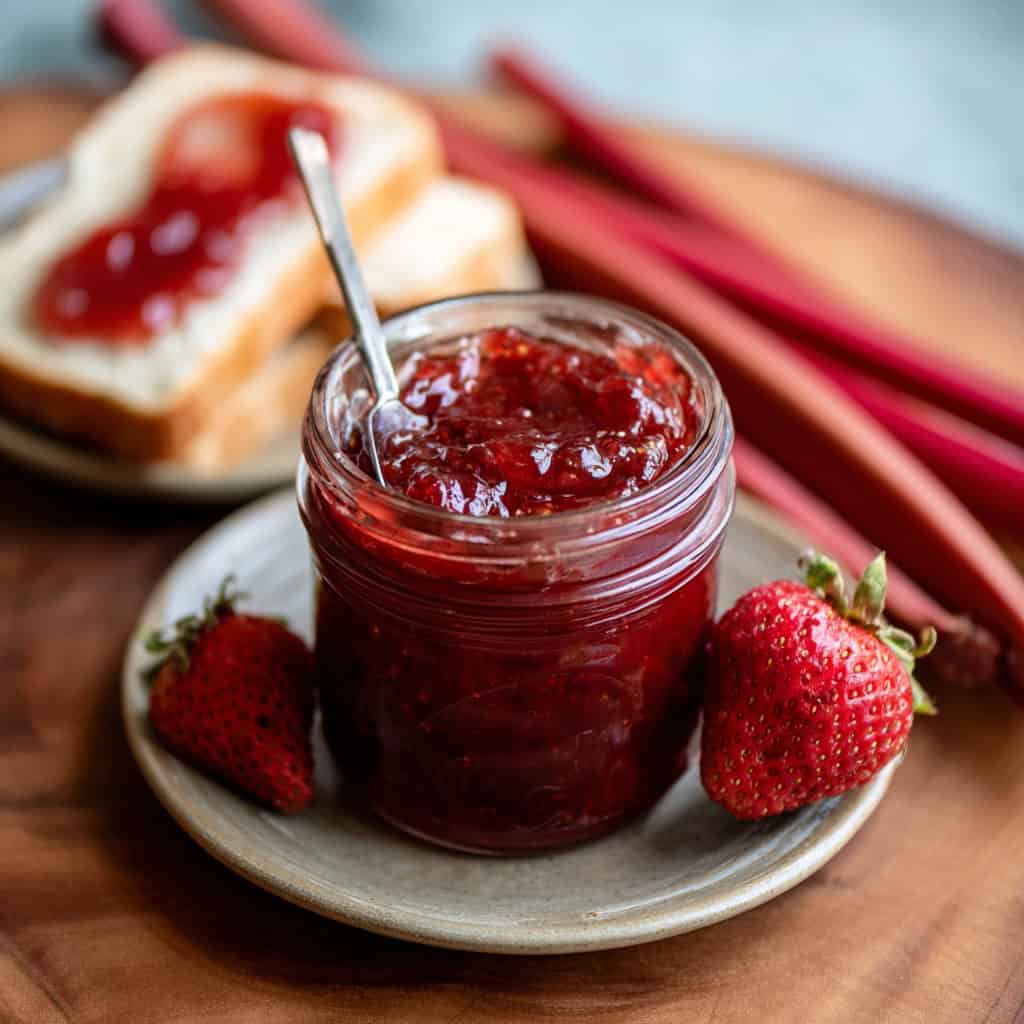
Jam isn’t just for toast. Once you have jars of strawberry rhubarb jam on hand, you’ll find dozens of creative and tasty ways to use it in your kitchen.
- As a thoughtful homemade gift.
- On biscuits, muffins, or toast.
- Swirled into yogurt or oatmeal.
- As a filling for cookies, hand pies, or layer cakes.
- Mixed with vinegar or mustard for a pork or chicken glaze.
- Served with cheese boards.
Go Make a Batch and Stock Your Shelf
Making strawberry rhubarb jam at home is more than just cooking fruit and sugar – it’s preserving a taste of the season to enjoy all year.
With the right balance of fruit, sugar, acid, and pectin (plus careful canning), you’ll end up with jars that are safe, shelf-stable, and delicious.
Whether you’re spreading it on warm biscuits, gifting it to neighbors, or swirling it into yogurt, this jam is proof that simple recipes can make the biggest impact in your kitchen.
Have you tried making strawberry rhubarb jam before? Or do you have your own favorite twist on the recipe? Drop a comment below – I’d love to hear your canning stories, tips, and flavor ideas!
FAQs
1. Can I use frozen strawberries or rhubarb?
Yes, frozen fruit works just fine. Just make sure to thaw completely and drain off excess liquid before cooking. Too much extra water can keep your jam from setting properly.
2. Can I reduce the sugar in this recipe?
Not with this recipe. Standard pectin requires a specific amount of sugar for the jam to gel and stay safe. If you want a lower-sugar version, you’ll need to use a low-sugar or no-sugar pectin and follow a recipe written for it.
3. What’s the difference between powdered and liquid pectin?
Powdered and liquid pectin are not interchangeable. They are added at different stages and require different sugar ratios. Always follow the instructions for the exact type of pectin you are using.
4. Do I need to sterilize the jars before canning jam?
If your processing time is less than 10 minutes (as in this recipe at low altitudes), you should sterilize jars by boiling them for 10 minutes (adjust for altitude). If the processing time is 10 minutes or more, sterilization isn’t required as long as jars are clean and hot before filling.
5. How do I know if my jars sealed properly?
After jars cool for 12–24 hours, press the center of each lid. If it doesn’t move, it’s sealed. If it pops up and down, the jar didn’t seal – refrigerate and use within a few weeks.