Nothing says summer quite like a ripe, juicy peach. Turning that flavor into homemade jam is one of the simplest ways to preserve it for months to come.
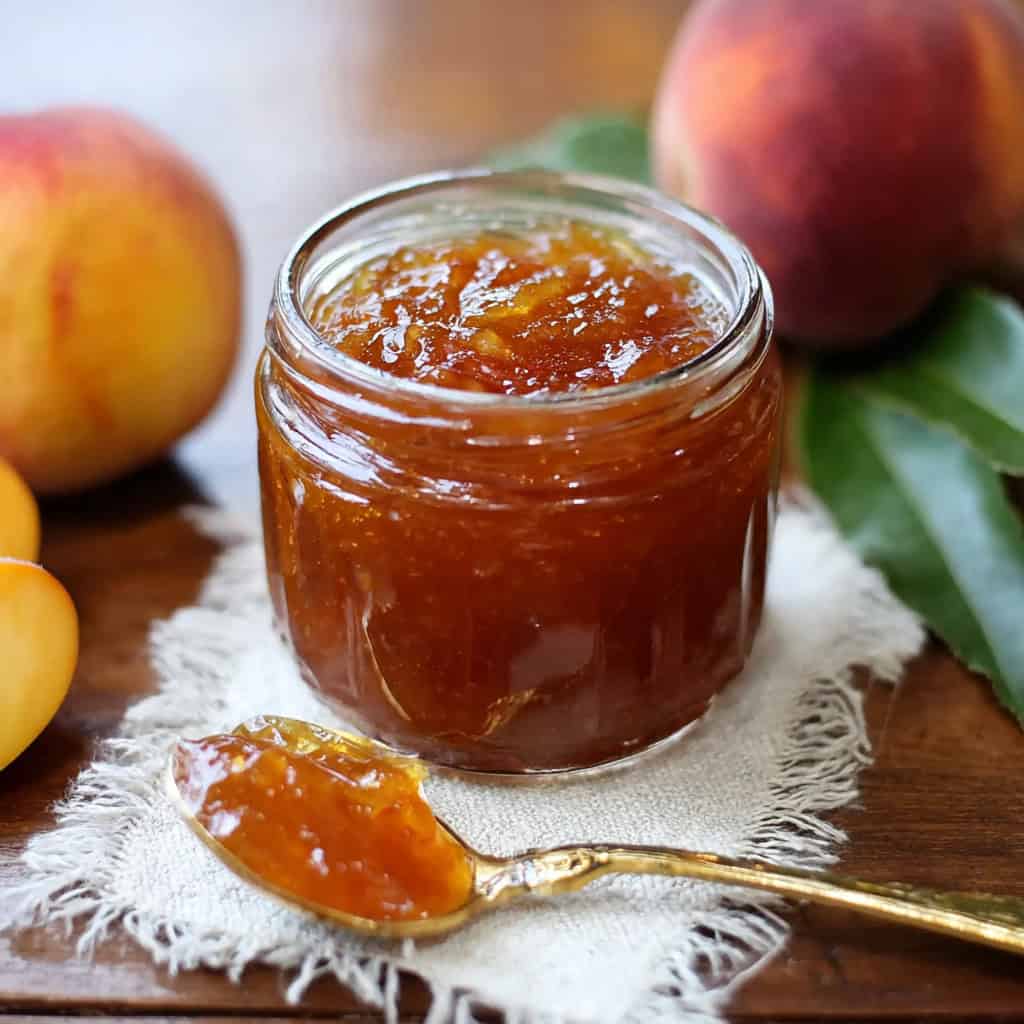
With a tested peach jam recipe using powdered pectin, you’ll get a bright, golden spread that’s safe for your pantry and perfect for everything from morning toast to holiday gifts.
This recipe comes from the National Center for Home Food Preservation, so you can feel confident your jars will set beautifully and store safely.
One afternoon in the kitchen, and you’ll be rewarded with six jars of sunshine you can enjoy all year long.
Why Make Homemade Peach Jam?
Store-bought jams often use concentrates or added preservatives, but making your own gives you full control over the ingredients.
By following a tested peach jam recipe with powdered pectin, you’ll end up with jars that are:
- Safe for long-term storage (thanks to proper acidity and processing)
- Bursting with real peach flavor — no fillers or artificial flavors
- Perfect for gifting — a homemade jar of jam always feels special
If you’ve never canned before, this recipe is one of the best places to start. It’s straightforward, reliable, and results in a golden spread that tastes like summer in every spoonful.
Looking for more ways to fill your pantry? This recipe is included in our Jam Series. Take a peek at the others here.
Peach Jam Ingredients

This recipe keeps things simple with just four ingredients, measured exactly for safe canning.
Don’t adjust the amounts — the balance of fruit, sugar, and acidity is what ensures your jam sets properly and stays shelf-stable.
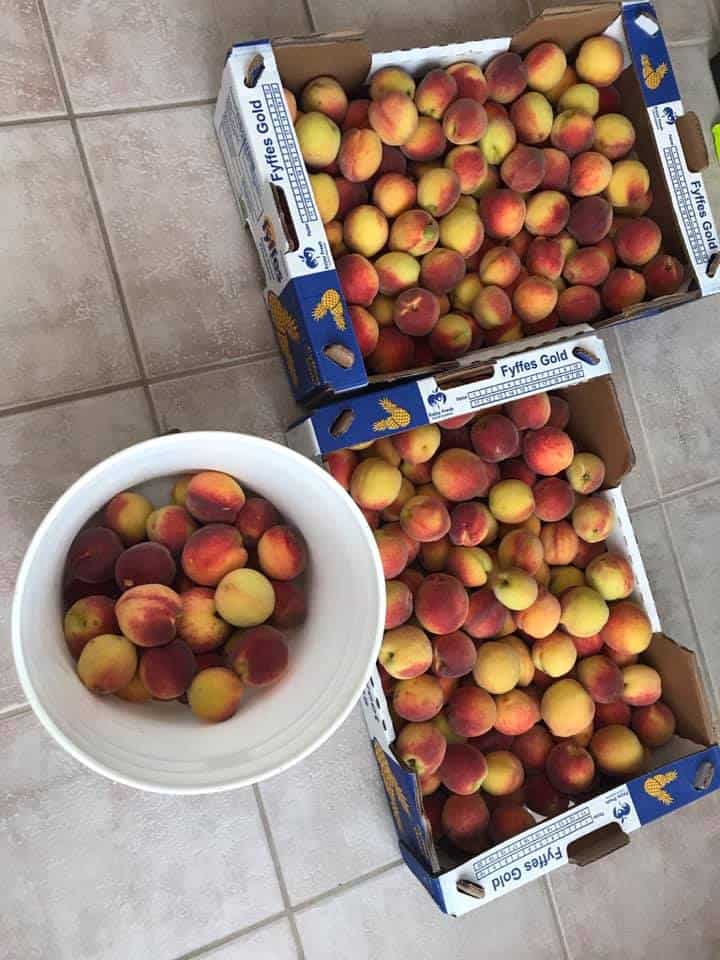
- 3¾ cups crushed peaches (about 3 pounds fully ripe yellow peaches, peeled, pitted, and crushed)
- ¼ cup bottled lemon juice – provides the acidity needed for safe canning and helps the jam gel properly
- 1 package powdered pectin – standard box size (check your brand’s instructions for weight; usually 1.75 oz)
- 5 cups sugar – essential for sweetness, gel formation, and preservation
Note: Always use yellow peaches for this recipe. White peaches have lower acidity and are not recommended for safe water-bath canning.
Essential Canning Equipment for Peach Jam
Making peach jam doesn’t require fancy tools, but you do need the right equipment to ensure safe canning and a smooth process. Here’s what to gather before you start:
- Boiling water canner with rack – needed for processing jars so they seal safely
- 6 half-pint canning jars with lids and bands – sterilized and ready to fill
- Large heavy pot (jam kettle) – for cooking peaches and bringing the jam to a boil
- Long stirring spoon – sturdy enough for thick, bubbling jam
- Jar funnel – keeps rims clean when filling jars
- Ladle – for transferring hot jam into jars
- Jar lifter or tongs – to safely move hot jars in and out of boiling water
- Potato masher – for crushing peaches to the right texture
- Clean cloths or paper towels – to wipe jar rims before sealing
Preparing Peaches for Jam
Getting the peaches ready is one of the most important steps in making a safe, shelf-stable jam. The fruit needs to be fully ripe and measured correctly so the recipe sets and preserves properly.
- Sort and wash – Choose ripe yellow peaches that give slightly when pressed and have a fragrant aroma. Wash them thoroughly under cool running water.
- Peel and pit – Remove stems, skins, and pits. Peeling is recommended for the best texture and appearance in jam.
- Crush the peaches – Cut into pieces and crush with a potato masher in a large bowl or directly in the kettle. Avoid pureeing — you want a thick, juicy base with small bits of fruit.
- Measure carefully – The recipe requires 3¾ cups of crushed peaches (about 3 pounds whole fruit). Too much or too little fruit can affect the set and safety of your jam.
How to Make Peach Jam Step by Step
Once your peaches are crushed and measured, it’s time to cook them into jam. Follow these steps closely to ensure the jam gels properly and is safe for canning.
Step 1: Combine Peaches, Lemon Juice, and Pectin
Start by placing your 3¾ cups of crushed peaches into a large, heavy-bottomed pot. Add ¼ cup bottled lemon juice and one full packet of powdered pectin.
Stir everything together until the pectin is fully dissolved. The lemon juice provides the acidity needed for safe canning, while the pectin ensures the jam will gel properly.
Step 2: Bring the Mixture to a Rolling Boil
Set the pot over high heat and stir constantly to keep the fruit from sticking or scorching.
You’re aiming for a rolling boil – that’s when the bubbling covers the entire surface of the jam and doesn’t stop even when you stir. Reaching this point means the pectin is starting to activate.
Step 3: Add the Sugar All at Once
When you see that full, rolling boil, pour in the 5 cups of sugar all at once.
Stir steadily until the sugar has completely dissolved and the mixture looks smooth and glossy. Adding the sugar in one go is important for helping the jam set correctly.
Step 4: Boil Hard for One Minute
Once the sugar is dissolved, return the jam to a rolling boil and let it cook hard for exactly one minute, stirring constantly.
This short, vigorous boil is crucial – it fully activates the pectin, locks in the texture, and gives you that perfect spreadable jam.
Step 5: Remove from Heat and Skim the Foam
Take the pot off the heat and let the bubbling settle for a moment. You’ll notice a light foam on top of the jam – use a spoon to skim it off.
The foam is harmless and even tasty, but removing it gives your jars a clearer, prettier finish.
How to Can Peach Jam (Water Bath Method)
Once your jam is cooked, the next step is processing it in a boiling water canner. This step is essential for creating a safe, shelf-stable product. Follow these directions carefully.
If you’re new to canning, check out our canning for beginners guide for a simple, step-by-step walkthrough.
Step 1: Fill the Jars with Hot Jam
While the jam is still hot, ladle it into hot, sterilized half-pint jars. Use a jar funnel to keep the rims clean and leave ¼ inch of headspace at the top of each jar.
This small gap allows for proper sealing. Wipe the rims with a clean, damp cloth to remove any drips, then place the lids on and screw the bands on until fingertip-tight.
Step 2: Place Jars in the Boiling Water Canner
Arrange the jars upright on the rack inside your boiling water canner. Make sure the jars are not touching each other.
Add enough hot water to cover the tops of the jars by at least 1–2 inches. Place the lid on the canner and bring the water to a rolling boil.
Step 3: Process the Jars by Altitude
Once the water reaches a full boil, start timing the processing:
- 5 minutes at 0–1,000 feet
- 10 minutes at 1,001–6,000 feet
- 15 minutes above 6,000 feet
These times come directly from tested guidelines. Adjusting for altitude is important to ensure the jars seal safely.
Step 4: Remove Jars and Let Them Cool
When the processing time is complete, turn off the heat. Use a jar lifter to carefully remove the jars from the canner and place them on a towel, leaving space between each jar.
Do not tighten the bands or disturb the jars while they cool. Let them sit undisturbed for 12–24 hours.
Cooling, Sealing, and Storing Peach Jam
After processing, your jars need time to cool and form a proper seal. This stage is just as important as the cooking and canning steps, since it ensures the jam will be safe and shelf-stable.
Check Jar Seals After Cooling
Let the jars rest at room temperature for 12–24 hours without moving them. Once cooled, check the seals by pressing down gently in the center of each lid.
If the lid is firm and does not pop up and down, the seal is good. Any jars that did not seal properly should be refrigerated and used within a few weeks.
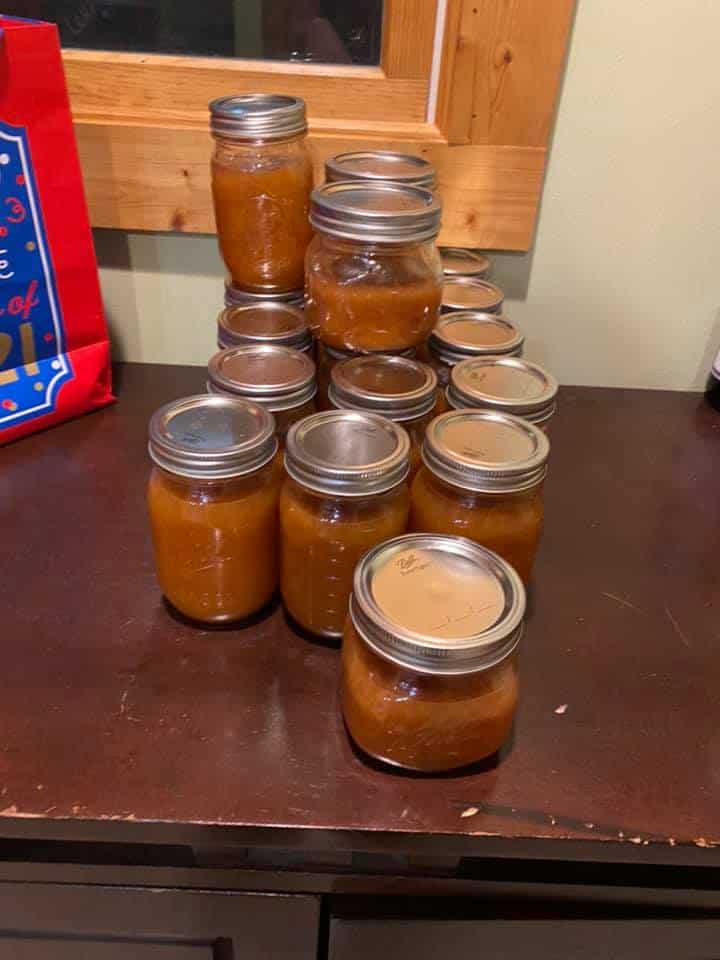
Label and Store Sealed Jars
For jars that sealed correctly, remove the screw bands (optional but recommended to prevent rust and sticking). Wipe the jars clean, then label them with the date.
Store the sealed jars in a cool, dark place such as a pantry or cupboard, away from direct sunlight and heat. Properly canned peach jam will keep its best quality for about one year.
For more advice on storing canned goods safely, see our best canned food storage tips.
Refrigerate After Opening
Once a jar is opened, refrigerate it immediately. Opened jam should be used within two to three weeks for the best flavor and texture.
Enjoy Homemade Peach Jam All Year Long

Making peach jam at home is one of the simplest ways to hold onto summer’s sweetest flavor.
With just a few fresh peaches, powdered pectin, and some sugar, you can fill your pantry with jars that brighten every breakfast and dessert.
Because this recipe follows tested canning guidelines, you can feel confident that your jam is both delicious and safe to enjoy for months to come.
Gather some peaches, set aside an afternoon, and give this recipe a try. Don’t forget to come back and share your results in the comments below.
What’s your favorite way to enjoy peach jam – spread on warm biscuits, layered in cakes, or stirred into yogurt? I’d love to hear!
FAQs
1. Can I use frozen peaches to make jam?
Yes, frozen peaches work well. Thaw them completely, drain off excess liquid, and measure out 3¾ cups crushed fruit. The flavor may be slightly different from fresh peaches, but the jam will still be delicious.
2. Can I substitute liquid pectin for powdered pectin?
You can, but liquid and powdered pectin are not interchangeable in recipes. If you use liquid pectin, follow the instructions on the package carefully, since it’s added at a different stage of cooking.
3. Why do I need to use bottled lemon juice instead of fresh?
Bottled lemon juice has a consistent acidity level, which is crucial for safe water-bath canning. Fresh lemons can vary too much in acidity, which may make the jam unsafe to store.
4. Can I reduce the sugar in this peach jam recipe?
Not in this version. The sugar helps the jam set, preserves the fruit, and ensures food safety. If you want less sugar, use a low-sugar pectin and follow its directions closely.
5. How do I know if my jars have sealed properly?
After cooling for 12–24 hours, press gently on the center of each lid. A properly sealed lid will be firm and will not flex up and down. Any jars that didn’t seal should be refrigerated and eaten within a few weeks.