If you’ve got more blackberries than you know what to do with, this jam recipe is a good way to use them up (especially if you’ve been growing them on your own blackberry trellis).
This recipe comes directly from the National Center for Home Food Preservation and follows their tested safe canning process.
That means you’ll end up with delicious jars of jam that are safe for long-term pantry storage.
This version also uses powdered pectin for a consistent gel and requires water-bath canning. You’ll get a beautiful, flavorful jam with a thick, spreadable texture every time.
Tips for Choosing the Best Blackberries
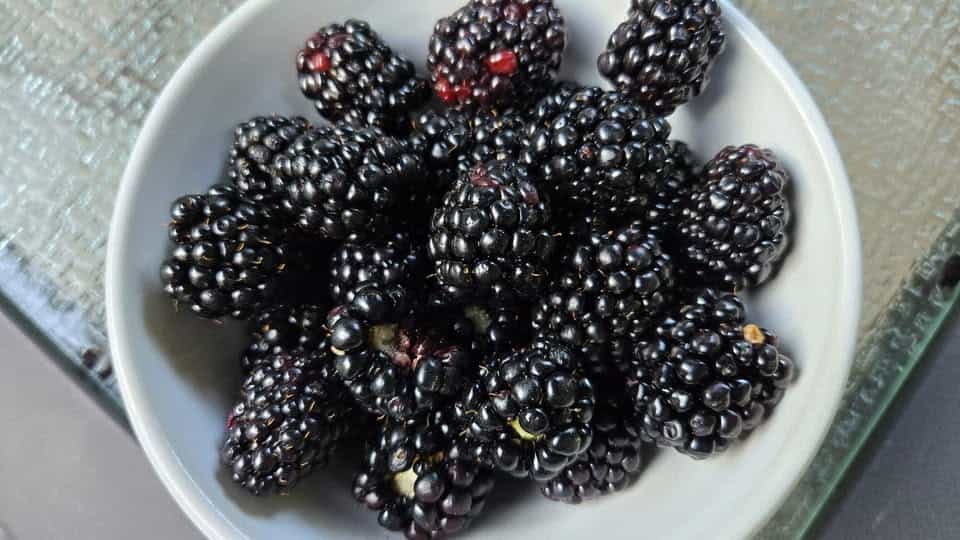
The quality of your fruit will determine the flavor, texture, and color of your jam. Keep these tips in mind when gathering or buying berries:
- Look for deep color – Choose berries that are fully ripe, dark purple to nearly black, for the sweetest flavor.
- Check firmness – Select berries that are plump and slightly soft, but avoid mushy or shriveled ones.
- Avoid underripe fruit – Red or reddish-purple berries are not ripe enough and can make the jam too tart.
- Pick at the right time – If harvesting at home, morning picking (after the dew dries) gives the best flavor.
- Inspect market berries – When buying, choose containers with berries that are dry, shiny, and free from mold or leaks.
- Rinse gently – Wash just before using with a quick rinse and drain; don’t soak, as blackberries soften quickly.
Starting with high-quality blackberries ensures your jam sets well and captures the best flavor of the season.
Ingredients for Blackberry Jam

The secret to a perfect blackberry jam is starting with fully ripe fruit and balancing it with the right amount of sugar and pectin.
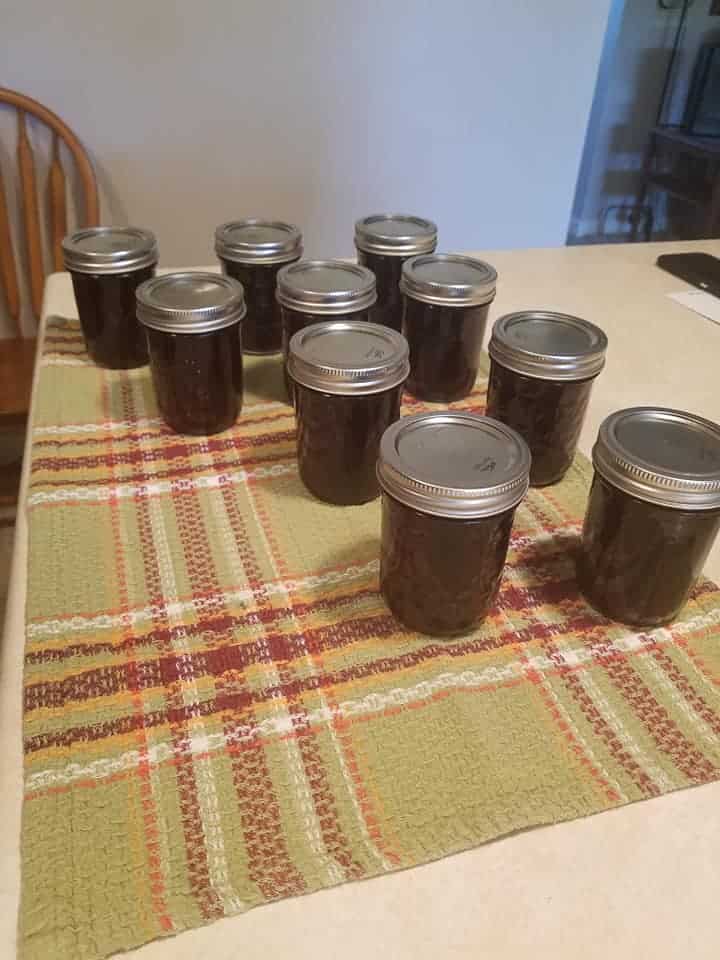
You’ll end up with about 11–12 half-pint jars, perfect for gifting or stocking your pantry.
- 6 cups crushed blackberries (about 3 quart boxes of fresh berries)
- 1 package powdered pectin
- 8 ½ cups sugar
Looking for more ways to fill your pantry? This recipe is included in our Jam Series. Take a peek at the others here.
Equipment You’ll Need
Before you begin, gather everything so you can move quickly once the jam is hot and ready to jar.
- Boiling water bath canner with rack – for safe processing and sealing
- 11–12 half-pint jars with two-piece metal lids and bands
- Large, heavy-bottomed preserving pot – wide enough to prevent boiling over
- Canning funnel, ladle, and jar lifter – for clean, easy filling
- Clean towels and paper towels – for wiping rims and handling hot jars
- Food mill or sieve (optional) – if you prefer to reduce seeds
Step-by-Step Method for Making Blackberry Jam
Making blackberry jam is simple, but it’s important to follow the process closely so the jam sets properly and seals safely for long-term storage.
Here’s how to do it.
Step 1: Prepare Jars and Lids
Begin by washing your jars in hot, soapy water and rinsing them well. Sterilize the jars by boiling them in water for 10 minutes, or keep them hot in a 225°F oven until you’re ready to fill them.
At the same time, prepare the two-piece lids and bands according to the manufacturer’s directions so they’re ready when the jam is cooked.
Step 2: Prepare the Fruit
Sort through your blackberries, removing any stems or caps, and rinse them thoroughly. Crush the berries to release their juices until you have exactly six cups.
If the berries are particularly seedy, you may press some or all of them through a sieve or food mill to reduce the number of seeds in your final jam.
Step 3: Cook the Jam
Place the crushed blackberries into a large, heavy preserving pot. Stir in the powdered pectin until it is fully dissolved.
Set the pot over high heat and, while stirring constantly, bring the mixture quickly to a rolling boil.
Once boiling, add all of the sugar at once. Stir well and continue cooking until the mixture returns to a full, rolling boil that cannot be stirred down.
Let it boil hard for one full minute while stirring constantly. Remove the pot from the heat and skim off any foam that has risen to the surface.
Step 4: Fill the Jars
While the jam is still piping hot, ladle it immediately into your sterilized jars. Be sure to leave about a quarter-inch of headspace at the top of each jar.
Wipe the rims with a clean, damp paper towel to ensure a good seal, then place the lids on and secure the bands just until fingertip tight.
Step 5: Process in a Boiling Water Bath
Place the filled jars in your boiling water canner, making sure that the water covers the tops of the jars by at least one to two inches.
Process the jars for the correct length of time based on your altitude:
| Jar Size | 0–1,000 ft | 1,001–6,000 ft | Above 6,000 ft |
|---|---|---|---|
| Half-pints or pints | 5 minutes | 10 minutes | 15 minutes |
When the processing time is up, turn off the heat, remove the lid, and let the jars sit in the hot water for five minutes before carefully lifting them out.
Set them on a towel in a draft-free spot, and let them cool undisturbed for 12 to 24 hours.
If you’re new to canning or want a clear walkthrough, see our easy water bath canning guide.
How to Store Blackberry Jam (and How Long It Lasts)

Once your jars have cooled completely, it’s time to check the seals.
A properly sealed lid will curve slightly inward and will not flex up and down when pressed in the center. Any jars that did not seal should be refrigerated immediately and enjoyed within a few weeks.
The sealed jars can be labeled and stored in a cool, dark place such as a pantry, cupboard, or cellar.
Consistent temperatures and protection from direct sunlight will help preserve both flavor and texture.
When processed and sealed correctly, blackberry jam will keep its best quality for up to one year.
After opening a jar, refrigerate it right away and plan to use it within about three weeks.
Always use a clean spoon when serving to avoid introducing bacteria or crumbs that could shorten the jam’s shelf life.
By following these simple storage guidelines, you can enjoy the taste of summer blackberries long after the season has ended.
For more advice on storing canned goods safely and effectively, check out our best canned food storage tips.
Common Blackberry Jam Problems (and How to Fix Them)
Even if you follow a safe, tested recipe, jam-making can come with surprises.
Here are the most common blackberry jam issues and how to fix them.
Jam is too runny
- Blackberry jam can take up to 24 hours to fully set, so let it cool and rest before judging.
- If it still hasn’t set, remake the jam with additional powdered pectin and reprocess using proper canning steps.
Jam is too thick
- Overcooking usually causes a stiff or overly thick jam. It’s safe to eat, but the texture will be firmer.
- Next time, stop the boil as soon as the mixture reaches a rolling boil for one minute.
Foam on top of the jam
- Foam isn’t harmful, but it can make jars look cloudy. Skim the foam off after cooking for a clearer finish.
- Adding ½ teaspoon of butter while cooking can help reduce foaming.
Too many seeds
- If the jam feels overly seedy, run some or all of the blackberries through a sieve or food mill before cooking.
- This creates a smoother spread while keeping the full blackberry flavor.
Jars didn’t seal
For better success next time, always sterilize jars, clean rims carefully, and process for the correct time based on your altitude.
Any unsealed jars should be refrigerated immediately and used within a few weeks.
Enjoy Your Homemade Blackberry Jam Year-Round
With just a few simple ingredients and the right canning process, you can turn fresh blackberries into jars of jam that will last safely on your pantry shelf for up to a year.
This tested recipe ensures both flavor and food safety, so you can enjoy the taste of summer whether it’s the middle of July or the depths of winter.
Now that you know how to make blackberry jam with pectin, it’s time to grab those berries and start preserving.
Have you tried this recipe? Do you have a favorite jam-making tip or a family tradition you swear by?
Share your thoughts and experiences in the comments below – your ideas might just inspire someone else’s perfect batch!
FAQs
Can I use frozen blackberries instead of fresh?
Yes, frozen blackberries work just as well for jam. Be sure to thaw them completely and include all the juices when measuring your six cups of crushed fruit. This helps keep the flavor balanced and ensures the correct texture.
Can I reduce the sugar in this recipe?
No – not in this version. The sugar is essential for both the gel formation and the safe preservation of the jam. If you’d like to make a lower-sugar jam, you’ll need to use a reduced-sugar pectin and follow its tested recipe.
Do I need to add lemon juice?
Not in this recipe. Because it uses powdered pectin, lemon juice is not required to achieve a proper gel. The blackberries themselves provide enough acidity for safe canning when combined with sugar and pectin.
How long does homemade blackberry jam last?
When processed correctly in a boiling water bath and sealed, blackberry jam keeps its best quality for up to one year in a cool, dark pantry. Once opened, a jar should be refrigerated and used within about three weeks.
Can I make blackberry jam without pectin?
You can, but that is a different recipe. Without added pectin, you’ll need to rely on the natural pectin in the fruit and cook the jam longer, which can change the flavor and color. For safe canning, always use a tested recipe designed for no-pectin jam.