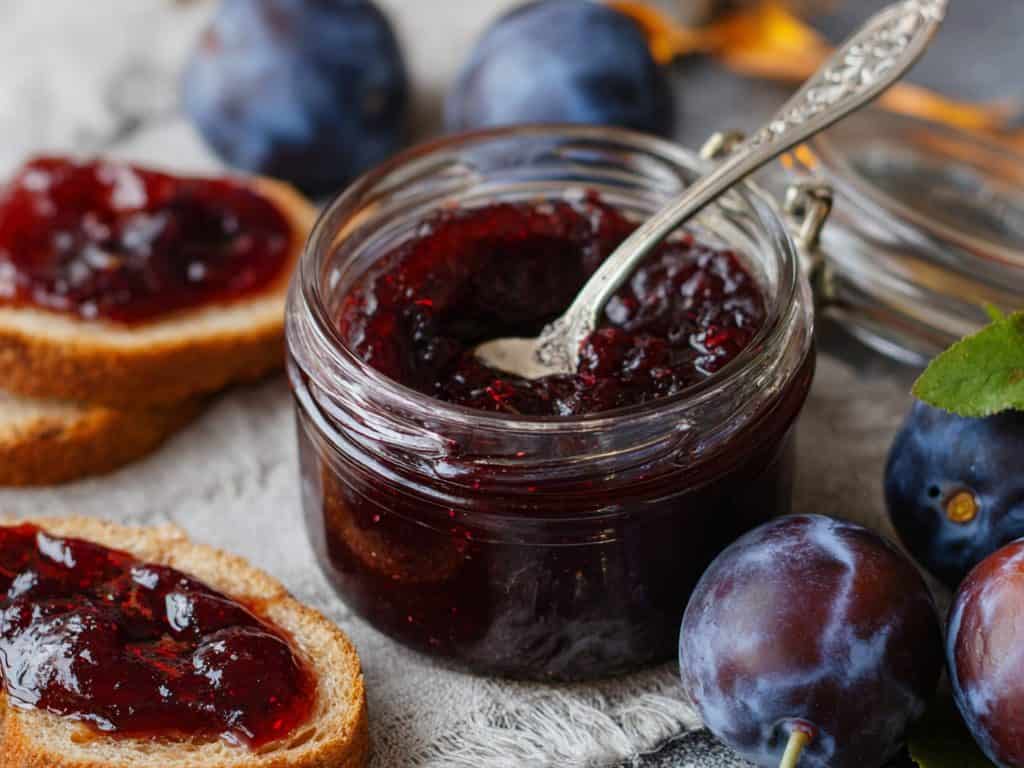
Plums are one of the easiest fruits to turn into jam – no peeling required, just pit, crush, and cook.
Their natural sweetness and deep color make for a jewel-toned spread that captures summer in a jar.
This recipe, adapted from the National Center for Home Food Preservation, is fully tested for safety and flavor.
With just a few ingredients and a short boiling-water canner process, you’ll have jars of shelf-stable jam ready to enjoy all year long.
What You’ll Need for a Perfect Batch
Making plum jam is all about balancing tart fruit, plenty of sugar, and the right amount of pectin to create a thick, spreadable preserve.
Here’s what you’ll need:
- 6 cups crushed plums (about 3½ pounds whole, fully ripe plums)
- 1 package powdered pectin
- 8 cups sugar
Yield: About 9 half-pint jars of jam
Pro Tip: Always measure fruit after crushing, not by whole fruit weight alone.
The crushed fruit should fill a standard liquid measuring cup right up to the line. This ensures the right balance with the sugar and pectin.
Looking for more ways to fill your pantry? This recipe is included in our Jam Series. Take a peek at the others here.
- Easy Strawberry Jam Recipe (With Pectin)
- Easy Cherry Jam Recipe
- Small-Batch Blueberry Jam Recipe
- How to Make Blackberry Jam
- Homemade Peach Jam Recipe with Powdered Pectin
- Easy Raspberry Jam Recipe Without Pectin
- How to Make Strawberry Rhubarb Jam
- How to Make Homemade Apricot Jam
- Homemade Apple Jam Recipe
Essential Canning Tools for Making Plum Jam at Home
Having the right tools on hand makes jam-making smoother, faster, and much safer.
You don’t need a professional setup – just a few key pieces of equipment that ensure your plum jam cooks evenly, fills cleanly, and seals properly for long-term storage.
Here’s what you’ll want ready before you start:
- Large heavy-bottomed pot or jam kettle
- Boiling-water canner or deep stockpot with rack
- Half-pint or pint canning jars
- Two-piece lids and bands
- Canning funnel
- Jar lifter
- Ladle
- Clean damp paper towels
- Kitchen timer
How to Make Plum Jam Like a Pro
Plum jam is simple to make when you follow a tested recipe and take the process one stage at a time.
Here’s how to get from fresh plums to sealed jars on your pantry shelf.
By the way, if you're new to canning, be sure to check out our canning for beginners guide for everything you need to get started!
Step 1: Preparing Jars for Safe Canning
Begin by washing your jars, lids, and bands in hot, soapy water, rinsing them well afterward.
Keep the jars hot until you’re ready to fill them – this prevents breakage when hot jam goes in.
You can do this by placing them in simmering water, a warm oven, or using your dishwasher’s “keep warm” cycle.
Sterilization Tip: If your processing time is less than 10 minutes, jars must be sterilized separately by boiling for 10 minutes. That means at altitudes 0–1,000 feet (5-minute process time) sterilization is required.
At 1,001 feet and above, the processing time is 10–15 minutes, so separate sterilization is not necessary.
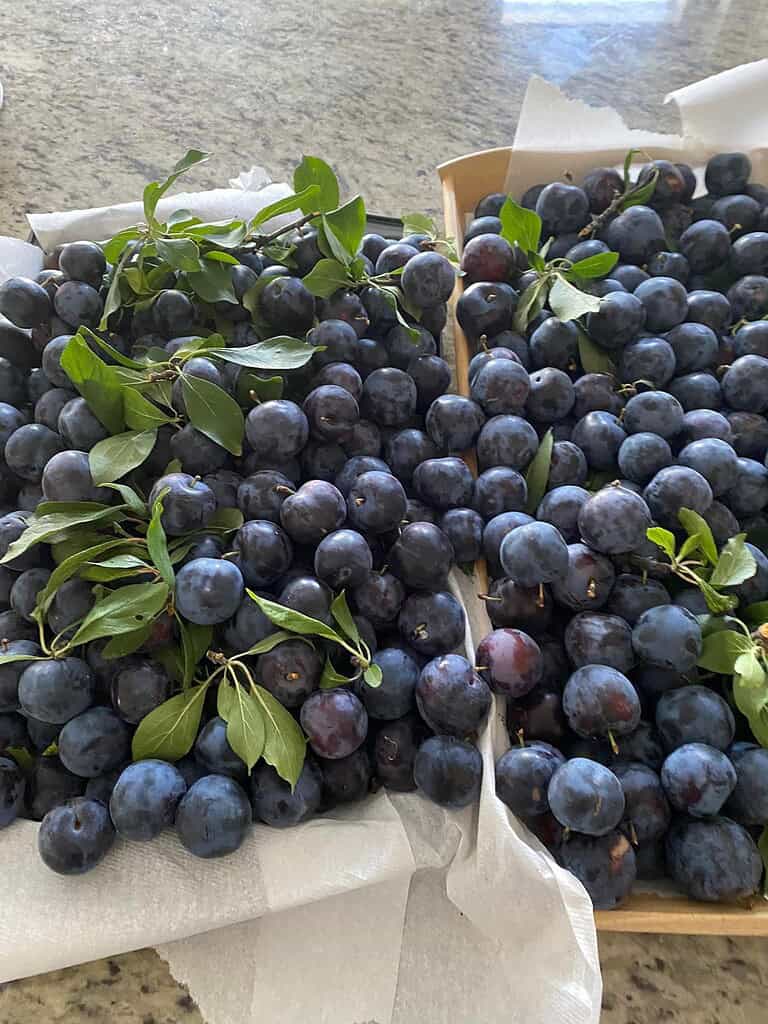
Step 2: How to Prep Fresh Plums for Jam
Choose fully ripe plums for the richest flavor and deepest color. Avoid fruit that is moldy or underripe, as these will affect both safety and quality.
Wash the plums well, then cut them into pieces and remove the pits. If the flesh clings tightly to the pits, place the plums in a small amount of water and cook them gently until softened; at this point, the pits will slip out more easily.
Once pitted, crush the fruit with a potato masher or fork. Measure out six cups of crushed fruit into your large jam kettle – measuring after crushing ensures the right balance with the sugar and pectin.
Step 3: Cooking Plum Jam to the Perfect Set
Stir the powdered pectin into the crushed plums until it is fully dissolved. Place the pot over high heat and stir constantly, bringing the fruit mixture to a full rolling boil.
This means the surface is covered with bubbles that do not stop when stirred. Add all eight cups of sugar at once, stirring until it has completely dissolved.
Bring the mixture back to a full boil and cook it hard for one minute while stirring constantly. Remove the pot from the heat and skim off any foam that rises to the top.
If you prefer less foam, you can add about half a teaspoon of butter to the fruit as it cooks, though this step is optional.
Step 4: Filling and Sealing Jars of Plum Jam
Working quickly, ladle the hot jam into hot jars, leaving one-quarter inch of headspace at the top of each. Use a clean utensil to gently release any trapped air bubbles inside the jars.
Wipe the rims thoroughly with a damp paper towel to remove any jam that might interfere with sealing. Place the lids on the jars and screw the bands on just until fingertip-tight.
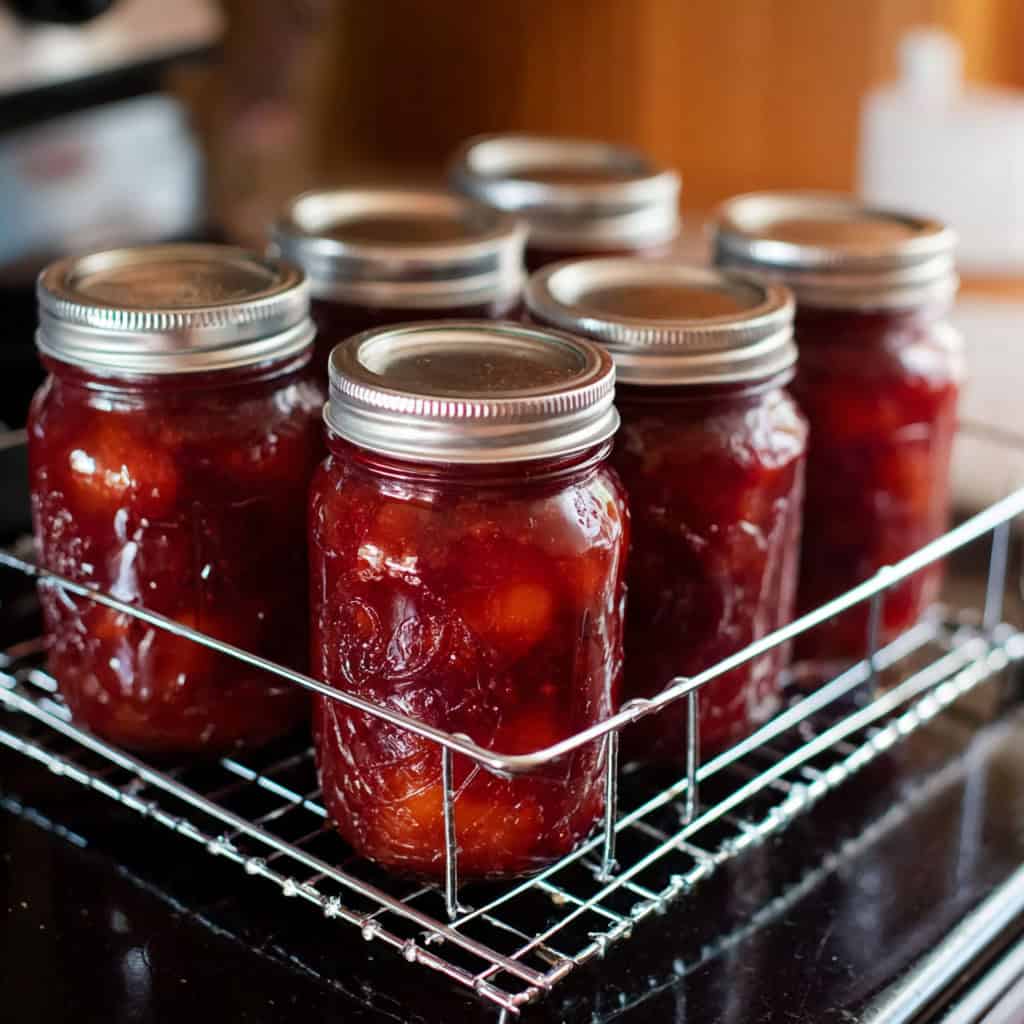
Step 5: Water Bath Canning Times for Plum Jam
Set the filled jars onto the rack inside your boiling-water canner. Make sure the jars are covered with at least one to two inches of water.
Bring the water to a rolling boil and process the jars according to your altitude:
| Jar Size | 0–1,000 ft | 1,001–6,000 ft | Above 6,000 ft |
|---|---|---|---|
| Half-pints or pints | 5 minutes | 10 minutes | 15 minutes |
When the time is complete, turn off the heat, remove the canner lid, and let the jars rest in the hot water for five minutes before lifting them out.
Place the jars on a towel-lined counter and allow them to cool undisturbed for 12 to 24 hours.
For more detailed instructions, check out our easy water bath canning guide.
How to Check Seals and Store Your Homemade Plum Jam
Canning doesn’t end when you pull the jars out of the boiling-water bath. The way you check seals and store your jars is just as important as the cooking process.
Taking a few minutes to confirm proper sealing and choosing the right storage method will keep your plum jam safe and delicious for months to come.
Checking Jar Seals After Canning
After your jars of plum jam have cooled for 12 to 24 hours, press the center of each lid with your finger. A sealed jar will have a slightly concave lid that does not move up or down.
If a lid flexes or pops, that jar did not seal correctly. Refrigerate it right away and use it within a few weeks. Properly sealed jars can be stored for long-term use.
Best Way to Store Sealed Plum Jam
For long-term storage, remove the metal bands from the jars, wipe the outsides clean, and label them with the date.
Store sealed jars in a cool, dark place, such as a pantry or cupboard away from direct sunlight. Under the right conditions, home-canned plum jam will keep its best quality for 12 to 18 months.
Refrigerator and Freezer Storage Options
If you prefer not to can, or if some jars did not seal, you can still enjoy your jam by storing it in the refrigerator or freezer.
Refrigerated jam should be used within three to four weeks. For longer storage, spoon the jam into freezer-safe containers, leaving room for expansion, and freeze for up to one year.
For more storage tips, check out our best canned food storage tips.
Plum Jam Troubles? Here's How to Fix Common Issues

Even when you follow a tested recipe, jam-making can feel unpredictable. Sometimes the set is too soft, the surface foams more than expected, or the yield isn’t what you planned.
These tips will help you troubleshoot common problems and make sure every batch of plum jam comes out just right.
Why Did My Plum Jam Turn Out Runny?
A soft set is one of the most common issues. It usually happens when the fruit, sugar, and pectin ratios aren’t exact or when the jam wasn’t boiled hard enough for that full rolling boil.
Always measure crushed plums after mashing, not by weight alone, to ensure accuracy.
If your jam still hasn’t set after 24 to 48 hours, you can reprocess it following the National Center for Home Food Preservation’s guidelines for remaking soft jams with added pectin.
How to Prevent Too Much Foam in Jam
Foam forms naturally as fruit boils with sugar. It won’t hurt the jam, but it can give jars a cloudy top layer.
To reduce foaming, add about ½ teaspoon of butter or margarine to the fruit mixture as it cooks. You can also skim foam off the surface before filling jars.
Can I Cut the Sugar in Plum Jam?
No. Sugar isn’t just for sweetness – it’s critical for the jam to gel and for safe preservation. Reducing sugar will lead to a runny product and may create unsafe conditions for storage.
If you prefer lower-sugar jams, look for tested recipes that are specifically formulated with low-sugar pectin.
Why Can’t I Double the Recipe?
Jam recipes are designed to set properly at a specific fruit-to-sugar ratio and batch size.
Doubling the recipe means the jam will take longer to reach a full boil, which often leads to poor set and changes in flavor. For best results, make multiple smaller batches instead of one oversized pot.
How Long Does Homemade Plum Jam Last?
Properly sealed jars stored in a cool, dark pantry will maintain peak quality for 12 to 18 months. Once opened, keep your jam in the refrigerator and use it within three to four weeks.
Jam can also be frozen in freezer-safe containers for up to a year if you prefer not to can.
Wrap Up Your Summer Harvest with Homemade Plum Jam

Making plum jam at home is more than just a way to save ripe fruit – it’s a way to bottle up a piece of summer you can enjoy long after the season has passed.
With just a few pounds of fruit, some sugar, and a little time in the kitchen, you’ll have nine jars of jewel-toned jam ready to brighten breakfasts, desserts, and even winter baking projects.
Homemade jam also makes a thoughtful gift and a practical pantry staple, proving that a single afternoon of canning can bring joy for months to come.
Whether you’re brand-new to canning or looking for another tried-and-true recipe to add to your rotation, plum jam is a satisfying project that rewards your effort with flavor and color you can’t buy at the store.
Have you tried making plum jam before, or do you have a favorite variation? Share your tips, experiences, or questions in the comments below – I’d love to hear how you make the most of your summer plums.
FAQs
Can I use frozen plums for jam?
Yes. Frozen plums work just as well as fresh ones. Thaw them completely before crushing, and measure the fruit after thawing to make sure you have the correct amount.
Do I need to peel plums before making jam?
No peeling required. Plum skins add flavor, texture, and rich color to the jam. They break down during cooking, so you won’t notice tough pieces in the final product.
What if I don’t have a water bath canner?
You can use a deep stockpot as long as it’s tall enough to cover jars with 1–2 inches of boiling water. Place a rack or even a folded kitchen towel at the bottom so the jars don’t sit directly on the pot’s base.
Can I make plum jam without pectin?
Not with this recipe. It’s tested for use with powdered pectin and the correct sugar ratio. If you’d like a no-pectin option, look for a tested recipe that relies on longer cooking times to gel naturally.
Can I make plum jam with less sugar?
Not with this version. Reducing sugar in a standard pectin recipe will result in runny jam and may make it unsafe for shelf storage. If you want a lower-sugar option, use a tested low-sugar plum jam recipe with low- or no-sugar pectin.