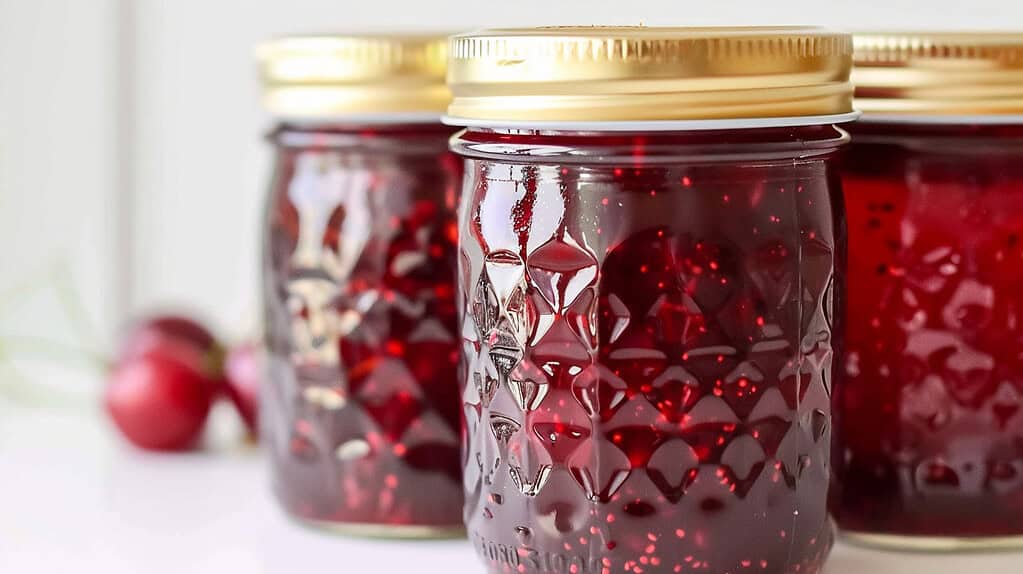
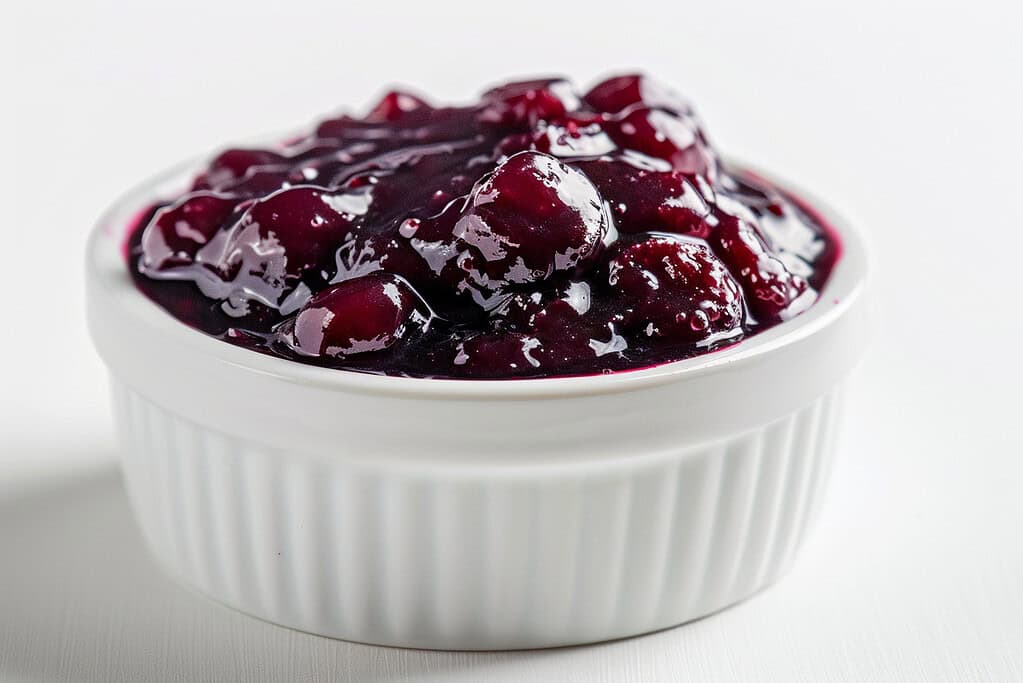
If you’ve ever wanted to capture the flavor of cherries in a jar, this recipe is the perfect place to start.
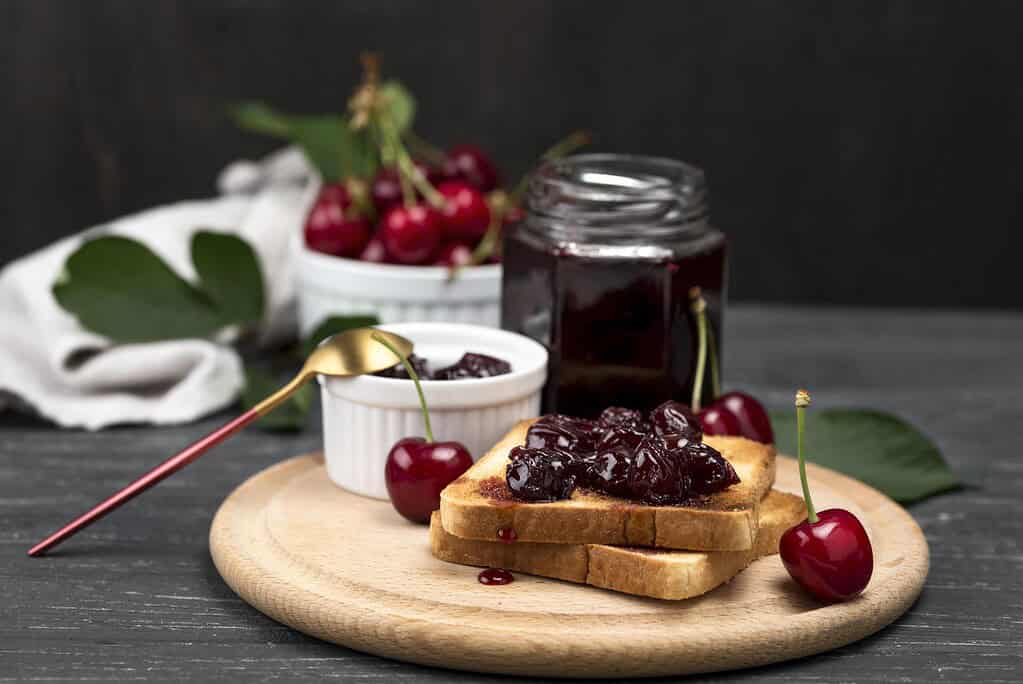
This version is smooth, spreadable, and just the right balance of tart and sweet – perfect for spreading on warm toast, spooning over yogurt, or even swirling into cake batter.
Making jam at home might sound complicated, but it doesn’t have to be.
With a handful of ingredients and a simple cooking process, you can turn fresh cherries into jars of jam that brighten breakfasts, elevate desserts, or make thoughtful homemade gifts.
Whether you’re stocking your pantry or trying jam-making for the first time, this recipe is a simple and satisfying way to get started.
Why This Recipe Works
This cherry jam is made using a tested formula from the National Center for Home Food Preservation (NCHFP), so you can trust that it will set properly and store safely.
Unlike no-pectin versions that rely only on natural fruit pectin, this recipe uses powdered pectin to guarantee a consistent gel.
The sugar in this recipe not only sweetens the fruit but also plays an essential role in preservation and texture.
Combined with the pectin and proper boiling-water canning, it ensures the jam is shelf-stable for up to a year. The result is a classic jam texture – smooth, spreadable, and bursting with cherry flavor.
Looking for more ways to fill your pantry? This recipe is included in our Jam Series. Take a peek at the others here.
- Easy Strawberry Jam Recipe (With Pectin)
- Small-Batch Blueberry Jam Recipe
- How to Make Blackberry Jam
- Homemade Peach Jam Recipe with Powdered Pectin
- Easy Raspberry Jam Recipe Without Pectin
- How to Make Strawberry Rhubarb Jam
- How to Make Homemade Apricot Jam
- Homemade Plum Jam Recipe
- Homemade Apple Jam Recipe
Cherry Jam Ingredients
You’ll only need three simple ingredients to make this cherry jam:
- 4 cups cherries (about 3 pounds or 2 quart boxes sour cherries), pitted and finely chopped or ground
- 1 package powdered pectin
- 5 cups granulated sugar
Yield: About 6 half-pint jars
Equipment Needed for Cherry Jam
Having the right tools on hand will make the jam-making process much smoother. Here’s what you’ll need:
- Large, heavy-bottomed pot – for cooking the cherries and boiling the jam evenly without scorching.
- Canning jars (half-pint or pint) – glass jars made for home canning, along with matching two-piece metal lids and bands.
- Boiling-water canner – or a deep stockpot with a canning rack to safely process the jars for shelf storage.
- Jar lifter and canning funnel – to safely fill and handle hot jars.
- Measuring cups and spoons – accuracy matters in jam-making.
- Clean damp cloth or paper towels – for wiping jar rims before sealing.
Tip: If this is your first time canning, review a basic guide to boiling-water canners before you begin. It will walk you through jar sterilization, water depth, and processing steps so you feel confident and safe.
6 Simple Steps to Make Cherry Jam
Making cherry jam at home is a straightforward process when you follow the tested method.
From preparing your jars to processing them in a boiling-water canner, these six steps will walk you through everything you need to do to create a safe, delicious jam that’s ready for your pantry.
Step 1: Sterilize the Jars and Lids
Before you begin cooking, take time to properly prepare your equipment. Wash the canning jars, lids, and bands in hot, soapy water and rinse well.
Jars should be sterilized by boiling them in water for 10 minutes (add 1 extra minute for each additional 1,000 feet of elevation).
Keep the jars hot until they’re ready to be filled. Prepare the two-piece canning lids according to the manufacturer’s directions.
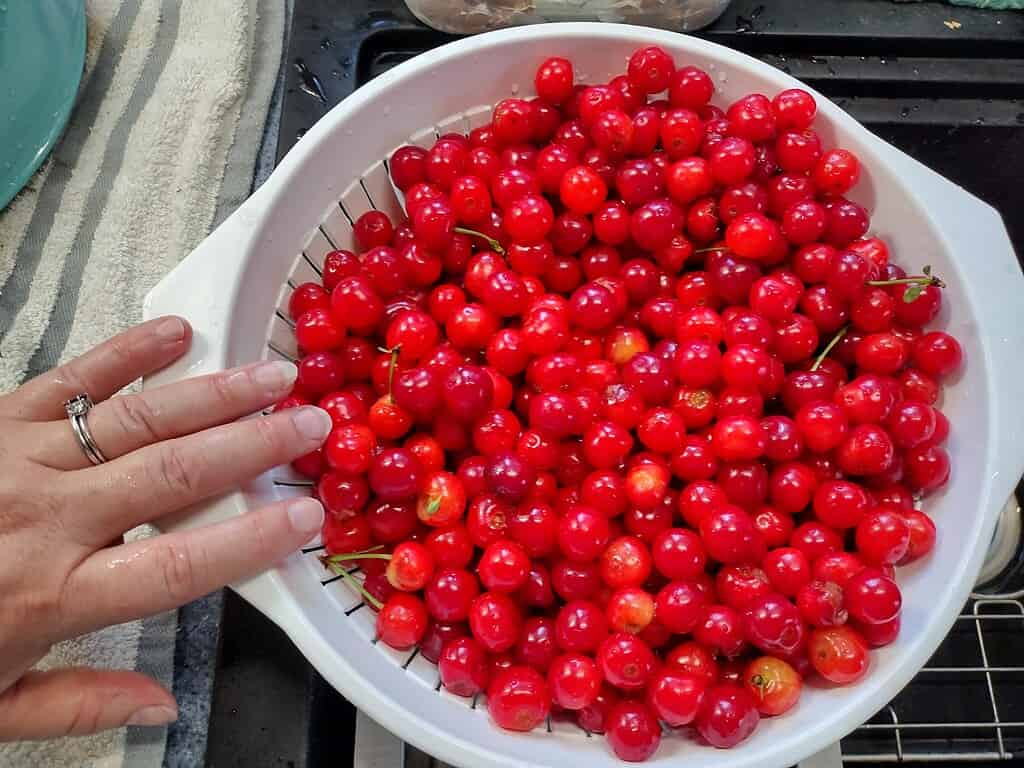
Step 2: Prepare the Fruit
Select fully ripe cherries for the best flavor and texture. Wash them thoroughly, then remove stems and pits.
Grind the cherries or chop them very finely so the jam will cook evenly and have a smooth consistency. Measure exactly 4 cups of prepared fruit into a large, heavy-bottomed kettle.
Step 3: Cook the Jam
Add one package of powdered pectin to the prepared cherries in the kettle and stir well to combine.
Place the kettle on high heat and bring the mixture quickly to a full rolling boil, stirring constantly to prevent scorching.
A rolling boil means the mixture is bubbling vigorously across the entire surface and does not stop bubbling when stirred. At this point, add 5 cups of sugar all at once.
Continue stirring and return the jam to a full boil. Boil hard for exactly 1 minute while stirring constantly, then remove the kettle from the heat and skim off any foam that has risen to the top.
Step 4: Fill the Jars
Working quickly while the jam is still hot, ladle it into hot, sterile jars. Leave ¼-inch of headspace at the top of each jar to allow for expansion during processing.
Wipe the rims clean with a damp paper towel to ensure a good seal. Place the two-piece lids on the jars and adjust the bands until they are fingertip-tight.
Step 5: Process in a Boiling-Water Canner
Place the filled jars onto the rack in your boiling-water canner. Be sure the jars are covered with at least 1 to 2 inches of water.
Cover the canner, return the water to a rolling boil, and begin timing once the boil has resumed. Process the jars for the time recommended in the table below, adjusting for your altitude.
| Style of Pack | Jar Size | 0–1,000 ft | 1,001–6,000 ft | Above 6,000 ft |
|---|---|---|---|---|
| Hot | Half-pints or Pints | 5 minutes | 10 minutes | 15 minutes |
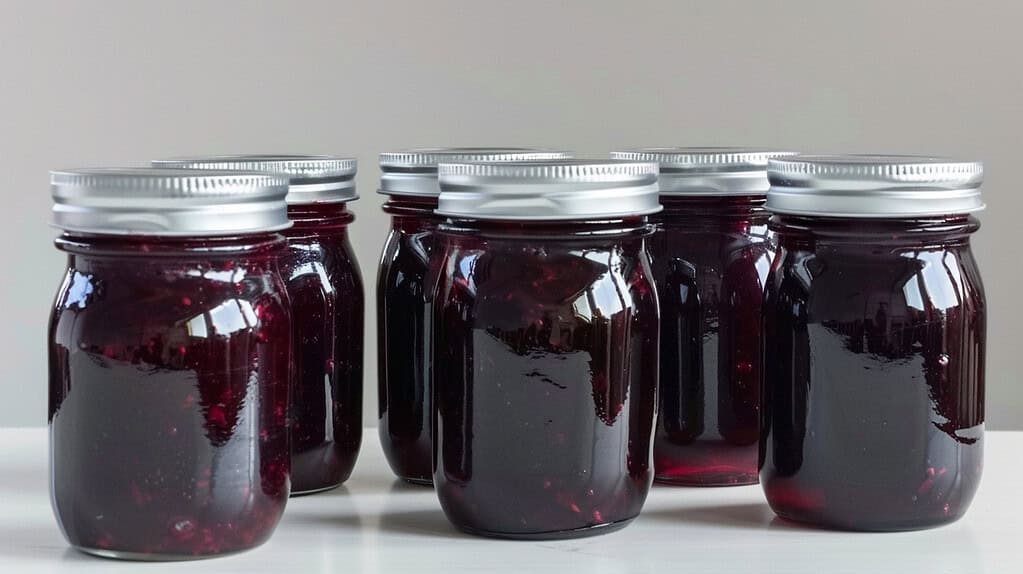
Step 6: Cool and Store
When the processing time is complete, carefully remove the jars from the canner using a jar lifter. Place them upright on a towel, leaving space between jars to allow for air circulation.
Let the jars cool, undisturbed, for 12 to 24 hours. Once cool, check the seals by pressing the center of each lid – it should be concave and should not flex up and down.
Label the jars with the date and store them in a cool, dark place. Properly processed jam keeps its best quality for up to one year.
How to Store Cherry Jam for Long-Lasting Freshness
Once your jars are sealed and cooled, how you store them will determine how long they keep their quality and flavor. Following safe canning guidelines ensures your jam stays fresh and safe to eat.
For more guidance on how to store your preserves safely, check out our best canned food storage tips.
Pantry Storage
Properly processed and sealed jars can be stored in a cool, dark place such as a pantry or cupboard.
For the best quality, enjoy your cherry jam within 1 year. After that, the flavor and color may begin to fade, even if the seal remains intact.
Refrigerator Storage
After opening a jar, store it in the refrigerator. Opened jam will keep its best quality for about 1 month. Always use a clean spoon to dip into the jar to avoid introducing bacteria or mold.
Freezer Storage
If you prefer not to can, cherry jam can also be stored in freezer-safe containers.
Freeze for up to 1 year, then thaw in the refrigerator when ready to use. Keep in mind that freezing may slightly change the texture.
Signs of Spoilage
Even with proper canning (check out our helpful canning for beginners), it’s important to check each jar before eating. Discard the jam if you notice:
- Mold on the surface
- An off smell
- Discoloration or unusual texture
- A lid that has popped or is not tightly sealed
When in doubt, throw it out. Safety always comes first.
Pro Tips for Making Cherry Jam
Here are a few helpful tips to guide you, along with common issues and how to fix them.
- Measure carefully: Jam recipes depend on precise ratios of fruit, sugar, and pectin. Even small changes can affect how the jam sets.
- Stir constantly: Especially after adding the sugar, keep stirring to prevent scorching and ensure an even boil.
- Don’t reduce the sugar: Sugar isn’t just for sweetness – it’s essential for gel formation, color, and preservation.
- Work quickly: Fill and seal jars while the jam is hot so you don’t lose set or risk unsafe storage.
- Avoid doubling the recipe: Larger batches don’t always gel evenly. Make multiple small batches instead.
Cherry Jam Not Quite Right? Here’s How to Fix Common Problems
Even when you follow the recipe closely, cherry jam doesn’t always turn out exactly as expected.
Below are some of the most frequent cherry jam problems, along with practical solutions to help you get it right or repurpose it deliciously.
Jam is too runny
- Possible causes: The jam wasn’t boiled long enough at a full rolling boil, or the sugar-to-fruit ratio wasn’t exact.
- Fix: If jars are still unsealed, return the jam to the pot, bring it back to a full boil, and cook for 1 more minute. If jars are already sealed, use the softer jam as a syrup for pancakes, waffles, or yogurt – it’s still delicious.
Jam is too stiff or thick
- Possible causes: The jam boiled too long or cooked at too high a heat.
- Fix: Stir in a small amount of hot water after opening a jar to loosen the consistency.
Jars didn’t seal
- Possible causes: Rim wasn’t wiped clean, headspace wasn’t correct, or the lids weren’t applied properly.
- Fix: Refrigerate any unsealed jars and use within a month. Do not attempt to reprocess unless you return the jam to the pot, reheat thoroughly, and use new lids.
Foam on the jam
- Possible cause: Natural foaming during boiling.
- Fix: Skim off foam before filling jars, or stir in a tiny pat of butter during cooking to reduce foam.
Make Your Own Cherry Jam Today
With just a few ingredients and six simple steps, you can turn fresh cherries into jars of homemade jam that are safe, shelf-stable, and bursting with flavor.
By following the tested method exactly, you’ll enjoy a smooth, perfectly set spread that keeps well in your pantry for up to a year.
There’s nothing more satisfying than opening a jar of jam you made yourself and sharing it at the table with family or friends.
Whether you’re brand new to canning or adding another recipe to your collection, cherry jam is a rewarding project that tastes like summer in every spoonful.
Have you tried making cherry jam before? Or are you planning to give this recipe a go soon? Comment below and share your experience – I’d love to hear how it turns out for you!
Frequently Asked Questions
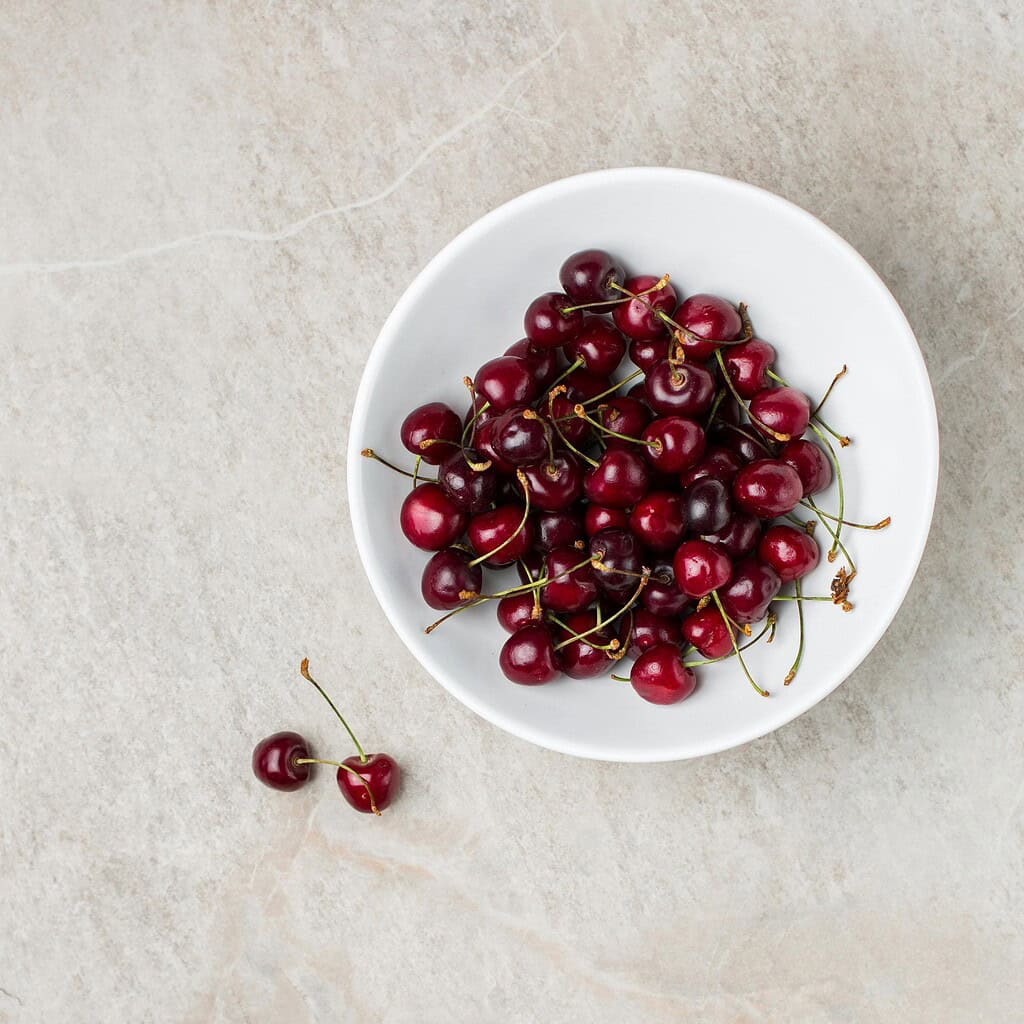
Can I use sweet cherries instead of sour cherries?
Yes, you can, but sour cherries are traditional because they provide the best balance of tartness and flavor. Sweet cherries will make a milder jam. Always use fully ripe fruit for best results.
Can I reduce the sugar in this recipe?
No. The sugar amount is essential for both safety and proper gel formation. Reducing the sugar may prevent the jam from setting and could make it unsafe for long-term storage.
Can I double this recipe?
No. Jam should always be made in small batches. Larger amounts may not cook evenly, which can prevent the jam from gelling properly and affect safe preservation.
Do I have to sterilize the jars?
Yes, sterilizing is recommended because this recipe’s processing time is 5–15 minutes depending on altitude. Jars should be boiled for 10 minutes (adding 1 extra minute for every 1,000 feet above sea level) before filling.
Can I freeze cherry jam instead of canning it?
Yes. If you prefer not to process in a boiling-water canner, you may freeze the jam in freezer-safe containers. It will keep for up to 1 year in the freezer. Thaw in the refrigerator before use.