If you’re new to canning, you might imagine rows of special equipment and complicated steps.
The truth is, water bath canning is one of the simplest, most beginner-friendly ways to preserve food at home.
With just a sturdy pot, canning jars, and a little patience, you can safely put up jams, jellies, pickles, and even tomatoes (with added acid).
This guide will walk you through the essential tools, the correct process, and the safety rules backed by the National Center for Home Food Preservation (NCHFP).
By the end, you’ll know exactly how to start canning with confidence.
What Is Water Bath Canning?

Water bath canning (also called boiling-water canning) is a method used to safely preserve high-acid foods.
In this process, filled jars are placed in a pot of boiling water, completely covered by water, and processed at a full rolling boil for a specific amount of time.
Here’s what happens during processing:
- Heat kills spoilage organisms like molds, yeasts, and some bacteria.
- Air is driven out of the jars, helping form a vacuum seal as the jars cool.
- Once sealed, the jars are shelf-stable and can be stored safely for up to a year.
What It’s For
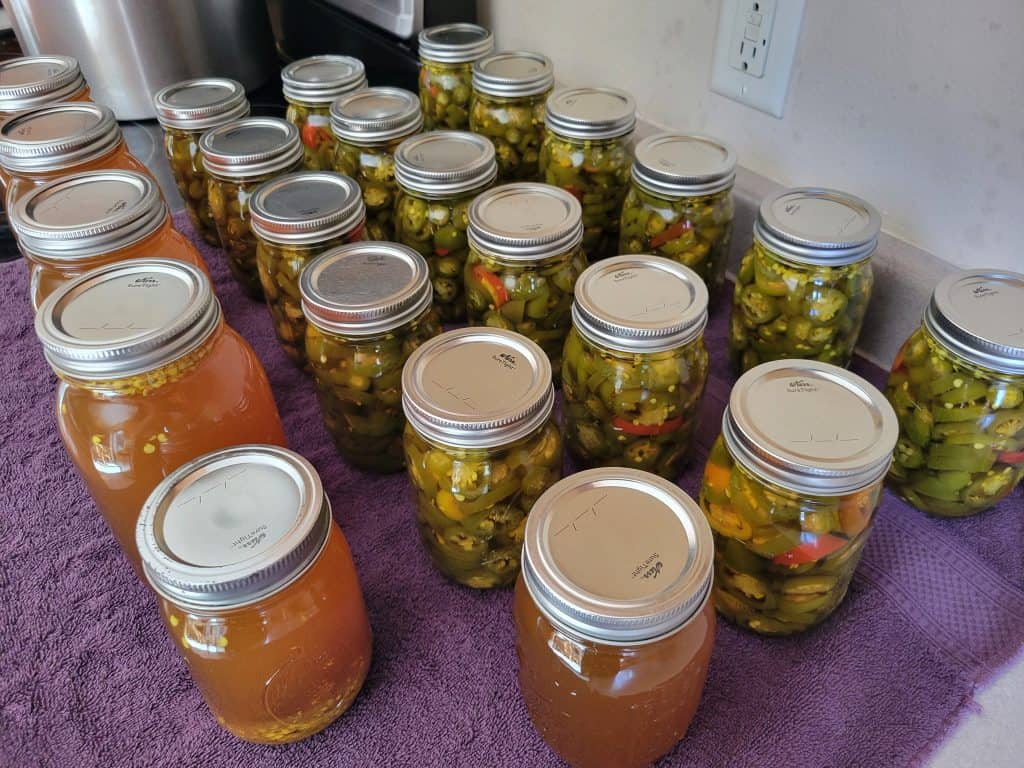
Water bath canning is suitable for foods with a pH of 4.6 or lower (naturally acidic or properly acidified). These include:
- Fruits, jams, jellies, fruit butters, marmalades, and preserves
- Pickles, relishes, chutneys, and other vinegar-based recipes
- Tomato products with added bottled lemon juice or citric acid
What It’s Not For
Low-acid foods – such as meats, seafood, plain vegetables, beans, and soups – cannot be canned in a boiling-water canner. These require a pressure canner to reach the high temperatures needed to destroy Clostridium botulinum spores.
Need more info on home canning?
I’ve put together a whole series of step-by-step guides to help you fill your shelves:
- Easy Homemade Applesauce for Canning
- How to Can Tomatoes at Home
- How to Can Green Beans at Home
- How to Can Pears the Easy Way
- How to Can Carrots (Safely and Simply with a Pressure Canner)
- How to Can Dill Pickles at Home
- How to Can Apple Pie Filling
- How to Can Potatoes the Right Way
- How to Can Peaches in Just 7 Simple Steps
Who Should Use Water Bath Canning (and Who Shouldn’t)
Water bath canning is safe and recommended for anyone who wants to preserve foods that are:
- High in acid (pH 4.6 or below) – such as most fruits and fruit products
- Acidified with vinegar or lemon juice – like pickles, relishes, chutneys, and tomato products that include added bottled lemon juice or citric acid
- Tested, research-based recipes – always from trusted sources such as the National Center for Home Food Preservation (NCHFP) or USDA canning guides
Looking for more ideas? Check out these water bath canning recipes.
Good Candidates for Water Bath Canning
- Beginners looking for an approachable, affordable method
- Home gardeners with extra fruit or tomatoes
- Families who enjoy jams, jellies, pickles, or relishes
- Anyone who values shelf-stable, homemade pantry staples
When Not to Use It
Do not use water bath canning for:
- Plain vegetables (green beans, corn, peas, carrots, etc.)
- Meat, poultry, seafood
- Soups, chili, beans, or mixed-ingredient dishes
These foods are low in acid and must be processed in a pressure canner to reach the necessary temperature (240°F / 116°C) to destroy Clostridium botulinum spores.
Using a boiling-water canner for them is unsafe – even if the jars seal.
Equipment You’ll Need for Water Bath Canning
One of the reasons water bath canning is beginner-friendly is that you don’t need a lot of specialized equipment.
But the tools you do use must meet certain safety standards to ensure your food is processed correctly and your jars seal properly.
Essential Tools
- Boiling-Water Canner or Deep Stockpot with Lid
- Must be tall enough so jars can be covered with 1–2 inches of boiling water during processing.
- Needs a tight-fitting lid to maintain a steady boil.
- Canning Rack
- Sits at the bottom of the pot to keep jars from touching direct heat and to allow boiling water to circulate evenly.
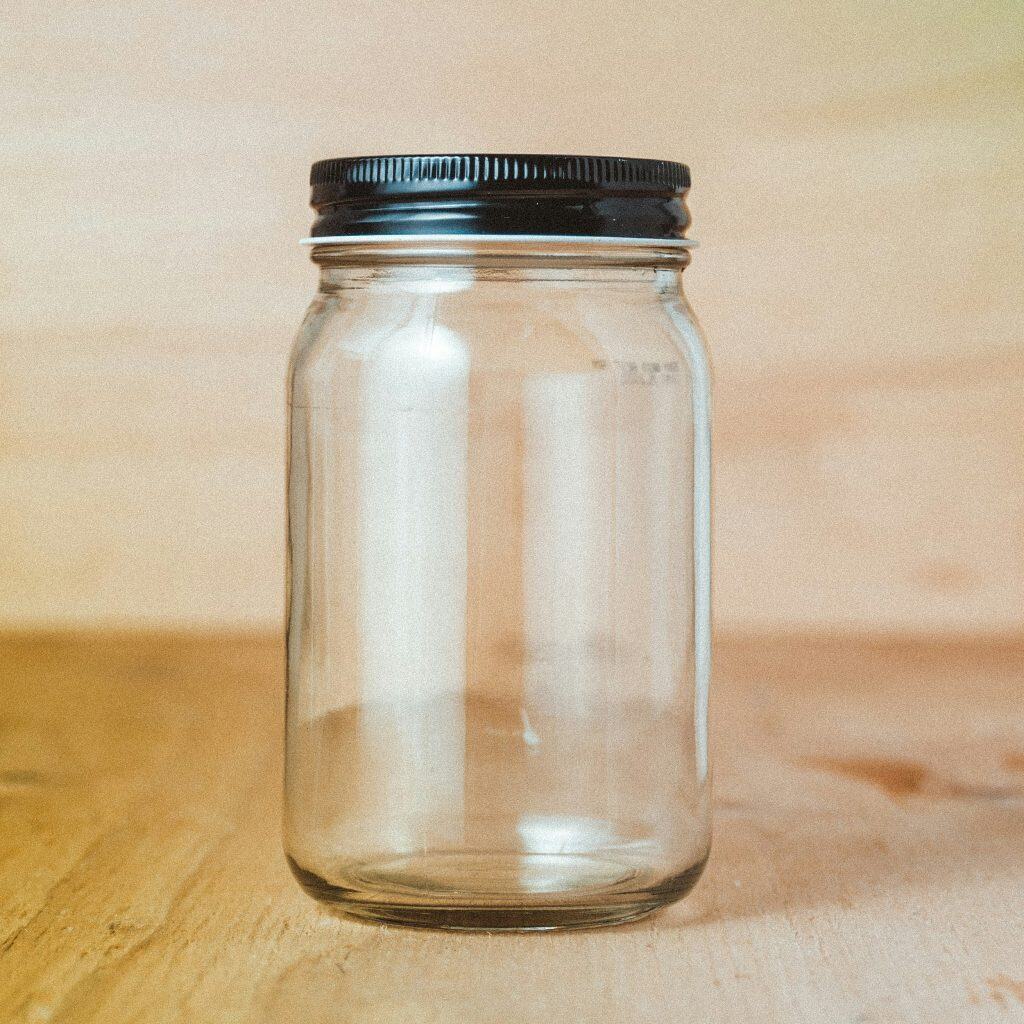
- Mason-Type Jars
- Brands like Ball or Kerr are tested for repeated high-heat use.
- Avoid decorative jars or recycled food jars – they can crack or fail to seal.
- Two-Piece Lids
- Each jar requires a flat metal lid with sealing compound and a reusable screw band.
- Flat metal lids are single-use only – they must be replaced each time you can.
- Jar Lifter
- Specially designed to grip hot jars securely when lowering into or lifting out of boiling water.
- Canning Funnel and Bubble Remover
- A wide-mouth funnel prevents spills when filling jars.
- A non-metallic spatula or bubble freer helps release trapped air.
- Clean Towels
- For wiping rims before sealing and for setting jars on after processing.
Acceptable Substitutes
- A pressure canner may be used as a boiling-water canner if it is deep enough. Leave the vent open or the lid unfastened so it never builds pressure.
- If you don’t have a canning rack, you may improvise with a round cake cooling rack or bands tied together – so long as jars are kept off direct contact with the pot bottom.
What Not to Use
- Reused flat metal lids – seals are only reliable once.
- Improvised grips like kitchen tongs with rubber bands – they aren’t secure enough.
- Thin decorative jars or jars not manufactured for canning – they may shatter.
Special Situations: Stovetops and Steam Canners
Not every kitchen setup is the same, and sometimes a standard boiling-water canner won’t work with the stove you have. Here’s what you need to know if you’re working with special equipment.
Using a Smooth Glass or Ceramic Stovetop
- Some canners are too wide or heavy for glass cooktops. The weight can crack the surface, or the burner may cycle off during long processing times.
- Always check your stove manufacturer’s instructions before canning.
- As a rule, the canner should not extend more than 2 inches beyond the burner diameter.
- If your range isn’t approved for canning, consider using an approved portable burner or switching to a lighter canner such as a steam canner.
Steam Canners (Atmospheric Steam Canners)
Steam canners are a lighter, faster alternative to boiling-water canners – but only if you follow strict rules:
- Only for high-acid foods (pH 4.6 or lower) or acidified foods, never low-acid.
- Processing times must be 45 minutes or less (including altitude adjustments).
- Always follow the same processing times you would use for a boiling-water canner.
- Begin timing only after steam escapes steadily from the vent, showing the canner has reached boiling-water temperature.
- The lid must stay closed for the entire process – you cannot add water midway.
- As with water bath canning, allow jars to cool in still air for 12–24 hours after processing.
Pressure Canner as a Boiling-Water Canner
A pressure canner can double as a boiling-water canner if it’s tall enough. Just:
- Leave the vent open or keep the lid unfastened.
- Never let it build pressure.
Preparation Before You Begin

Good preparation is the foundation of safe canning. Taking a few extra minutes to ready your jars, lids, and workspace helps prevent broken glass, spoiled food, or failed seals.
Preparing the Jars
- Wash jars in hot, soapy water and rinse well.
- Keep jars hot until filling – in the canner with hot water, in a sink of hot water, or in a warm oven. This prevents breakage when hot food is added.
- Do you need to sterilize?
- If your filled-jar processing time is 10 minutes or more (at your altitude), you do not need to pre-sterilize jars.
- If the process time is less than 10 minutes, sterilize empty jars first by boiling them for 10 minutes at 0–1,000 feet. Add 1 extra minute for every 1,000 feet above sea level.
Preparing the Lids
- Follow the manufacturer’s directions.
- Many modern lids (like Ball and Kerr) do not require preheating.
- Some brands still recommend warming in hot (not boiling) water to soften the sealing compound.
- Always wash lids and bands in hot, soapy water and rinse well before use.
Keeping Things Hot
Water bath canning relies on moving hot food into hot jars and then into hot water. This prevents thermal shock and helps achieve a good vacuum seal.
- Keep jars warm until ready to fill.
- Have your canner water preheated to the right range:
- 140°F for raw-packed foods
- 180°F for hot-packed foods
8 Step-by-Step Instructions for Water Bath Canning

Once your jars and food are ready, it’s time to process them in the boiling-water canner. This part of the method is where the preservation truly happens, so it’s important to follow each step carefully.
Step 1: Fill the Canner with Water
Before loading the jars, fill your canner with enough water so that once jars are inside, they will be covered by at least one inch of water (or two inches if the process time is over 30 minutes).
Place the rack inside the pot, and preheat the water to 140°F if you are raw-packing or 180°F if you are hot-packing.
Step 2: Load the Jars
Using a jar lifter, carefully lower each filled jar into the canner and set it upright on the rack.
Jars should not touch one another, but they can be close enough that water circulates freely around them. Be sure they remain level and upright – never tilt jars when lowering them in.
Step 3: Cover the Canner and Bring to a Boil
Once all jars are in place, put the lid on the canner securely. Heat the water to a vigorous, rolling boil. Only once the water reaches this steady boil should you begin timing the process.
Step 4: Maintain a Rolling Boil for the Entire Time
The water must stay at a constant rolling boil for the entire processing time given in your tested recipe.
If the water ever stops boiling, you must bring it back to a full boil and restart the processing time from the beginning.
Processing time varies depending on the type of food, the jar size, and your altitude.
Step 5: Adjust for Altitude
If you live above 1,000 feet in elevation, you will need to adjust your processing time to ensure the food is safe.
The higher you live, the longer it takes to reach effective temperatures. Always follow the altitude adjustment tables in your trusted recipe from NCHFP or USDA.
Step 6: Turn Off Heat and Let Jars Rest
When the full processing time has finished, turn off the burner and remove the canner lid. Allow the jars to rest in the hot water for five minutes.
This short resting period helps stabilize the pressure inside the jars and reduces the chance of liquid loss (called siphoning) when they are removed.
Step 7: Remove Jars Carefully
After resting, lift jars straight up and out of the canner using a jar lifter. Do not tilt the jars, even if water pools on top of the lids, as tilting may interfere with sealing.
Place the jars upright on a clean towel or cooling rack.
Step 8: Cool and Wait for Seals
Allow the jars to cool undisturbed at room temperature for 12 to 24 hours.
Do not press the lids, retighten bands, or move the jars during this time – the vacuum seal is forming as the food cools, and disturbing the jars may cause seals to fail.
Cooling, Seal Checks, and Handling Unsealed Jars

The work isn’t finished when the jars come out of the canner. How you cool and check them makes a big difference in safety and shelf life.
Cooling Jars Properly
After removing jars from the canner, place them upright on a clean towel or cooling rack in a draft-free spot. Leave at least an inch of space between jars so air can circulate around them.
Allow the jars to cool naturally for 12 to 24 hours. Do not press down on the lids, move the jars around, or tighten screw bands while they are cooling.
These actions can interfere with the vacuum seal as it forms.
Checking the Seals
Once the jars have cooled, it’s time to check that each one sealed properly. Press gently on the center of the lid with your fingertip. A sealed lid will be concave and will not flex up and down.
Another way to test is to remove the screw band and gently lift the jar by the lid alone – if the lid holds, the seal is secure.
Handling Unsealed Jars
If a jar did not seal, you have a few safe options. You can reprocess the food in a clean jar with a new lid within 24 hours by repeating the entire canning process.
If you don’t want to reprocess, you can refrigerate the unsealed jar and use the contents within a week, or you can freeze it for longer storage.
Do not attempt to simply replace the lid or reseal the jar without full reprocessing – this does not make the food safe.
Removing Screw Bands for Storage
Once you’ve confirmed the seals, remove the screw bands before storing the jars. Leaving the bands on can trap moisture underneath, which may lead to rusting or even hidden spoilage.
Wash the jars if any residue is left, then label them with the food type and the date.
Storage and Labeling

Once your jars are sealed and prepared, the way you store them plays an important role in maintaining quality and safety.
Storage Conditions
Keep home-canned foods in a cool, dark, and dry place. The ideal temperature range is 50–70°F (10–21°C).
Avoid direct sunlight, high humidity, or spots near stoves or furnaces where jars may be exposed to heat.
Do not store jars in areas that are damp, such as basements prone to moisture, as this can lead to rust and hidden spoilage.
Shelf Life
For the best flavor, color, and texture, plan to use home-canned foods within one year.
Jars may remain safe beyond that if they were processed correctly and the seals are intact, but quality will begin to decline. Always inspect jars before use, regardless of age.
Labeling Jars
After removing screw bands and washing jars, label each jar clearly with:
- What’s inside (e.g., “Strawberry Jam”)
- The date of processing
- The processing method (optional but helpful, e.g., “Boiling Water Bath, ½ pint, 10 min”)
Labels help you rotate your pantry efficiently – always use the oldest jars first.
Stacking Jars
If space is limited and jars must be stacked, keep it to two layers maximum, with a sturdy barrier such as cardboard between layers. This prevents undue pressure on the lids, which could break the seals.
Mandatory Tomato Acidification
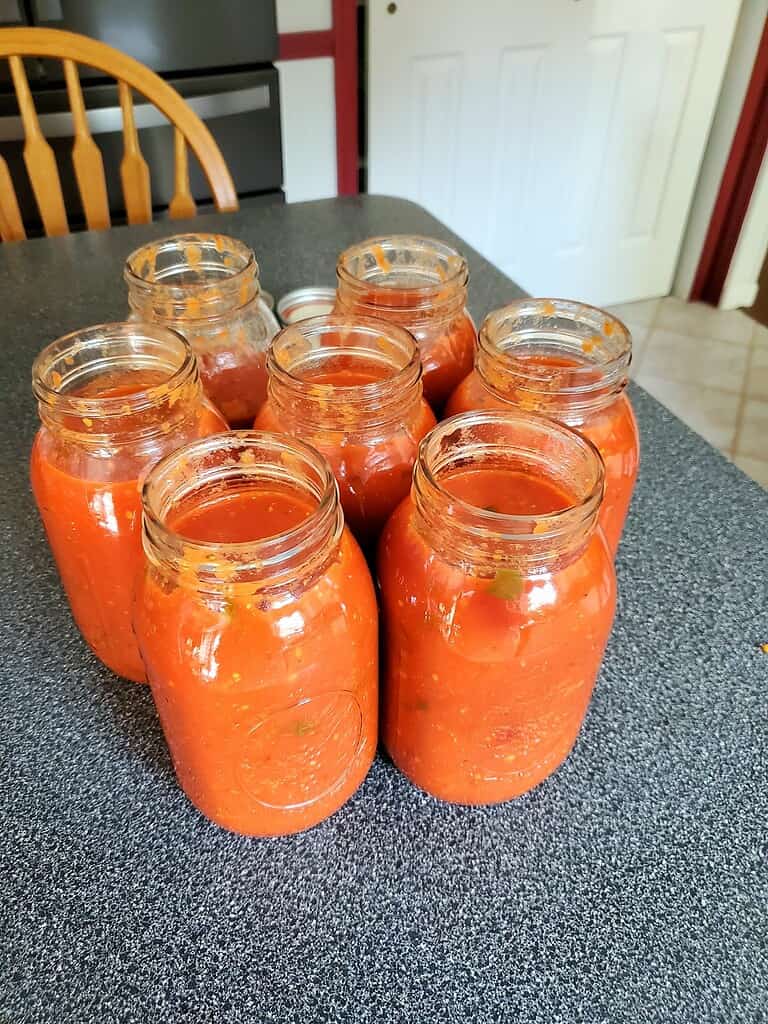
Tomatoes sit in a “borderline” category when it comes to acidity. While some tomato varieties are acidic enough on their own, many are not consistently below the safe threshold.
Because of this, every jar of tomatoes or tomato product must be acidified before processing in a boiling-water canner. Skipping this step is not safe.
How to Acidify Tomatoes
For each jar, add one of the following directly to the tomatoes before applying the lid:
- Bottled lemon juice
- 2 tablespoons per quart
- 1 tablespoon per pint
- Citric acid
- ½ teaspoon per quart
- ¼ teaspoon per pint
- Vinegar (5% acidity)
- 4 tablespoons per quart
- 2 tablespoons per pint
- (Note: vinegar may cause noticeable flavor changes and is less commonly used.)
Only bottled lemon juice or food-grade citric acid should be used, since their acidity is consistent. Fresh lemon juice is not reliable for safe acidification.
Tomato Products That Require Acidification
This rule applies to:
- Whole, halved, or crushed tomatoes
- Tomato juice
- Tomato purée or sauce
Even if you plan to add herbs, vegetables, or seasonings, acidification is still required.
Additional Salt or Sugar
Salt can be added for flavor and sugar for taste balance, but neither plays a role in safety. Acidification is always required regardless of whether you add salt or sugar.
Altitude Adjustments
Water boils at a lower temperature as elevation increases, which means jars processed at higher altitudes do not get as hot as they do at sea level.
To ensure food safety, you must adjust your processing times if you live above 1,000 feet.
If you don’t increase the processing time at higher altitudes, your food may not reach a high enough temperature to kill harmful microorganisms. This can result in spoiled jars – or, worse, unsafe food.
How to Adjust Processing Times
Always follow the tested recipe you are using and check the altitude adjustment chart provided with it.
In general, as altitude goes up, you add extra minutes to the boiling-water canning time.
The exact number of minutes depends on both your altitude range and the recipe.
For example:
- A recipe that calls for 10 minutes of processing at 0–1,000 feet may require 15 minutes at 3,000–6,000 feet.
- Longer original times (like 30 minutes or more) will also have proportionally larger adjustments.
Finding Your Altitude
You can find your elevation by checking a local topographic map, GPS, or online city information.
Knowing your altitude before you begin canning is essential for following the correct processing time.
Key Rule: Never guess. Always use the altitude-adjusted time from a tested, research-based recipe.
Unsafe Methods to Avoid

When it comes to canning, not every method you hear about is safe.
Some shortcuts and “old-time” tricks simply don’t heat food to the necessary temperature to destroy harmful microorganisms. Even if the jars seal, these methods can leave food unsafe to eat.
Oven Canning
Heating filled jars in an oven does not ensure even or sufficient heat penetration. The dry heat of an oven is very different from the moist heat of boiling water, and jars may also shatter from thermal stress.
Dishwasher or Microwave “Canning”
Running jars through a dishwasher cycle or microwaving filled jars does not kill harmful bacteria or create a safe vacuum seal. These methods are not valid preservation techniques.
Open-Kettle Canning
This old method involves pouring hot food into jars, sealing them, and letting them sit without further processing.
While jars may appear to seal, the food inside is not adequately heated to destroy dangerous microorganisms.
Canning in Small Appliances (Multi-Cookers, Instant Pots, Air Fryers)
Even when marketed with “canning” buttons, small appliances do not maintain consistent, tested heat levels for safe canning. They cannot be relied upon for either water bath or pressure canning.
Flipping Jars Upside Down
Some people still recommend inverting jars of hot food and relying on heat from the contents to seal the lids. This does not create a safe vacuum, and contamination risks remain.
Troubleshooting & Common Problems

Even when you follow instructions carefully, small issues can come up during canning.
Most are minor and don’t affect safety, but it’s important to know which problems are harmless and which mean the food shouldn’t be kept.
Liquid Loss (Siphoning)
Sometimes liquid seeps out of jars during processing.
This often happens if the jars were not given the 5-minute rest at the end of boiling, if the boil was too vigorous, or if jars were tilted when removed.
As long as the jars are sealed and enough liquid remains to cover the food, they are still safe to store. If food is left exposed above the liquid, use those jars sooner for best quality.
Floating Fruit
Fruits sometimes rise to the top of jars, leaving syrup at the bottom. This usually happens when fruit is not packed tightly enough or when raw fruit is used instead of hot-packed.
The food is safe, but quality and appearance may be uneven.
Gently inverting sealed jars once or twice during the cooling stage is not safe – simply shake lightly before serving, or accept the uneven distribution.
Cloudy Pickling Brine
A cloudy brine may come from minerals in hard water or from using table salt instead of pickling salt. If the jars are sealed and the recipe was followed, the food is safe.
However, if the brine looks slimy or the jar shows signs of spoilage (gassing, bulging lids, or off-odors), discard it.
Jam or Jelly Didn’t Set
Soft or runny jams are common for beginners. This does not affect safety if the jars were processed correctly.
Sometimes gels firm up after a few days. If not, the jam can be enjoyed as a syrup, or it can be remade using proper directions for reprocessing with added pectin.
Buckled Lids
A lid that buckles upward or downward during cooling may be a sign that the band was overtightened or that air could not vent properly.
If the jar sealed and shows no other signs of spoilage, it is still safe to use. For future batches, remember to tighten bands only fingertip-tight.
Failed Seals
If a lid does not seal after 12–24 hours, the jar should not be stored on the shelf.
You may reprocess the contents within 24 hours using a clean jar and new lid, or refrigerate and use within a week. Freezing is also an option for longer storage.
Get Started with Confidence
Water bath canning may feel like a big project the first time you try it, but it quickly becomes a simple, reliable routine.
With the right equipment, careful preparation, and safe, tested recipes, you can stock your shelves with jams, pickles, and tomato products you know are safe for your family.
Remember to always:
- Use only high-acid or properly acidified foods
- Adjust processing times for altitude
- Follow the tested directions step by step, without substitutions
- Store jars properly and check seals before use
Every batch teaches you something new, and before long, you’ll find yourself moving through the process with confidence.
The satisfaction of lining up jars of food you’ve prepared yourself is worth the effort – one of the simplest ways to bring security, flavor, and tradition into your home.
Have you tried water bath canning before, or are you just getting started? Share your experiences, questions, or beginner tips in the comments below – I’d love to hear from you!
FAQs
Can I reuse jars and lids for canning?
Yes, you can reuse Mason-type glass jars as long as they are free of cracks, chips, or nicks around the rim. The metal screw bands can also be reused. However, flat metal lids are designed for one-time use only. For each new batch, you’ll need fresh lids to ensure a reliable seal.
What foods should not be canned using a water bath?
Low-acid foods such as meat, poultry, seafood, plain vegetables, beans, and soups should never be processed in a boiling-water canner. These foods require a pressure canner to reach a high enough temperature for safety.
How do I adjust for altitude?
If you live above 1,000 feet, you must increase processing times to account for the lower boiling temperature at higher elevations. The amount of extra time depends on your altitude and the recipe. Always use the tested altitude-adjusted times provided in safe canning instructions – never guess.
What should I do if my jam didn’t set properly?
A soft or runny jam is not unsafe if the jars were processed correctly. Sometimes the gel firms up after sitting for a few days. If it remains runny, you can still enjoy it as a syrup or remake it using tested reprocessing directions with additional pectin.
What happens if a jar doesn’t seal?
If a jar has not sealed after 12–24 hours, it should not be stored on the shelf. You may reprocess the food within 24 hours using a clean jar and new lid, or you can refrigerate the jar and use the contents within a week. Freezing is also an option for longer storage.
How long do home-canned goods last?
For the best quality, use home-canned foods within one year. Beyond that, jars may still be safe if properly processed and stored, but color, flavor, and texture can decline. Always check each jar before opening – if the lid is unsealed, food is discolored, foamy, or smells off, discard it.