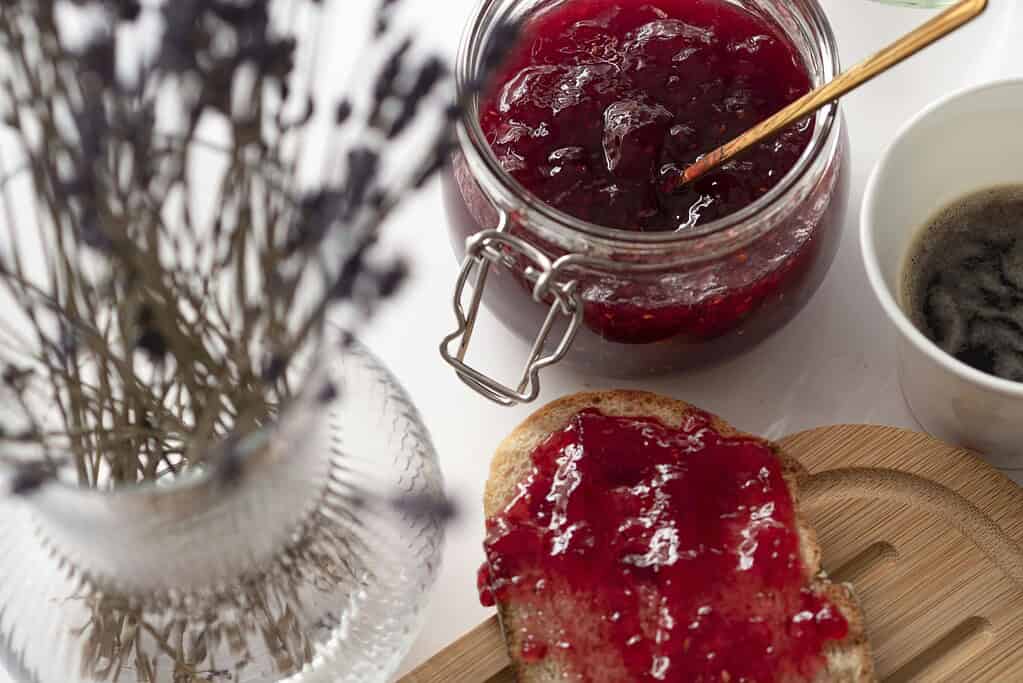
If you’ve got some raspberries and a bit of sugar, you’re already halfway to making a good batch of jam.
This recipe doesn’t use any pectin, and honestly, it doesn’t need it.
The jam thickens up just fine on its own with a little patience. It’s a simple method that doesn’t rely on fancy ingredients (just what you probably already have in your kitchen).
If you happen to grow your own berries, you’ll know how much a well-placed raspberry trellis can boost your harvest – and more berries mean more jam jars to stock your pantry with.
Whether you're canning for the first time or just want a no-fuss way to put up some berries, this recipe covers everything you need to know.
Why Make Raspberry Jam Without Pectin?
Most raspberry jam recipes call for adding commercial pectin to help the jam set, but raspberries already contain a good amount of natural pectin on their own.
When combined with sugar and a little lemon juice, the fruit will gel beautifully without any additives.
Making jam without pectin has several benefits:
- Fewer ingredients to buy. You only need fruit, sugar, and lemon juice – ingredients you probably already have in your kitchen.
- More control over texture. Without added pectin, you can adjust the cooking time to get the exact consistency you like, whether that’s softer and spoonable or thicker and more spreadable.
- Richer flavor. Cooking the jam a little longer (instead of relying on pectin to thicken quickly) deepens the raspberry flavor and gives the jam a more concentrated, homemade taste.
- Less processed. Many home cooks like knowing that their jam contains only simple, whole ingredients without added commercial thickeners.
If your goal is to keep things straightforward while still making a safe, shelf-stable preserve, skipping the pectin makes sense.
With just patience and the right technique, you’ll achieve the same results (sometimes even better) than recipes that use packaged pectin.
Looking for more ways to fill your pantry? This recipe is included in our Jam Series. Take a peek at the others here.
Ingredients You’ll Need

You only need three basic ingredients to make this raspberry jam, and there's a good chance you already have them on hand:
- 4 cups mashed raspberries (fresh or frozen; if frozen, thaw and drain first)
- 4 cups white sugar
- 1 tablespoon lemon juice (fresh is best)
That’s it. No added pectin, no extras.
If your berries are super juicy or very ripe, you may need to cook a little longer to get the right consistency – but the basic ingredients stay the same.
Tools for Making Raspberry Jam
You don’t need any special equipment to make raspberry jam, but having the right tools on hand will make things go a lot smoother:
- Large, heavy-bottomed pot
- Canning jars with two-piece lids (½-pint recommended)
- Jar lifter
- Large stockpot with rack (for boiling-water canner)
- Funnel, ladle, and clean cloths
- Frozen plate (for gel test)
Just make sure everything’s clean and ready to go before you start cooking.
How to Make Your Raspberry Jam (Without Pectin)
Making raspberry jam without pectin is pretty straightforward.
As long as you stick with the right ratio of fruit to sugar and pay attention to the cooking time, it turns out just fine.
Below is the step-by-step process to help you through it – from boiling the berries to sealing up the jars for storage.
Step 1: Prepare the Fruit
Start by washing your raspberries under cool running water. Drain them well, then place the berries into a large, heavy-bottomed pot.
Use a potato masher, wooden spoon, or even the back of a ladle to mash the berries until they release their juices. A little texture is fine – you don’t have to make them completely smooth.
Bring the mashed berries to a gentle boil over medium-high heat, stirring often. This first boil helps break down the fruit and release natural pectin.
Be sure to stir frequently so the fruit doesn’t scorch on the bottom of the pot.
Step 2: Add Sugar and Lemon Juice
Once the berries have come to a boil, add the sugar and lemon juice all at once. Stir thoroughly until the sugar is completely dissolved.
Bring the mixture back to a full rolling boil—this is a boil that doesn’t stop bubbling even when you stir. Keep stirring constantly to prevent sticking or burning.
Cook the jam at a hard boil until the mixture thickens, usually 8–12 minutes depending on how juicy the berries are.
The sugar works as both a preservative and thickener, while the lemon juice balances acidity and helps the natural pectin in raspberries set properly.
Step 3: Test for Gel
To check if your jam has set, use the frozen plate method:
- Place a small plate in the freezer before you begin cooking.
- When the jam looks thicker, spoon a small amount onto the chilled plate.
- Return the plate to the freezer for 1 minute.
- Push your finger through the jam.
If it wrinkles and does not flow back together, your jam is ready. If it runs back together, keep boiling for a couple more minutes and test again.
This step ensures your jam has the right consistency and won’t end up too thin once it’s cooled.
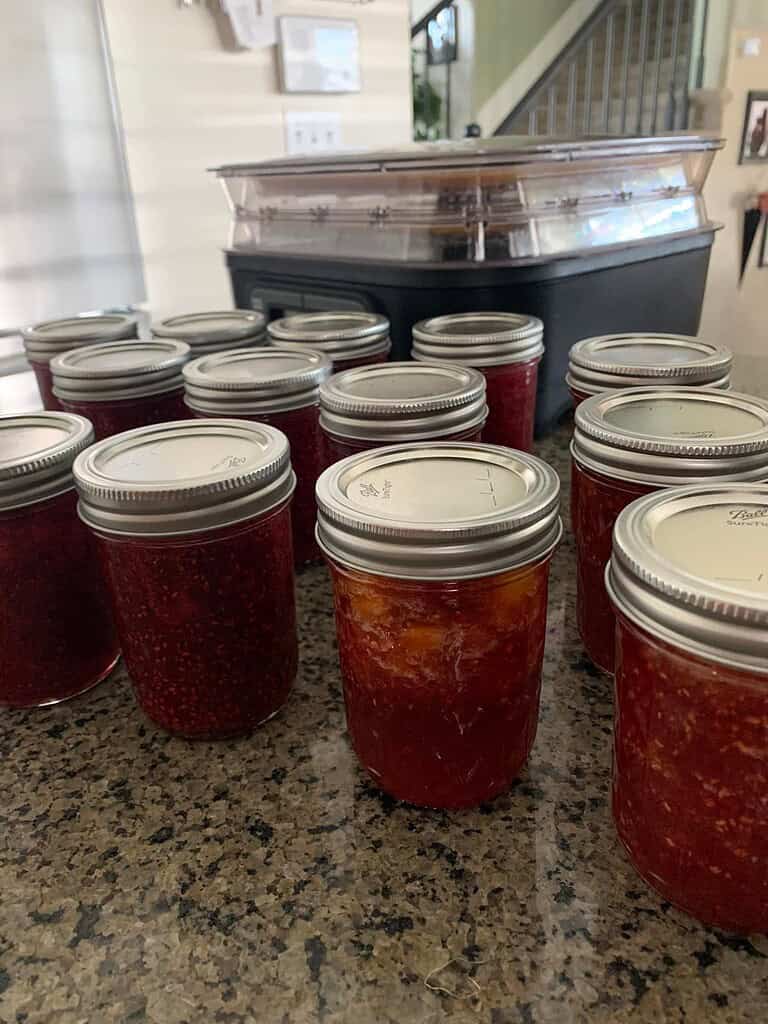
Step 4: Fill the Jars
While the jam is cooking, keep your jars hot in simmering water to prevent them from cracking when filled. (If you process for 10 minutes or more, sterilizing jars beforehand isn’t required, but they should be clean and hot.)
When the jam passes the gel test, remove the pot from heat. Ladle the hot jam into prepared jars using a canning funnel for ease and safety.
Leave ¼-inch of headspace at the top of each jar – this gap allows the jam to expand during processing.
Wipe jar rims with a clean, damp cloth to remove any spills, which could prevent proper sealing. Place lids on top and screw bands on just fingertip-tight (not overly tight, which can cause seal failure).
Step 5: Process in a Boiling Water Canner
Place the filled jars upright onto the rack inside your boiling water canner (or a large stockpot with a rack at the bottom). Make sure jars are covered by at least 1 inch of water.
Cover the pot and bring it to a full rolling boil. Once boiling, process half-pint jars for 10 minutes.
Altitude adjustments:
- 1,001–6,000 ft: add 5 minutes
- Above 6,000 ft: add 10 minutes
This processing step is essential – it destroys mold, yeast, and bacteria, and ensures your jam is safe and shelf-stable.
If you’re new to this method, check out our easy water bath canning guide for a clear step-by-step walkthrough.
Step 6: Cool and Store
Once processing is complete, turn off the heat and carefully lift jars out of the canner using a jar lifter. Place them on a towel or wooden board, leaving space between jars.
Allow jars to cool undisturbed for 12–24 hours. As they cool, you may hear the lids “pop” – this means a vacuum seal is forming.
After cooling, check seals by pressing the center of each lid. If it’s firm and doesn’t flex, the jar is sealed properly.
- After opening: Always refrigerate and use within 3–4 weeks for best quality.
- Sealed jars: Store in a cool, dark place for up to 1 year.
- Unsealed jars: Refrigerate immediately and use within a few weeks.
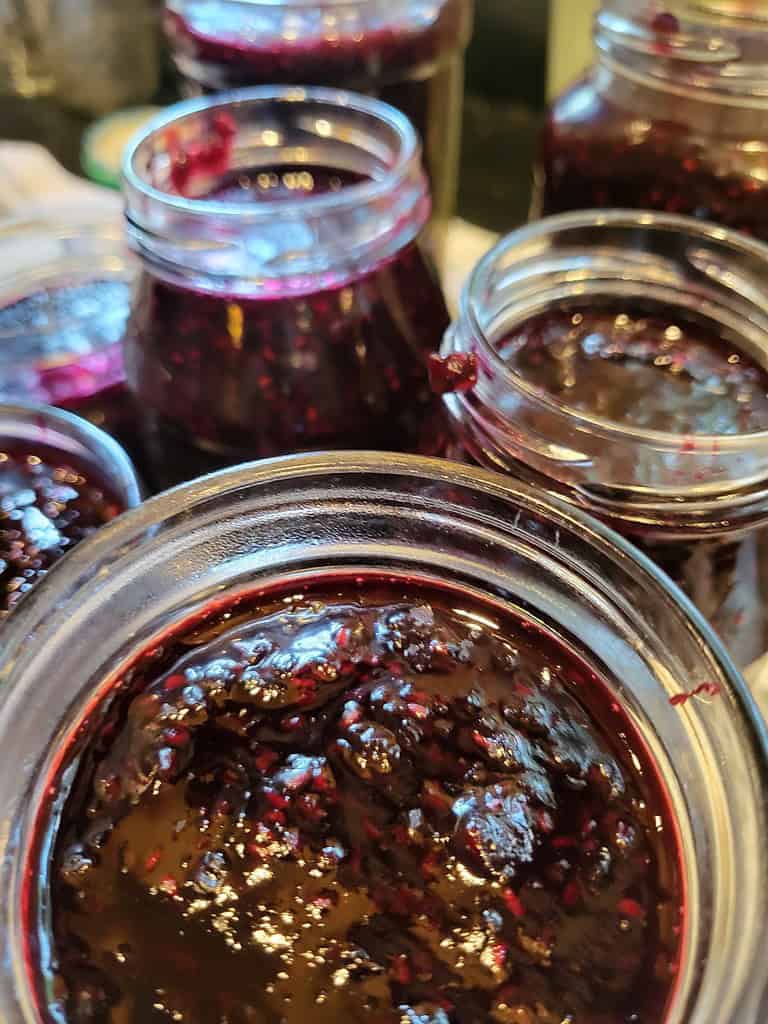
How Much Jam You’ll Get
This recipe is meant to give you about seven half-pint jars of jam, but the final yield can vary a bit depending on a few things.
Expected Yield
From 4 cups of raspberries and 4 cups of sugar, you can expect to get about 7 half-pint (8-oz) jars of jam.
This amount may vary depending on:
- Water content of berries – Very ripe or juicy raspberries may cook down more, leaving you with fewer jars.
- Cooking time – A longer boil evaporates more liquid, which results in a thicker jam but smaller yield.
- Sugar ratio – Using less sugar (not recommended unless following a tested low-sugar recipe) can also affect the final consistency and jar count.
Why Yield May Vary
It’s completely normal for one batch to fill six jars while another batch with the same ingredients may only fill four or five jars.
This isn’t a sign something went wrong – it simply depends on the fruit and how much it reduces during cooking.
Keeping a few extra clean jars warmed and ready ensures you’ll have the right number available no matter what your yield turns out to be.
Variations and Tips from Home Cooks
Plenty of folks have tried this recipe and added their own spin or adjustments based on how they like their jam.
Here are a few things that have worked well:
Stick With Tested Ratios
Raspberry jam without pectin works best when you keep to the tested ratio of 4 cups fruit to 4 cups sugar. This ensures both safe preservation and reliable gelling.
- Why it matters: Sugar helps bind water, reducing the risk of spoilage. Cutting sugar too much can result in runny jam or spoilage during storage.
- Alternative option: If you prefer a lower-sugar jam, use a tested low-sugar recipe (for example, those formulated with “low/no sugar pectin” products).
Flavor Variations (Safe Add-Ins)
You can safely add small amounts of flavorings without affecting canning safety:
- Vanilla extract: Stir in ½ teaspoon after removing the jam from heat for a warm flavor.
- Spices: A pinch of cinnamon or nutmeg pairs nicely with raspberries.
- Fruit blends: Mix in up to 1 cup of blackberries, blueberries, or cherries with your raspberries for a mixed-berry jam.
Avoid adding large amounts of extra fruit without adjusting sugar, as it can affect the jam’s ability to gel and its safety for long-term storage.
Testing for Doneness
The frozen plate method is the most reliable at-home test for gelling. Always keep 1–2 small plates in the freezer before you start cooking.
- Place a dab of jam on the plate.
- Return it to the freezer for 1 minute.
- Run your finger through the jam.
If it wrinkles and holds its shape, your jam is ready. If not, boil for a few more minutes and test again.
Common Fixes for Thin Jam
If your jam ends up looser than you like:
- Reboil and retest: Place the jam back in the pot, bring it to a rolling boil, and cook a few more minutes.
- Do not add cornstarch: Thickeners like cornstarch or flour are not safe for canning because they interfere with heat penetration and can cause spoilage.
If you prefer a thicker jam overall, extend the cooking time slightly during the first boil.
Storage and Shelf Life Tips
- Freezing option: If you prefer not to can, you can freeze jam in freezer-safe containers for up to 6 months.
- Shelf-stable jars: Up to 1 year in a cool, dark pantry.
- After opening: Refrigerate and use within 3–4 weeks.
These tweaks aren’t required, but they’re good to keep in mind if you want to fine-tune the recipe to your taste or adjust based on how your jam turns out.
Make Your Own Raspberry Jam Today
Homemade raspberry jam is one of the simplest (and most rewarding) preserves you can make.
With just three ingredients, a little time at the stove, and a safe canning process, you’ll end up with jars of ruby-red jam that taste like summer sunshine.
Every batch may turn out slightly different depending on your berries and cooking time, but once you’ve made it a couple of times, you’ll find your own rhythm.
Whether you’re filling your pantry, making gifts, or just want a wholesome spread for toast, this no-pectin raspberry jam is a keeper.
Have you made raspberry jam before – or do you have your own favorite twist on the recipe? Share your experience or tips in the comments below – I’d love to hear how your batch turns out!
FAQs
Can I Use Frozen Raspberries?
Yes, you can use frozen raspberries to make jam. You should thaw and drain them first so that you do not add extra water, which could make the jam too runny.
Do I Have to Process the Jars in a Boiling Water Canner?
Yes, you do need to process jars in a boiling water canner if you want your jam to be shelf-stable. The water bath processing step is essential for preventing mold, yeast, and bacterial growth. If you plan to eat the jam within two to three weeks, you can skip canning and store it in the refrigerator.
How Do I Know if My Jam Is Too Runny or Too Thick?
You can tell if your jam is done by using the frozen plate test. Place a small amount of jam on a chilled plate, freeze it for one minute, and then run your finger through the jam. If the jam wrinkles and does not flow back together, it is ready. If the jam is too runny, you should boil it a little longer and retest. If the jam is too thick, it likely boiled too long, but it will still be safe to eat, even if it is firmer than expected.
Can I Reduce the Sugar?
You should not reduce the sugar in this recipe below the recommended ratio of four cups of fruit to four cups of sugar. Sugar is important for flavor, gel formation, and safe preservation. If you want to use less sugar, you should follow a tested low-sugar recipe, such as one formulated with low- or no-sugar pectin.
How Long Does Homemade Raspberry Jam Last?
Properly processed and sealed jars of raspberry jam will last up to one year when stored in a cool, dark place. Once opened, the jam should be refrigerated and used within three to four weeks. If you do not wish to can the jam, you can freeze it in freezer-safe containers, where it will keep for up to six months.