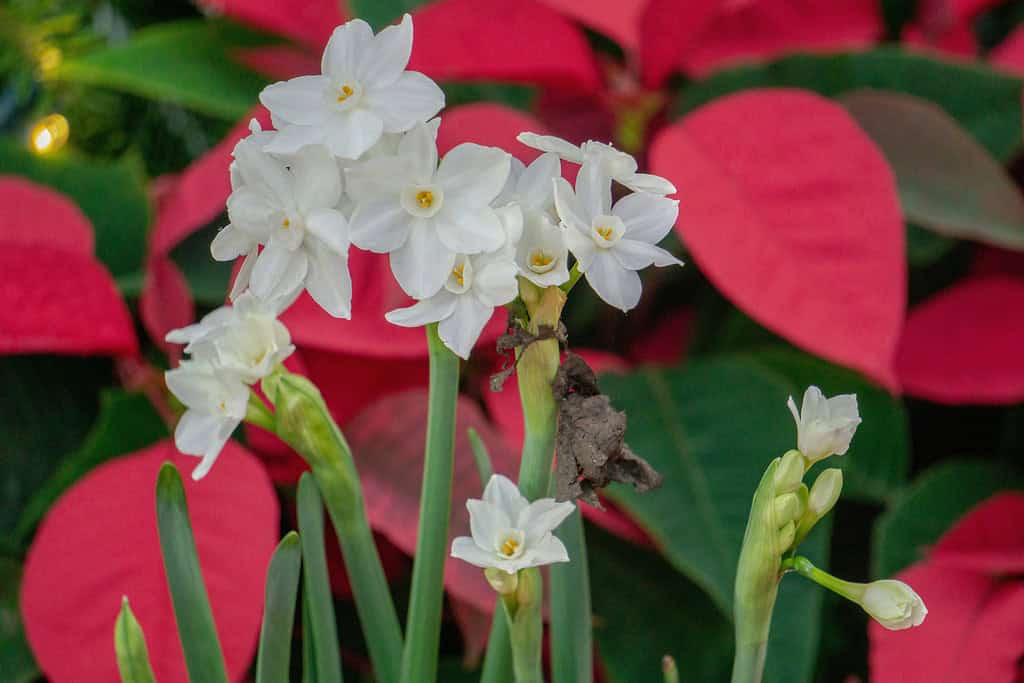
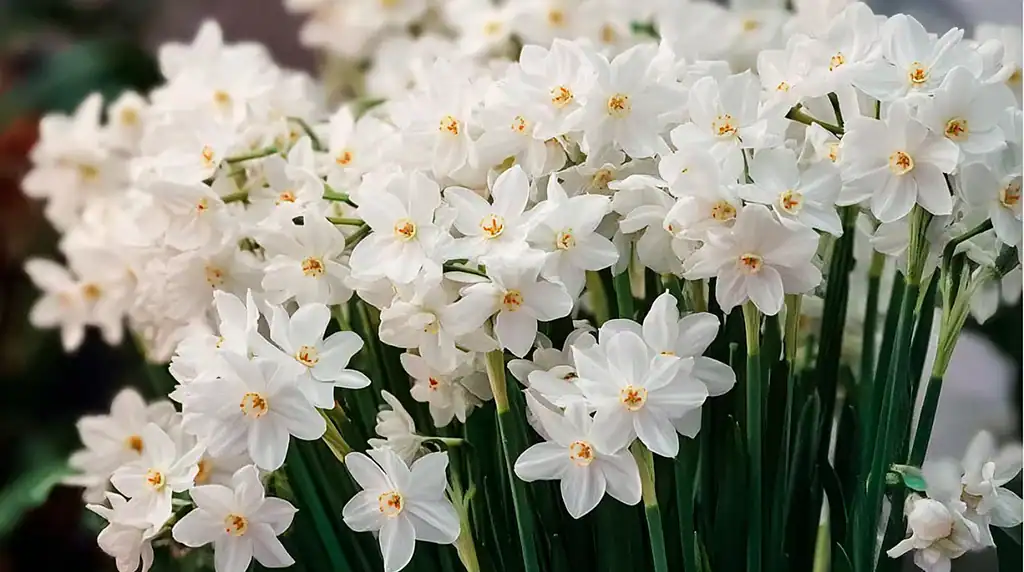
Paperwhites are one of the easiest flowers to grow indoors during the winter, making them a popular choice for Christmas.
Their tall green stalks and bright white blooms bring a fresh, seasonal look to tables, mantels, and windowsills.
They grow quickly without needing soil, and with just a few materials, you can create a beautiful indoor display that lasts through the holidays.
Whether you want a simple centerpiece or a project to share with kids, paperwhites offer flexibility and charm.
In this article, you’ll learn how to grow them step-by-step, choose the best containers, manage their growth, and even reuse the bulbs for future blooms.
Paperwhite Plant Profile
| Feature | Details |
|---|---|
| Botanical Name | Narcissus papyraceus |
| Common Name | Paperwhite |
| Type | Bulbous perennial |
| Light Requirements | Bright, indirect light |
| Soil Needed | Not required (can grow in pebbles and water) |
| Watering Needs | Water should just touch the bottom of the bulb |
| Bloom Time Indoors | 2 to 4 weeks after planting |
| Typical Bloom Duration | 2 to 3 weeks |
| Fragrance | Strong, sweet scent (some varieties milder) |
| Toxicity | Toxic to pets if ingested |
| Best Growing Season | Indoors in late fall to early winter for holiday blooms |
| Reusable Bulbs? | Yes, with proper post-bloom storage or outdoor planting |
Why Paperwhites Are Perfect for Indoor Christmas Gardening
Paperwhites are a type of narcissus that grow especially well indoors, and they don’t require chilling like other spring bulbs.
This makes them ideal for planting in early winter when outdoor gardening has slowed down.
One of their biggest advantages is speed: paperwhites typically bloom within 2 to 4 weeks after planting, which means you can time them to flower just in time for Christmas.
Their crisp white blooms and upright green leaves bring a clean, bright look that pairs well with other holiday decorations.
They thrive in containers, don’t need soil, and require only basic care. This makes them a great choice for busy households during the holidays.
Unlike many houseplants, paperwhites don’t need long hours of direct sunlight or warm temperatures to grow.
They do well in cool, bright spaces – perfect for winter windowsills and indoor displays.
Their fast growth and low-maintenance needs also make them a good project for beginner gardeners or those looking to add something fresh to their home without too much effort.
If you’re looking for more flowers that thrive in tough winter conditions, check out this list of hardy blooms perfect for brightening your home all season long.
5 Easy Steps to Grow Paperwhites in Water and Pebbles

One of the easiest ways to grow paperwhites indoors is by using a soil-free method with pebbles and water. This technique is clean, simple, and ideal for indoor settings – no mess, no drainage, and it works in almost any container.
1. Choose the Right Container
You’ll need a container that doesn’t have drainage holes. This is important because you’ll be adding water directly into the base, and you don’t want it to leak.
Good options include glass vases, ceramic dishes, soup mugs, or even vintage bowls.
Choose a container that’s at least four inches deep to allow enough space for the rocks and for the roots to develop properly.
If you plan to display multiple paperwhites together, go for a wider container to fit several bulbs side by side.
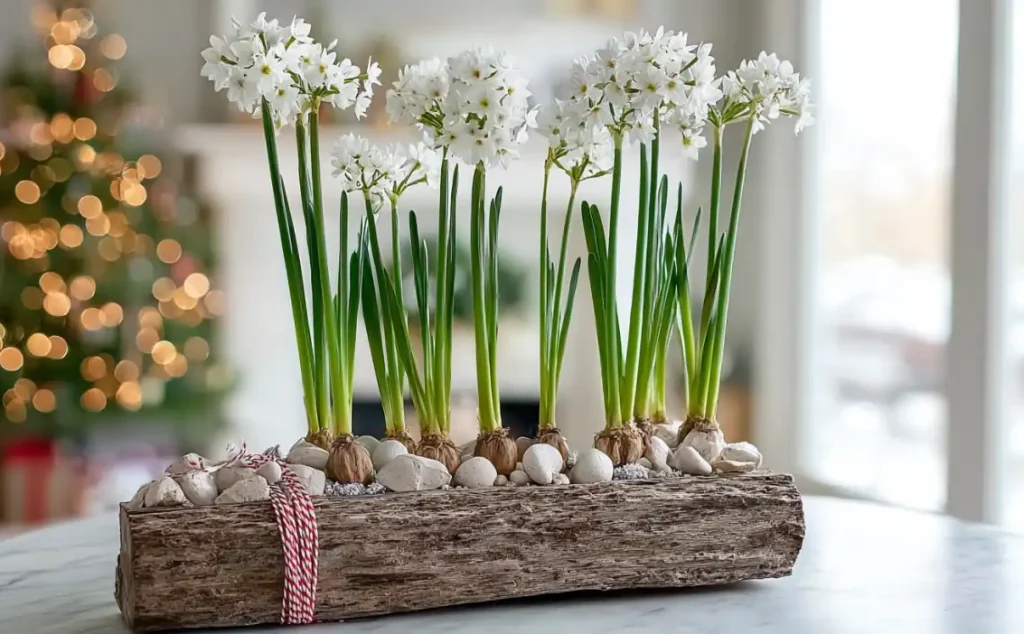
2. Add a Layer of Stones
Once you’ve chosen your container, pour in about two inches of pebbles, river rocks, or decorative stones. These will support the bulbs and hold them in place as they start to grow.
You can use natural materials like small river stones for a neutral, earthy look, or go with polished decorative pebbles for a more festive or modern style.
The rocks also help prevent bulb rot by keeping the bulbs lifted just above the water line.
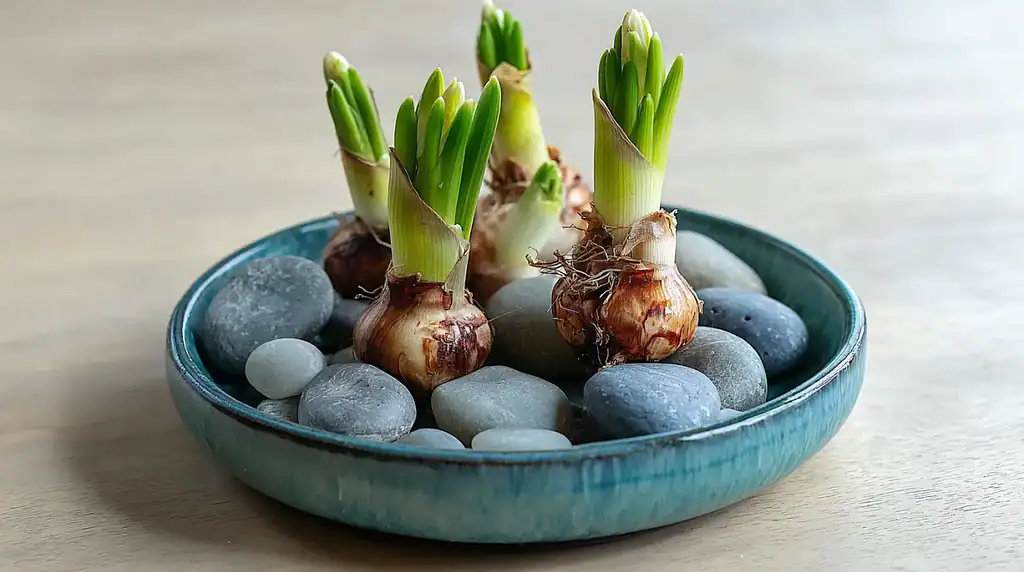
3. Position the Bulbs
Set the bulbs on top of the rocks with the pointed ends facing up. Gently nestle them into the stones so they stand firmly upright.
It’s okay if the bulbs touch each other – they don’t need much space. Planting them close together not only saves room but also creates a fuller, more striking display once they bloom.
Just make sure each bulb has room at the base to send roots down between the rocks.
4. Add Water – But Not Too Much
Slowly pour water into the container until it just touches the bottom of the bulbs. This is a crucial detail – only the base of each bulb should be in contact with water.
If the bulbs sit in water for too long, they may rot. Over the next several days, the bulbs will begin to send roots down into the rocks and water.
Check the water level every few days and top it off as needed, but never let the water rise above the base of the bulbs.
5. Place in Bright, Indirect Light
After planting, move your container to a spot where it can get bright but indirect light – a north- or east-facing window works well.
Avoid placing them in direct sun, which can cause the stems to grow too quickly and become floppy. Indirect light allows for steady, healthy growth.
If you're growing several containers throughout the house, try to find consistent lighting to help them bloom evenly.
This method makes it easy to grow paperwhites indoors without any mess from potting soil. It also gives you creative freedom with containers and stones, making each arrangement unique and adaptable to your holiday decorating style.
If you want even more winter color, try adding cyclamen to your indoor garden – check out our guide on how to grow and care for cyclamen flowers to keep them thriving throughout the season.
Best Containers for Growing Paperwhites Indoors This Holiday Season
One of the biggest advantages of growing paperwhites indoors is the freedom to use almost any container. Since they don’t need soil or drainage holes, you’re not limited to traditional plant pots.
This makes it easy to match your paperwhite displays to your holiday decor, personal style, or available space.
Use What You Already Have at Home
Paperwhites grow well in everyday household items. Bowls, mugs, small vases, baking dishes, or serving trays can all work as long as they are at least 4 inches deep.
This allows space for a base layer of stones and for root development. Repurposing what you already have is cost-effective and lets you create displays with a personal touch.
For example:
- A set of white mugs lined up on a windowsill for a clean, minimalist look.
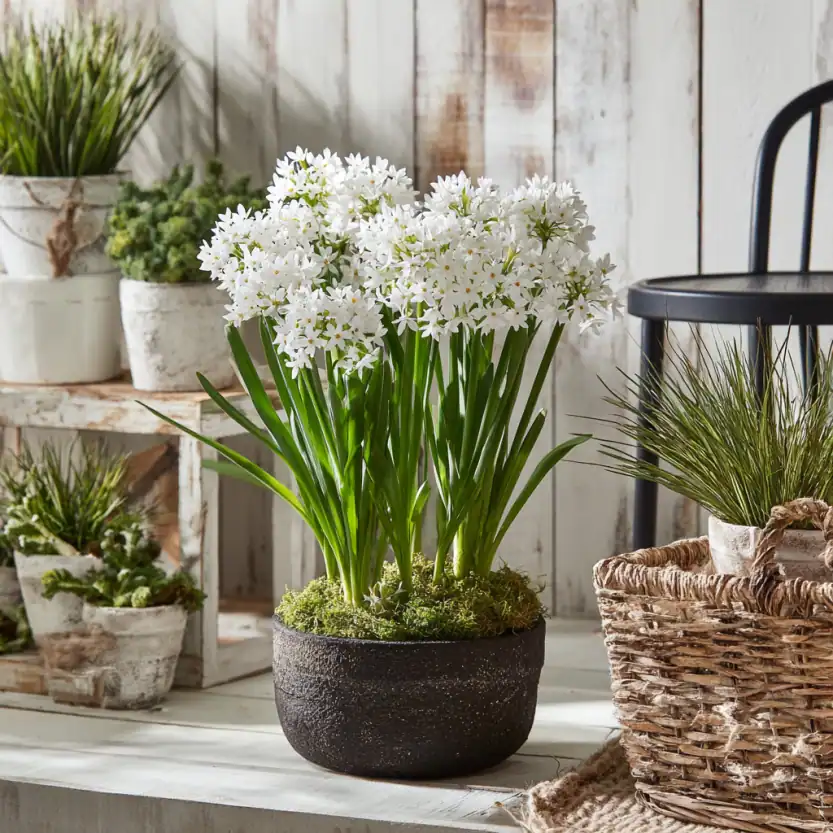
- A ceramic soup bowl filled with moss and bulbs as a rustic holiday centerpiece.
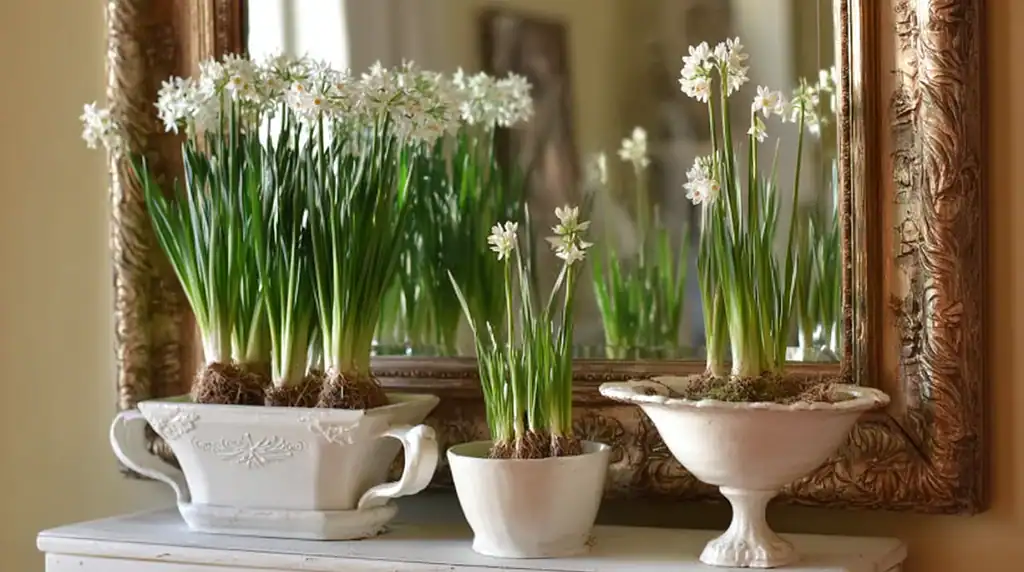
- A vintage teacup holding a single bulb for small spaces like nightstands or bathroom shelves.
Get Creative with Vintage and Decorative Pieces
If you enjoy thrifting or have collected interesting pieces over time, now’s the time to use them.
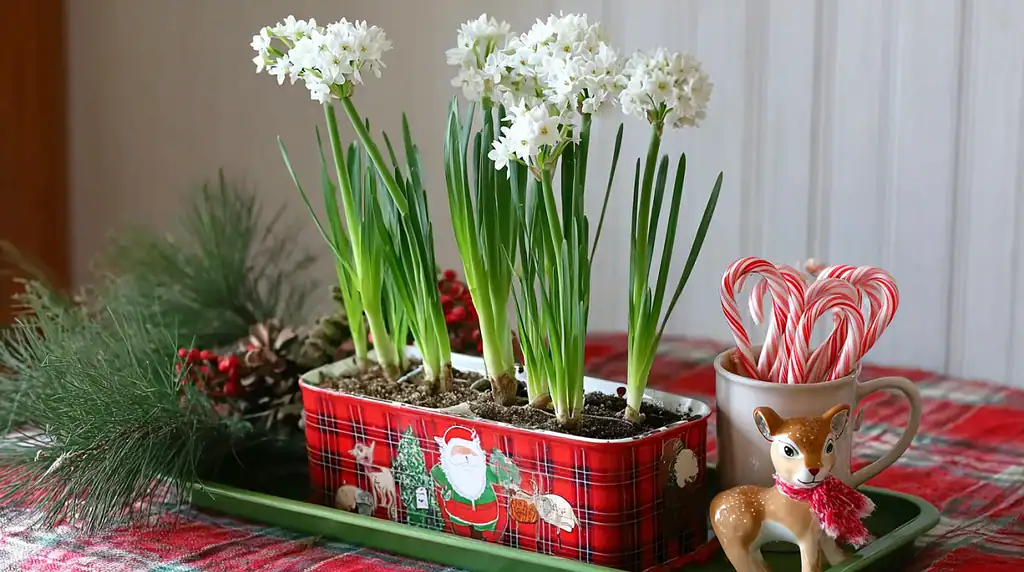
Ironstone bowls, glass candy jars, antique serving dishes, and decorative tins all make excellent growing vessels for paperwhites.
Their varied shapes and textures add visual interest, especially when grouped together in clusters.
Choosing containers in seasonal colors (like deep green, red, or gold) can help your paperwhites blend seamlessly with Christmas decorations.
Mixing materials (like ceramic with wood or glass with metal) creates contrast and adds depth to your indoor garden.
Try the Wine Basket Method for Flexible Display
One unique idea is to plant individual paperwhite bulbs in small cups filled with rocks, and then set those cups inside a wine bottle basket or wooden crate.
Each compartment in the basket can hold a different bulb, and you can move the whole thing as a unit.
This approach is great for decorating mantels, open shelves, or window ledges and makes it easy to shift the entire display if you need to free up space.
Group or Scatter: Styling Based on Your Space
Whether you group your containers together or scatter them around the house depends on your style and layout.
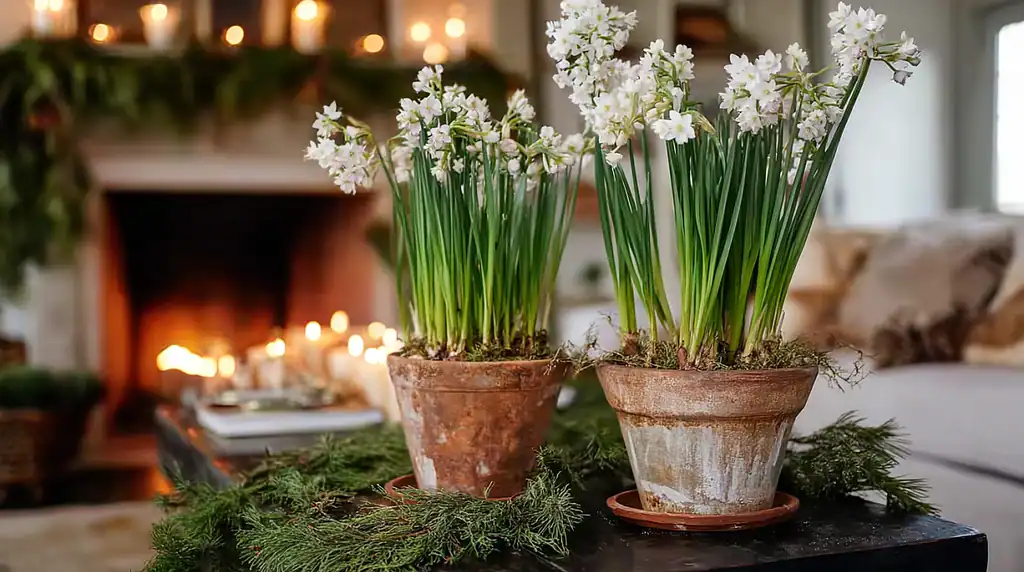
- Grouping: Placing several containers together in one area (like a dining table or fireplace mantel) creates a focal point and makes a bold seasonal statement.
- Scattering: Spreading smaller containers around your home allows you to bring a bit of greenery into multiple rooms – ideal for bathrooms, entryways, or guest bedrooms.
Because paperwhites don’t rely on soil or drainage, you can confidently use containers that would normally be off-limits for houseplants.
This makes them not only easy to grow, but also highly adaptable to the festive, creative energy of the season.
How to Decorate Indoor Paperwhites for a Holiday Display
Paperwhites naturally have a clean, elegant look, but with just a few additions, you can turn them into a visually striking part of your holiday decor.
Whether you want a subtle winter accent or something more styled, decorating around your paperwhites is simple and doesn’t require a lot of materials.
Add Moss for Texture and Softness
One of the easiest ways to elevate the look of your paperwhites is by adding moss around the bulbs.
Once the bulbs are in place on top of the stones, tuck bits of moss between them. This softens the hard lines of the rocks and adds a rich, natural texture that pairs well with winter greenery.
You can use preserved sheet moss, reindeer moss, or even collected moss if it's clean and dry.
Green moss works well with most holiday themes, but for a different look, you can find moss in other colors or even lightly frosted versions to match winter palettes.
You can also include small poinsettias for a splash of classic holiday color – learn how to grow and care for poinsettia flowers to keep them vibrant indoors.
Incorporate Seasonal Elements
Tuck in small pinecones, evergreen sprigs, cinnamon sticks, or whole cloves around the base of your bulbs.
These add seasonal color, natural fragrance, and a cozy, festive feel without interfering with the plants’ growth.
For a more decorative display, you can also use:
- Mini ornaments
- Twinkle lights around the container
- Burlap, lace, or plaid ribbon around the rim
Stick to natural, lightweight items that won’t trap too much moisture or block light.
Choose Containers That Match Your Holiday Theme
Container choice plays a big role in how your display feels. For example:
- Use white or neutral ceramic for a minimal, wintry look.
- Try metal containers or old tin cans for rustic or farmhouse styles.
- Use red mugs or green glass bowls to blend with traditional Christmas colors.
- Group containers together on a tray for a fuller arrangement that works as a centerpiece.
By using containers that already fit your style, you don’t have to add much else – just the bulbs, some rocks, and maybe a little moss.
Create Displays for Different Areas of the Home
You don’t need to limit your paperwhite arrangements to one room.
Small containers can be placed on bathroom shelves, kitchen counters, or guest room dressers. Groupings look great on mantels, coffee tables, or as a dining centerpiece.
Because paperwhites are compact and mess-free, they work almost anywhere in the home – and their clean appearance makes them easy to style with whatever else you already have up for the season.
How to Keep Paperwhites from Getting Too Tall or Floppy
One of the most common issues when growing paperwhites indoors is that they tend to grow tall quickly and become top-heavy. Without support, the stems often flop over or lean to one side.
This doesn’t just affect how they look – it can also make your display harder to manage. Fortunately, there are simple ways to control their height and help them grow more upright and stable.
Use Alcohol to Control Height Naturally
A proven method for keeping paperwhites shorter and sturdier is to water them with a 5% alcohol solution once the roots are established.
This technique slightly stresses the plant in a safe way, slowing its upward growth while still allowing full blooms.
How to do it:
- Wait until the roots are about 1–2 inches long and green shoots are emerging.
- Replace the plain water with a mix of 1 part vodka (or gin) to 10 parts water.
- Continue watering with this alcohol solution as needed to maintain the water level.
This slows the stems’ vertical growth but doesn’t harm the flowers. The result is a more compact plant that’s less likely to tip over.
Important: Do not use beer or wine – these contain sugars that can damage the plant.
Support the Stems as They Grow
If your paperwhites are already tall, or you're not using alcohol, you can support the stems to keep them upright. Here are some simple ways to do it:
- Tie the stems loosely using twine, string, or decorative ribbon. Wrap them gently in a bundle to keep them from spreading and flopping outward.
- Insert natural supports like twigs or small branches into the stones around the bulbs. These blend in well with holiday displays and give the stems something to lean on as they grow.
Avoid forcing the stems to stand straight – too much tension can cause breakage.
The goal is gentle guidance and support.
Rotate the Container Regularly
Paperwhites naturally lean toward the strongest light source. If they sit in one position for too long, they’ll often grow at an angle.
To prevent this, rotate the container a quarter turn every day or two. This encourages more balanced growth and helps the stems stay straighter without extra support.
These simple strategies (adjusting water with alcohol, offering light support, and managing their orientation) can keep your paperwhites looking neat, stable, and well-formed throughout their bloom cycle.
Light and Temperature Tips for Healthy Indoor Paperwhites
Paperwhites are low-maintenance, but the light and temperature conditions you give them play a big role in how they grow and bloom.
Providing the right environment helps ensure they grow evenly, stay upright, and bloom for as long as possible.
Bright, Indirect Light Is Best
Place your paperwhites in a spot where they receive bright, indirect sunlight.
A table near an east- or south-facing window is ideal. While they can tolerate lower light, they’ll grow slower and may lean more as they stretch toward the nearest source.
Avoid direct sunlight, especially in the early stages of growth. Strong sun can cause them to grow too fast, becoming weak and leggy.
It can also dry out the water more quickly or overheat the bulbs in glass containers.
If your home is dim in winter, consider using highly recommended grow lights
or a fluorescent fixture for supplemental lighting.
Keep the light a few inches above the bulbs and run it for about 12–14 hours a day.
Rotate the Container to Encourage Even Growth
As paperwhites grow, they tend to lean toward light. To keep them upright, rotate the container every few days.
This ensures all sides get equal exposure and encourages the stems to grow straight instead of bending toward one direction.
Keep Them Cool to Extend Bloom Time
Paperwhites prefer cool indoor temperatures. Aim for 60–65°F (15–18°C) during their growing and blooming period. Warmer temperatures can cause the plants to grow too quickly and fade faster.
To get longer-lasting blooms:
- Keep them away from heating vents, fireplaces, or radiators.
- Avoid placing them in warm kitchens or sunny windows with strong afternoon light.
- If your house is especially warm, move the plants to a cooler room at night to slow down the blooming process.
Providing balanced light and a cooler location doesn't just improve how your paperwhites grow – it also helps prevent flopping, promotes stronger stems, and ensures that your holiday display stays attractive longer.
How to Make Your Paperwhite Blooms Last Longer Indoors
Paperwhites typically bloom for about 2 to 3 weeks, but with the right care, you can make the most of that time and help them stay fresh as long as possible.
The key factors that affect bloom duration are temperature, light, and how much stress the plants experience during their growth.
Keep Them in a Cool Location
Warm temperatures will speed up blooming but also cause the flowers to fade more quickly.
To extend the bloom period, keep your paperwhites in a cooler part of the house, ideally around 60–65°F (15–18°C).
Good locations include:
- Near a bright but cool window
- In a hallway or guest room away from heating sources
- On a covered porch or sunroom, if protected from frost
If your paperwhites are in a warmer room during the day, consider moving them to a cooler spot at night.
Avoid Direct Sunlight Once Buds Open
While bright light is important during the growing stage, too much direct sunlight during blooming can cause flowers to wilt or dry out faster.
Once the buds start to open, move the container out of direct sun and into bright, indirect light instead.
This helps preserve the blooms without sacrificing overall light exposure.
Limit Movement and Disturbance
Once the flowers are fully open, avoid moving the container too often. Paperwhites are sensitive to stress – bumping or frequently rotating them at this stage can cause the stems to shift or collapse.
Choose a stable spot where they can stay put for most of the bloom period.
Keep the Water Level Consistent
Check the water level every few days and top it off as needed, making sure it still just touches the base of the bulbs.
If the roots dry out, the blooms may fade faster. But don’t let the bulbs sit in water – this can cause rot and shorten the plant’s lifespan.
For more tips on keeping your greenery healthy, see our guide on how to water plants indoors.
With these simple adjustments – cooler temperatures, indirect light, steady moisture, and a stable placement – you can help your paperwhites stay in bloom longer and enjoy their bright presence throughout the holiday season.
How to Reuse Paperwhite Bulbs After They Bloom
Once paperwhites finish blooming indoors, many people assume the bulbs are single-use.
But with the right care, you can reuse the bulbs – either by encouraging them to bloom again next year or by planting them outdoors, depending on your climate.
Whether you’re aiming for another indoor bloom cycle or hoping to naturalize them in the garden, timing and storage conditions make all the difference.
Let the Bulbs Rest After Blooming
After the flowers fade, don’t discard the bulbs right away. The leaves still provide energy for the bulb to store for future growth.
Allow the green foliage to remain in place for about six weeks, watering lightly during this time. Keep the container in a cool, bright location away from direct sun and heat.
This resting period gives the bulbs time to recover and rebuild energy reserves. You’ll know it’s time to move to the next stage when the leaves start to turn yellow and die back naturally.
How to Store Bulbs for Replanting Next Year
Once the foliage has fully yellowed, it’s time to store the bulbs.
Here’s how:
- Stop watering completely.
- Turn the pot on its side and place it in a cool, dark, non-freezing location such as a basement, garage, or storage closet.
- Leave it untouched until fall.
In the fall, around September or October, bring the container back out. Turn it upright, move it to a bright spot, and begin watering again.
If the bulbs are still healthy, they should send up new shoots and begin another bloom cycle in time for the holidays.
Option: Plant Paperwhites Outdoors After Blooming
If you live in a mild climate (USDA zones 8–11), you can plant your spent paperwhite bulbs in the garden once they’ve gone dormant.
Choose a spot with well-draining soil and partial sun. Bulbs planted this way may establish themselves and bloom again the following year, especially in areas with warm winters.
While paperwhites grown indoors don’t always rebloom successfully inside, they have a better chance of coming back if allowed to rest properly or transitioned to an outdoor environment.
With the right aftercare and a bit of patience, your paperwhite bulbs don’t have to be a one-time decoration.
Whether you store them or replant them, you’ll get more value out of each bulb – and potentially enjoy blooms for years to come.
5 Common Problems When Growing Paperwhites Indoors (And How to Fix Them)
Paperwhites are generally easy to grow, but like any plant, they can run into a few issues – especially when grown indoors. Most problems are easy to fix once you understand the cause.
Here are the most common ones to watch for and how to handle them.
1. Yellowing Leaf Tips
Problem: The tips of the leaves turn yellow, often shortly after growth begins.
Cause: The most common reason is overwatering, especially when bulbs are sitting in water instead of just touching it.
Fix:
- Check the water level and make sure it only just touches the base of the bulbs – not higher.
- Reduce how often you’re topping off the water.
- Avoid crowding bulbs too tightly, which can trap moisture and limit airflow.
2. Floppy or Leaning Stems
Problem: As the paperwhites grow taller, the stems start to lean or fall over.
Cause: This usually happens when the plant is reaching for light or has grown too tall without support.
Fix:
- Rotate the container regularly to promote upright growth.
- If needed, tie the stems loosely with twine or ribbon to hold them together.
- Add natural supports like twigs or small sticks if the stems are already top-heavy.
- To prevent the issue entirely, use the alcohol method mentioned earlier to control height.
3. Bulbs Rotting
Problem: The bulbs turn soft, mushy, or begin to mold.
Cause: Too much water – specifically, water covering more than just the base of the bulb.
Fix:
- Immediately remove any damaged bulbs to prevent rot from spreading.
- Adjust water level so that it barely touches the bottom of the remaining bulbs.
- Make sure the container has good airflow at the top – don’t cover it tightly.
4. Strong, Unpleasant Smell
Problem: The fragrance of the flowers is too strong or has a sour edge.
Cause: Paperwhites naturally have a strong scent, which some people find overpowering.
Fix:
- Move the container to a well-ventilated area.
- Place them in rooms that aren’t used for long periods (like hallways or entryways).
- In the future, consider choosing varieties known for a milder scent (like ‘Inbal’).
5. Stunted Growth or No Blooming
Problem: Bulbs grow slowly or don’t produce blooms.
Cause: This can happen if the bulbs are old, stored improperly, or not receiving enough light.
Fix:
- Make sure the bulbs were firm and healthy before planting.
- Place the container in bright, indirect light for at least 8–10 hours a day.
- Don’t keep the bulbs too cold – temperatures below 50°F can slow development.
Most issues with paperwhites can be corrected by adjusting water, light, or temperature.
Keeping a close eye on your setup in the first few days after planting will help you catch any problems early and keep your indoor garden looking its best.
Start Growing Paperwhites Indoors This Christmas
Paperwhites are one of the easiest and most rewarding plants to grow indoors during the winter season.
They don’t require soil, bloom fast, and adapt well to all kinds of containers – making them perfect for Christmas decorating, gifting, or just adding something fresh to your home.
With the tips covered in this guide, you now know how to:
- Set up a soil-free growing system using pebbles and water
- Choose the right containers to match your space or holiday theme
- Keep stems from getting too tall or falling over
- Extend bloom time and reuse bulbs after the season ends
- Troubleshoot the most common indoor growing problems
Whether you're new to indoor gardening or making it a yearly tradition, paperwhites offer a simple, flexible, and festive way to bring life indoors during the colder months.
Have your own tips or questions about growing paperwhites? Comment down below – we’d love to hear what’s worked for you!
FAQs
How many paperwhite bulbs should I plant in one container?
It depends on the container size. In general, place bulbs close together without touching. A 6-inch wide bowl can hold 4–6 bulbs comfortably. The closer they’re packed, the fuller the display – but leave just enough room for roots to grow between them.
Can I mix paperwhites with other indoor plants in the same container?
It's not recommended. Paperwhites grow faster than most houseplants and require different moisture conditions. They also produce a strong scent that may not complement other plants. It’s best to give them their own container.
Do paperwhites need fertilizer?
No. The bulbs come preloaded with all the nutrients they need to grow and bloom. Adding fertilizer won’t help and may even harm them, especially in a water-based setup.
Can I grow paperwhites in soil instead of stones?
Yes. While they’re often grown without soil indoors, you can plant them in a pot with well-draining potting mix. Just make sure the pot has drainage holes and avoid overwatering. Soil can help stabilize taller stems but adds more mess indoors.
What should I do if my paperwhites haven’t bloomed after 4 weeks?
Check for adequate light, temperature, and bulb condition. Make sure the container is in a bright, indirect light spot and not too cold. If bulbs are soft or moldy, they may have been damaged before planting. Healthy bulbs usually bloom within 2–4 weeks.
Ready To Transform Your Garden?

Are you looking for the best way to layout your garden beds? Maybe you're feeling a bit stuck on how to make the most of your space?
We’ve got you covered! Check out our 101+ Garden Bed Layout Ideas for your next raised bed project. This guide is filled with creative and practical ideas that can help you design a garden that fits your style, whether you’re just starting out or have been gardening for years.
Get your copy today and get inspired to bring your gardening dreams to life.