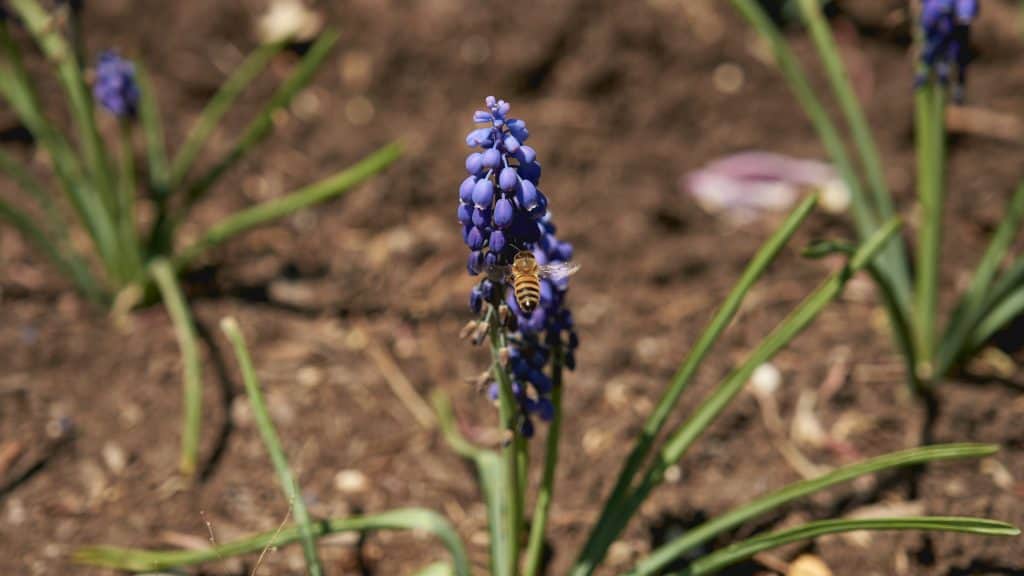
Lavender has a calming scent and brightens any garden. It attracts beneficial pollinators and grows well as long as you give it the basics it needs – but it’s picky about how you get it started.
You can't just dig a hole and hope for the best.
Lavender will thrive if you give it exactly what it wants – from the very beginning.
In this article, I'll walk you through every part of planting lavender that actually matters.
Like what kind of lavender to buy (or grow). When it should go into the ground. What type of soil won’t slowly kill it. And why spacing isn’t just a neatness thing – it’s survival.
Because lavender doesn’t need pampering.
It needs the right start.
So without further ado, let’s get into it and start growing your lavender!
1. Choosing Your Lavender: Seeds, Starters, or Cuttings
You’ve got three options when it comes to planting lavender: seeds, starter plants, or cuttings – and each one works a bit differently.
Seeds
Sure, you can grow lavender from seed. But prepare to wait… and wait… and maybe wait some more. Germination takes weeks, and even then, not all seeds sprout.
Some gardeners love the challenge (and saving a few bucks), but honestly? Unless you’re incredibly patient – or weirdly into seed trays – it’s not the most rewarding route.
Starter Plants
This is the go-to for most people. You walk into a nursery, grab a healthy-looking lavender plant, take it home, and boom – half the work’s already done.
Starters give you a solid head start. They're already growing, already established, and way less fussy than seeds.
Look for compact plants with no mushy spots near the base. If it smells amazing and stands upright on its own? You're probably holding a winner.
Cuttings
If you already know someone with a healthy lavender plant (or you’ve got one yourself), this is a smart way to multiply without spending a dime.
Take a softwood cutting, dip it in a little rooting hormone, stick it in sandy soil, and cross your fingers. Some will take, some won’t. But when it works? You just cloned a whole new plant.
2. When to Plant Lavender for the Best Results
Timing matters. More than most gardeners think.
Spring
If you want to give your lavender the best chance, plant it in spring. Late spring, after the last frost, is perfect. The soil’s warm, the sun’s steady, and your plant has a whole season to dig in and get strong before winter shows up again.
Fall
Live somewhere warm? Like Zone 8 or higher? Then fall planting could work. But it’s a gamble if your winters get cold. Young roots + soggy cold soil = root rot city. Not good.
So if you're in a colder region and thinking about planting in October? Just wait. The plant’s not going anywhere.
3. Finding the Right Location

Lavender isn’t complicated but it is serious about sunlight. We're talking six hours minimum. Every single day. More if possible.
Stick it in a spot that gets dappled light or only morning sun? It’ll survive, maybe.
But don’t expect it to bloom like the show-off you saw in that magazine. Lavender loves full exposure. Harsh afternoon sun? Bring it on.
Skip These Spots:
- Shady corners behind the shed.
- Anywhere with tall plants or trees nearby casting shadows.
- North-facing walls or fences that block light.
I've seen lavender turn into lanky, leggy disappointment just because it didn’t get enough sun. Put it somewhere that gets blasted all day, even if the soil isn’t perfect (yet). You can fix dirt. You can’t fake sunlight.
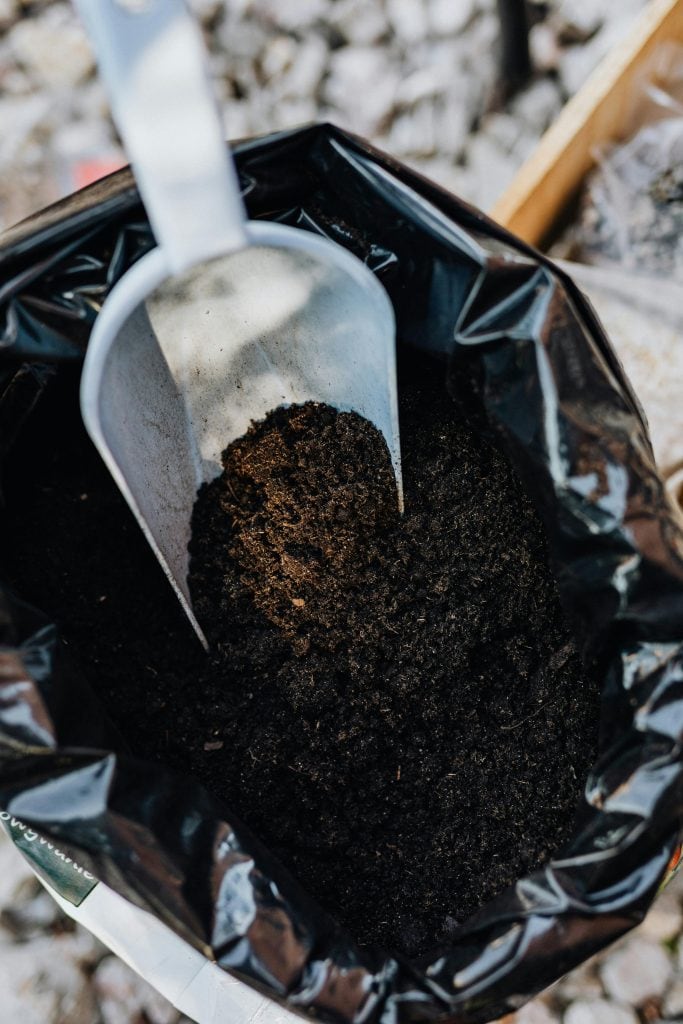
4. Preparing the Soil
Okay – lavender’s other big demand? Dry feet.
If your soil holds water like a sponge, you're setting your lavender up for a slow, soggy death. Roots will rot. Fungal stuff will move in. The plant will sulk. Eventually, it’ll give up.
What You Need:
- Well-draining soil – gritty, loose, and light.
- Slightly alkaline pH – aim for 6.5 to 7.5.
If you’re working with heavy clay or compacted dirt, you’ve got two options:
- Amend it with coarse sand, gravel, or perlite to open it up.
- Build up – as in, plant in raised beds or mounds so water drains down and away.
Don’t skip the pH check. You can grab a cheap tester kit from any garden center. If the soil’s too acidic, toss in a bit of garden lime and mix it in.
Lavender doesn't ask for rich, fertile soil but it will not tolerate wet, sour dirt.
5. Planting Lavender Correctly to Protect the Roots
Now that you’ve picked the right spot and prepared the soil, it’s time to plant. (This part is mostly for those starting with nursery plants or cuttings – if you’re growing from seed, hang tight for a minute; that’s a whole different adventure we’ll touch on later.)
This step looks simple, but it’s where a lot of people accidentally mess up.
First, Dig Smart
Don’t just eyeball it. Dig a hole twice as wide as your plant’s pot but no deeper. Lavender doesn’t like to be buried too deep. The roots want to spread sideways, not dive down.
Gently, Please
Carefully slide your plant out of its pot. If the roots are circling like spaghetti noodles, gently tease them apart with your fingers – no need to unravel every strand, just loosen them up so they grow outward, not in circles.
Backfill Like You Mean It
If your soil feels heavy or clay-ish, mix in some gravel or sand with your backfill to improve drainage. Pack it in firm enough so the plant stands up straight, but not so tight that roots can’t breathe.
Don’t Bury the Crown
The crown is where the stems meet the roots. Make sure it stays just above soil level. Burying the crown traps moisture, leading to rot especially if your soil tends to hold water. Leave it a little raised, and your lavender will thank you.
Starting from Seeds
If you’re starting from seeds, the process looks a bit different and it definitely takes more patience. Here’s how to get your lavender off to the right start from seed:
- Pick good seeds: Use fresh seeds from a trusted source so more of them will sprout.
- Get your seed trays ready: Use light, well-draining soil made for starting seeds. Avoid heavy, wet soil.
- Plant the seeds: Sprinkle the seeds on top of the soil and press them down lightly. Lavender seeds need light to grow, so don’t cover them deep – just a little or not at all.
- Water gently: Spray the soil with water to keep it moist but not soggy.
- Give warmth and light: Put your tray somewhere warm (around 65 to 70°F) with plenty of indirect light or use a grow light. Keep the soil moist while waiting for the seeds to sprout – it usually takes 2 to 4 weeks.
- Thin the seedlings: When the little plants have a few leaves, gently remove the weaker ones so the strongest have room to grow.
- Move them outside when ready: After 3 to 4 months, when seedlings are about 4 to 6 inches tall and have good roots, slowly get them used to the outdoors before planting them in your garden using the steps above.
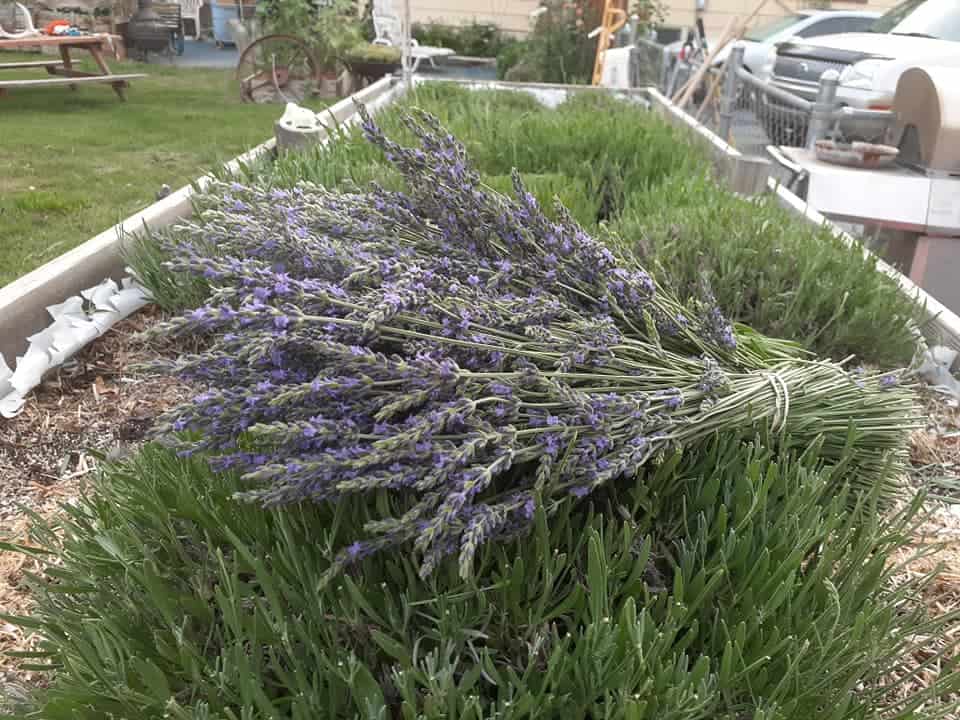
6. Proper Spacing for Healthy Lavender Growth
Here’s something gardeners often overlook: lavender needs elbow room. You can’t cram them in like petunias. Why? Because air flow matters. Lavender hates humidity.
It hates dampness. It hates the kind of closeness that makes fungi throw a party.
General Rule:
- English lavender (the compact kind): 18 to 24 inches apart.
- French or Spanish types (bigger, bushier): 24 to 36 inches apart.
I’ve seen rows of lavender that looked great for the first month until the centers browned out from mildew. Not enough space. No air movement. Game over.
It’s tempting to squeeze them in to get that full, lush look faster. But trust me: give them space now, and by next summer, you’ll have mounds of blooms that don’t just survive – they thrive.
7. Mulching Techniques
Mulch sounds like a great idea. And for a lot of plants, it is. But with lavender? You’ve gotta be choosy.
What Works:
- Light-colored gravel or crushed stone is a win. It reflects heat, helps with drainage, and keeps the base dry.
- Very fine bark – used sparingly – can work too, if your soil drains well already.
What to Avoid:
- Thick layers of organic mulch (like shredded wood or straw).
- Anything that traps moisture close to the stems.
Why? Because moisture + lavender’s woody crown = rot. Fast.
You want the soil covered, not smothered. And whatever you use, make sure there’s a bare donut of space around the base of the plant – at least an inch or two wide.
Mulch touching the crown is basically an invitation for disease.
Surprisingly, skipping mulch altogether isn’t the worst idea either especially if you’ve got dry soil and don’t mind the occasional weed pull. Sometimes simpler is safer.
8. Watering Lavender
When it comes to watering lavender, people tend to go to extremes – either drowning it or forgetting about it completely.
Right after planting, give it a good, deep watering every few days to keep the roots from drying out, but let the top inch of soil dry between watering sessions.
Once your lavender is established, it’s time to ease up. Lavender actually prefers dry conditions and thrives on a bit of neglect.
In most climates, watering once every two to three weeks is enough, and if it rains, you can skip watering altogether.
Signs You’re Overdoing It:
- Yellowing leaves.
- Mushy stems near the base.
- That faint mildew-y smell? Not great.
Not Enough Water?
- Droopy leaves.
- Thin, spindly growth.
- New buds that shrivel before opening.
Many issues with lavender happen because it gets too much attention – overwatering, over-caring, and overdoing it can actually harm the plant. Lavender thrives best when it’s left to do its own thing within the right limits.
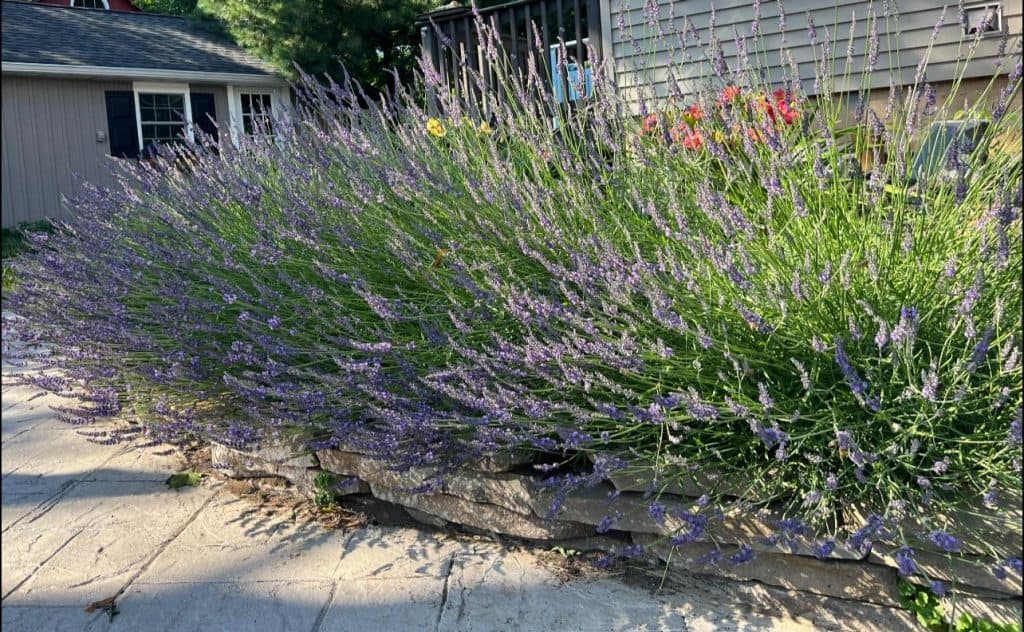
Give lavender plenty of sun, well-drained soil, and space to grow – then step back and enjoy its beautiful blooms and calming scent.
Lavender isn’t fragile. It’s just particular.
If you meet its needs right up front – full sun, dry feet, good drainage, plenty of air – it’ll reward you for years with color, scent, and maybe even a few bees buzzing around like they own the place.
Most of the hard part? It’s in the setup. Once that’s handled, lavender becomes one of the lowest-maintenance plants in the yard.
So pick the right kind. Give it space. Don’t suffocate it with mulch or kindness. Then let it do what it was made to do – grow wild, bloom strong, and smell like calm.
Frequently Asked Questions
Curious about lavender care? Here are some handy answers to common questions to help your lavender thrive from seed to bloom.
1. Can lavender be grown indoors?
Kind of. If you’ve got a super sunny window (like 6+ hours a day), you might get it to survive. But it’ll probably stay small and bloom less. Lavender’s way happier outside.
2. How long does it take lavender to grow from seed?
Forever. Okay, not literally – but germination takes 2–4 weeks, and full-size plants can take months. If you're looking for fast results, start with a nursery plant or cutting.
3. Which lavender variety is best for beginners?
English lavender (Lavandula angustifolia) is a solid pick. It’s hardy, cold-tolerant, smells great, and doesn’t need much fussing. Skip the fancier types till you’ve got the hang of it.
4. Should I fertilize lavender?
Nope. Too much fertilizer = floppy growth and fewer blooms. Lavender prefers lean, well-drained soil. Save the compost for your tomatoes.
5. Why did my lavender die over winter?
Most likely causes? Poor drainage or late planting. If roots sit in wet soil during cold weather, they rot. And if you plant too late in fall, the roots don’t have time to establish before frost hits.
Ready To Transform Your Garden?

Are you looking for the best way to layout your garden beds? Maybe you're feeling a bit stuck on how to make the most of your space?
We’ve got you covered! Check out our 101+ Garden Bed Layout Ideas for your next raised bed project. This guide is filled with creative and practical ideas that can help you design a garden that fits your style, whether you’re just starting out or have been gardening for years.
Get your copy today and get inspired to bring your gardening dreams to life.