Squash is one of the most rewarding crops you can grow – but only if you get the timing and preparation right.
Miss the window, skip a critical step, or overlook what's happening underground before the vines ever appear, and you could end up with a disappointing harvest or none at all.
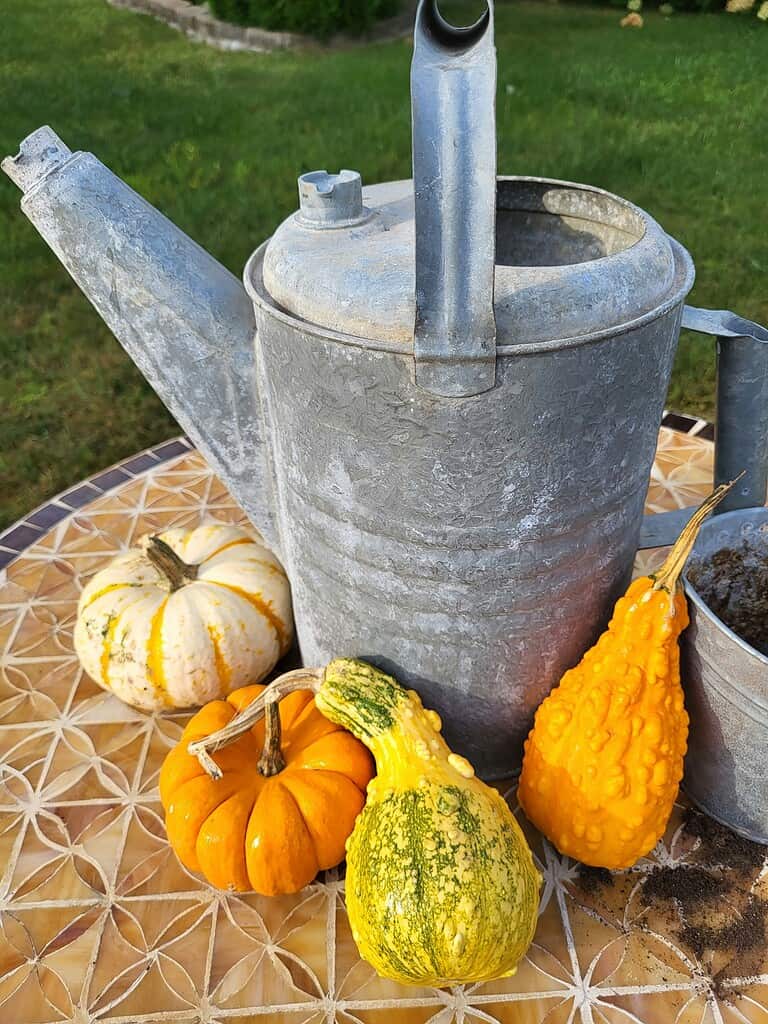
Whether you're growing zucchini, butternut, acorn, or spaghetti squash, what you do before planting makes all the difference.
If you've been planning your vegetable garden, you might already know that squash is a warm-season crop that doesn't tolerate cold.
But there's a lot more to it than simply waiting for frost to pass. This guide walks you through every critical step – from soil prep and seed selection to spacing, watering, and pest management – so you can grow squash successfully this season.
And if you're still figuring out your overall planting schedule, our go-to vegetable planting calendar is a great place to start.
Understanding the Two Types of Squash (and Why It Matters)
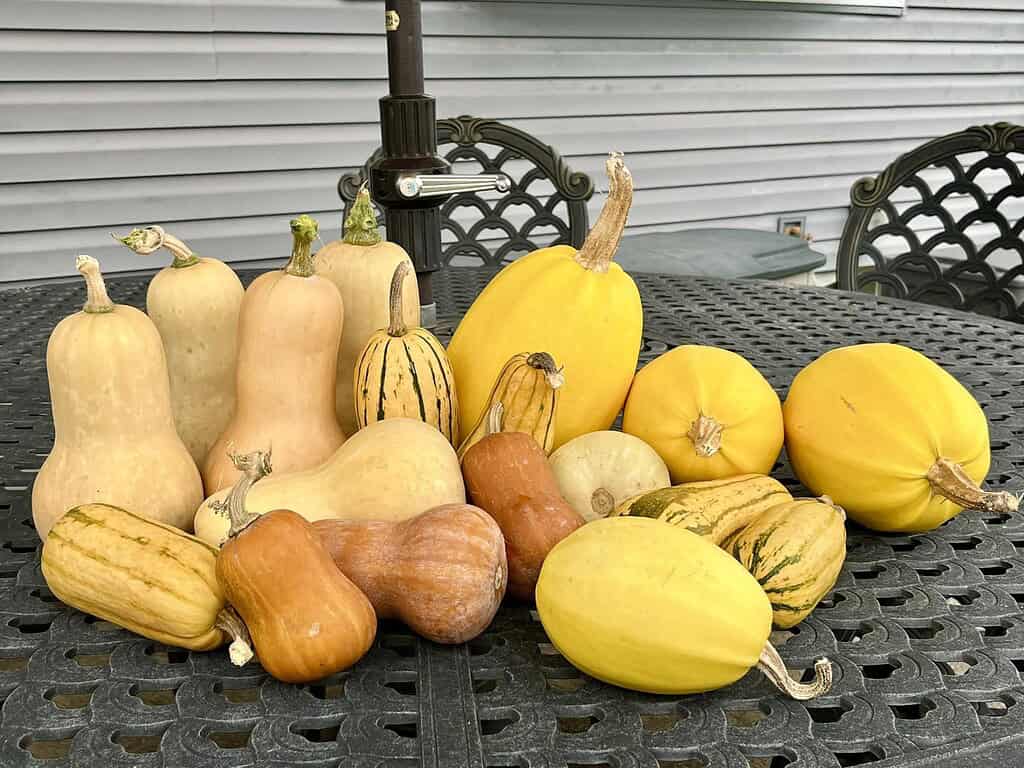
Before you buy seeds or prep beds, it helps to know what kind of squash you're working with. There are two main categories: summer squash and winter squash.
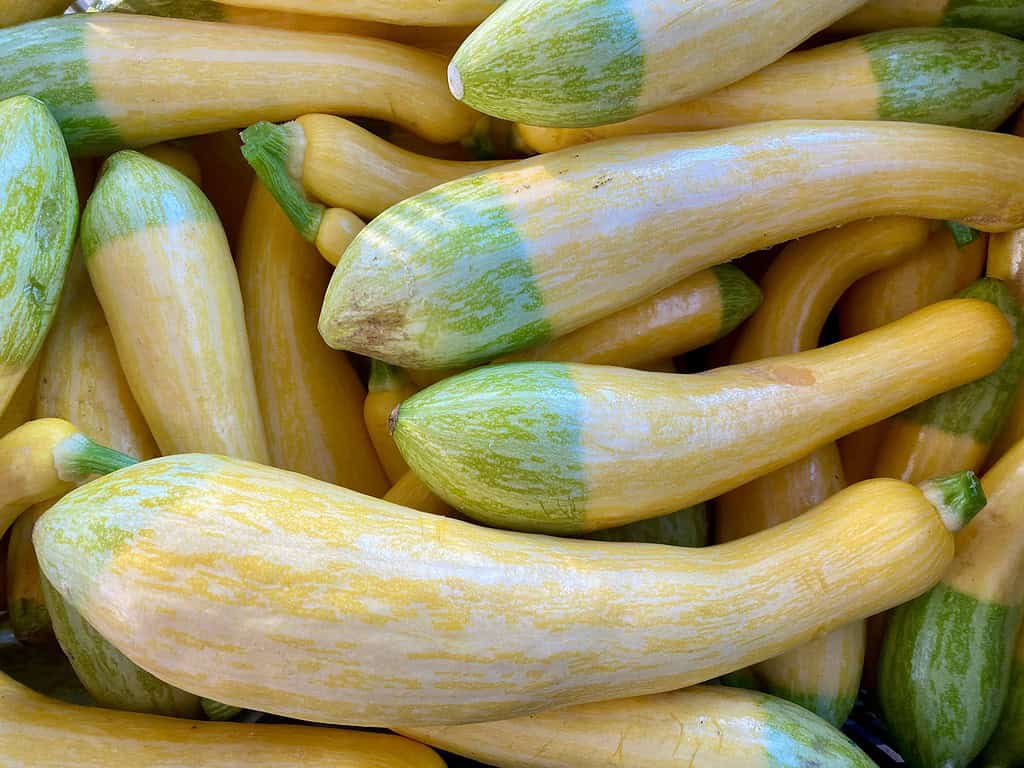
- Summer squash – like zucchini, yellow crookneck, and pattypan – grows fast, produces in 45 to 60 days, and is harvested while the skin is still soft.
- Winter squash – like butternut, acorn, and hubbard – takes longer (75 to 110 days), develops a hard skin, and is meant for storage.
The distinction matters because it affects everything: when you plant, how much space you allocate, and what you plan to do with the harvest.
Summer squash plants are typically more compact, while winter squash vines can sprawl 10 feet or more. Choosing the right variety for your space and growing season is one of the first and most important decisions you'll make.
If you're working with limited backyard space, it's worth exploring options like urban gardening strategies for small spaces that help you maximize every square foot - including vertical growing for vining squash varieties.
Prepare Your Soil the Right Way Before Planting Squash
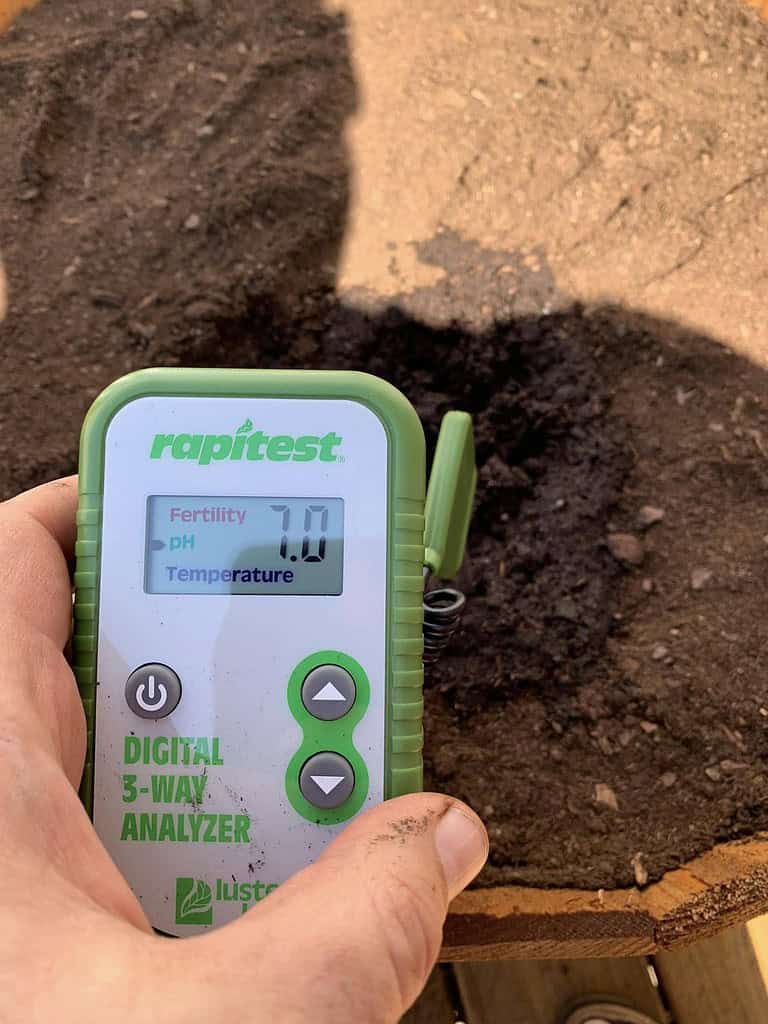
Squash is a heavy feeder with a voracious root system. It needs rich, well-draining, loamy soil with a pH between 6.0 and 6.8 to perform at its best.
If your soil is poor, compacted, or too sandy or clay-heavy, your squash plants will struggle – even if everything else is perfect.
Start by testing your soil pH. Many garden centers sell inexpensive test kits, or you can send a sample to your local agricultural extension office.
Once you know what you're working with, amend accordingly. To understand exactly what's in your ground, take a look at our easy guide to the different soil types so you can identify your starting point and make the right adjustments.
Work in 3 to 4 inches of finished compost into the top 12 inches of soil at least two to three weeks before planting. Squash loves organic matter — it improves drainage in clay soils, boosts water retention in sandy soils, and feeds the microbial life that makes nutrients available to plant roots.
If you have access to aged chicken manure compost, that's an excellent choice. Learn more about how to use it effectively in our post on composting chicken manure at home.
If you're growing squash in a raised bed, you have even more control over your soil mix. Many homesteaders prefer this setup for exactly that reason. Get a deeper look at your options in our comparison of raised bed vs. in-ground gardening to decide which approach suits your situation.
When to Plant Squash: Timing Is Everything
Squash is extremely sensitive to frost. Even a light freeze can kill seedlings overnight.
The rule of thumb is to plant squash outdoors only after your last expected frost date has passed and soil temperatures have reached at least 60°F – with 70°F being ideal for germination.
For most gardeners in temperate climates, this means planting from late April through early June, depending on your USDA hardiness zone. In warmer climates, a second succession planting in midsummer is possible for a fall harvest.
If you want to get a jump on the season, start seeds indoors 2 to 4 weeks before your last frost date. Use biodegradable pots since squash does not transplant well and hates having its roots disturbed.
Sow seeds 1 inch deep, keep the soil consistently moist, and provide plenty of warmth – a heat mat helps tremendously for germination.
If you're planting in April, be sure to check out our guide on what to plant in April for low-effort crops with big results – squash pairs well with many other spring-planted vegetables.
Spacing, Sowing, and Setting Up for Success
One of the most common squash growing mistakes is planting too close together.
Crowded plants compete for light, nutrients, and water and they create humid conditions that invite fungal diseases like powdery mildew. Give your plants room to breathe and grow.
- For bush-type summer squash, space plants 2 to 3 feet apart in rows 4 to 6 feet apart.
- For vining winter squash, you'll want hills spaced 4 to 6 feet apart, with rows 8 feet or more apart.
The traditional “hill” method (mounding soil slightly to improve drainage) works exceptionally well for squash. Plant 3 to 4 seeds per hill and thin to the 2 strongest seedlings once they've established.
Direct sowing into warm, prepared soil is often more successful than transplanting. Push seeds 1 inch deep, water gently, and keep soil evenly moist until germination, which typically takes 7 to 10 days in warm conditions.
Mulching around the hills right after planting conserves moisture and suppresses weeds before the big leaves take over. For inspiration on effective mulch strategies, browse our list of garden mulch ideas to improve your soil and stop weeds.
Watering and Fertilizing Squash the Smart Way
Squash plants are thirsty, especially during the heat of summer when they're actively producing. They need about 1 to 2 inches of water per week, and consistency matters.
Irregular watering – too much, then too little – causes problems like blossom end rot, poor fruit set, and increased pest pressure.
Always water at the base of the plant rather than overhead.
Wet foliage is an invitation for powdery mildew and other fungal issues.
Drip irrigation or a soaker hose works beautifully for squash. If you're watering by hand, direct the flow toward the roots and avoid splashing the leaves.
For fertilizing, start with that compost-rich bed preparation.
Then feed plants once they begin flowering with a balanced fertilizer – something like a 10-10-10 or a compost tea works well.
Avoid over-fertilizing with nitrogen after plants are established, as too much nitrogen encourages lots of leafy growth at the expense of fruit production.
A side dressing of compost around the base of each plant mid-season is a great way to keep them fed without the risk of nutrient burn.
If you're struggling with powdery mildew on your squash leaves - and most gardeners do at some point - check out our in-depth guide: is powdery mildew killing your plants? Here's how to stop it.
Pollination: The Step Most Gardeners Overlook
Here's something that catches many first-time squash growers off guard: squash plants produce both male and female flowers, and they need to be pollinated by insects (primarily bees) to produce fruit.
If your squash flowers but never sets fruit, poor pollination is almost certainly the reason.
Male flowers appear first, usually one to two weeks before female flowers. Female flowers are easy to identify – they have a tiny miniature squash at the base of the bloom.
Hand-Pollination
If bees and other pollinators aren't visiting regularly, you may need to hand-pollinate.
Simply use a small paintbrush or cotton swab to transfer pollen from a male flower to the center of a female flower, or pluck a male flower and rub it directly against the female flower's stigma.
To attract more pollinators naturally, plant flowering herbs and companion flowers near your squash.
Our guide on how to make a pollinator garden that supports local wildlife is packed with ideas for drawing in the bees and butterflies your squash needs to thrive.
Companion Planting
Companion planting is another powerful strategy here. Marigolds, nasturtiums, and herbs like basil and dill attract beneficial insects while deterring pests.
For a complete companion planting strategy with your squash, our guide on best companion plants for cucumbers offers useful crossover advice, since cucumbers and squash share many of the same growing needs and beneficial plant neighbors.
Pest and Disease Management for Squash
Squash has a few notorious pest enemies, and the sooner you recognize them, the better your chances of protecting your harvest.
The three biggest threats are squash vine borers, cucumber beetles, and squash bugs – and all three can devastate a planting if left unchecked.
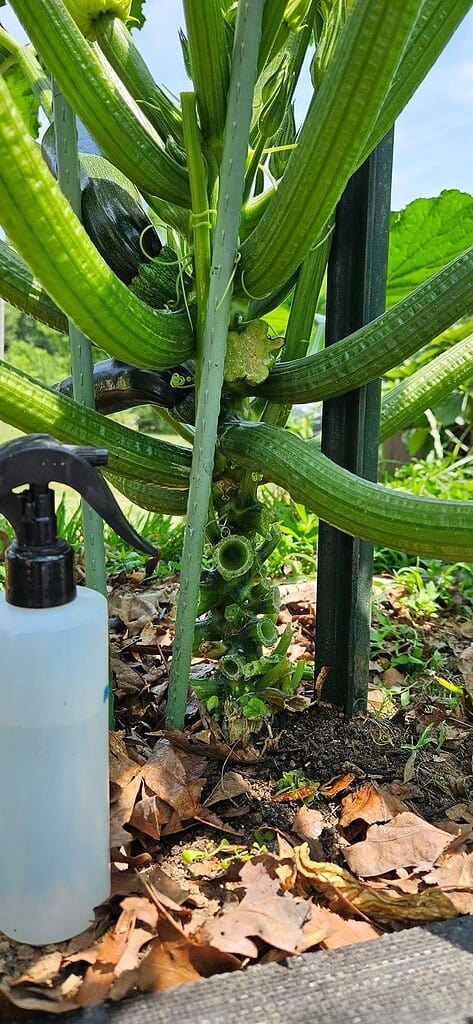
Squash Vine Borers
Squash vine borers are the larvae of a moth that lays eggs at the base of squash stems. The larvae tunnel inside the stem and kill the plant from within.
Prevention is your best strategy: use row covers over young plants to block the moths, and remove covers once flowers appear to allow pollination.
If you notice wilting that doesn't respond to watering, check the stem for entry holes and small piles of sawdust-like frass – that's the sign of a borer already at work.
Cucumber Beetles
Cucumber beetles (both striped and spotted) chew foliage and spread bacterial wilt disease.
Squash Bugs
Squash bugs suck plant sap and cause yellowing, wilting, and eventual plant death.
Check the undersides of leaves regularly for clusters of bronze-colored eggs and squash bug nymphs, and crush them before they establish.
For a broader look at organic pest control that works across your whole garden, explore our guide on natural pest control solutions for organic gardens.
You can also use plant covers to protect your garden from frost and pests in the early growing season, which adds a physical barrier against common squash pests while your young plants establish.
How and When to Harvest Squash
Knowing when to pick is just as important as how you grow. Harvest at the wrong time and you'll either get tough, seedy summer squash or immature winter squash that won't store properly.
Summer Squash (Pick Young for Best Flavor)
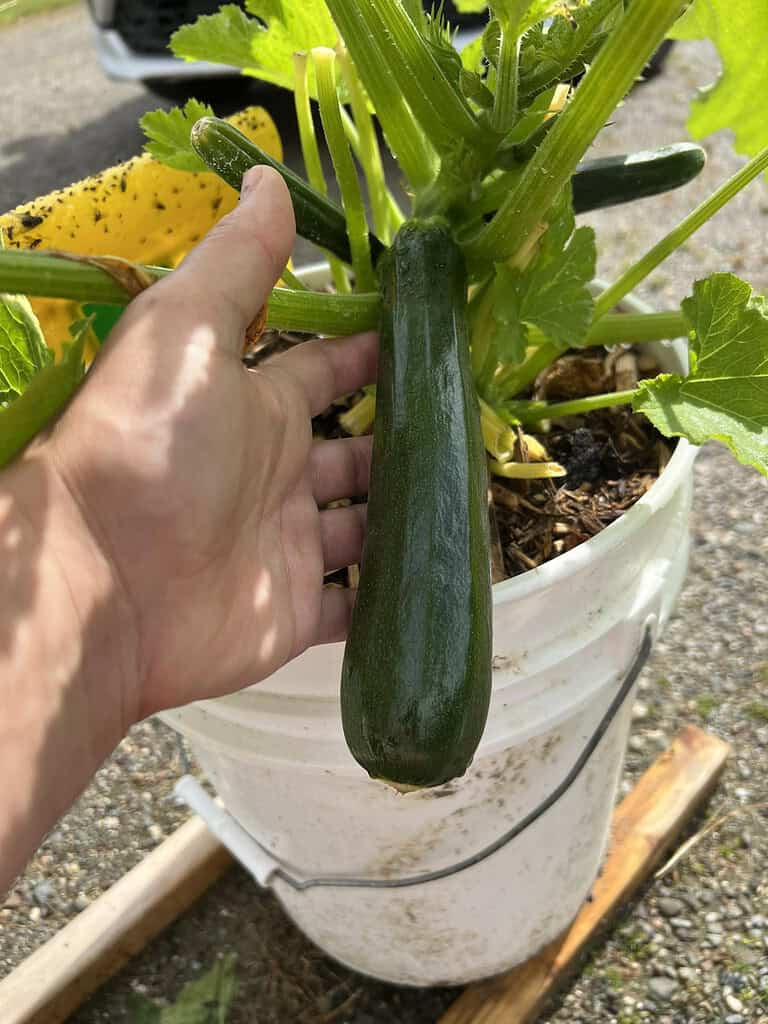
For summer squash like zucchini, the magic window is when fruits are 6 to 8 inches long and the skin is glossy and tender.
Don't let zucchini get away from you – they double in size seemingly overnight. Check plants daily once they start producing.
Overgrown zucchini develop tough seeds, fibrous flesh, and a bitter taste, and leaving them on the vine signals the plant to stop producing.
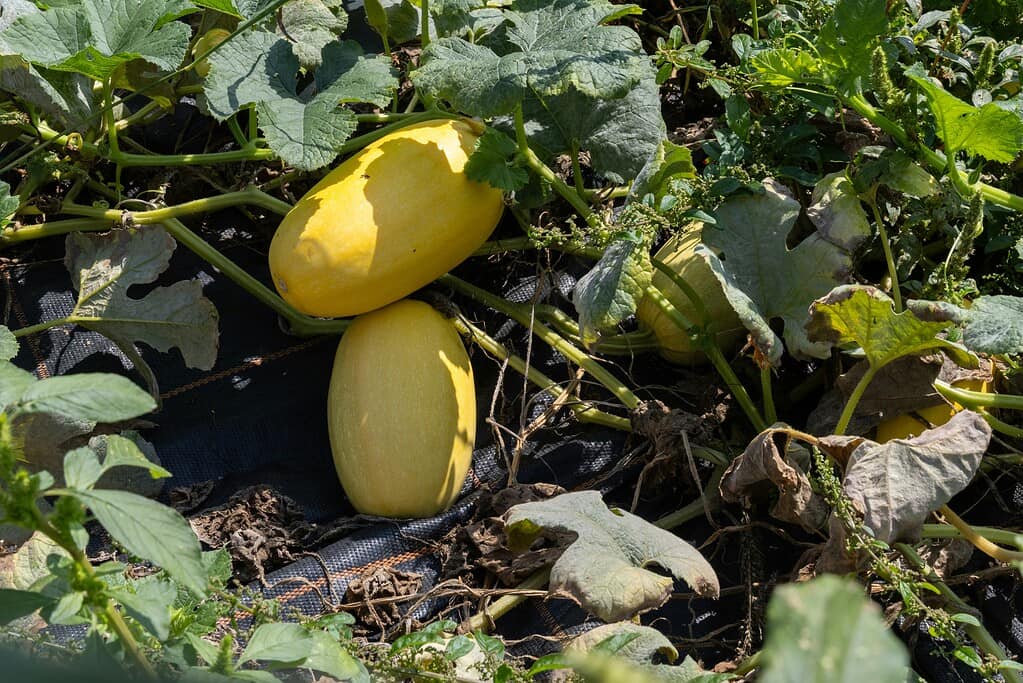
Winter Squash (Harvest Mature for Storage)
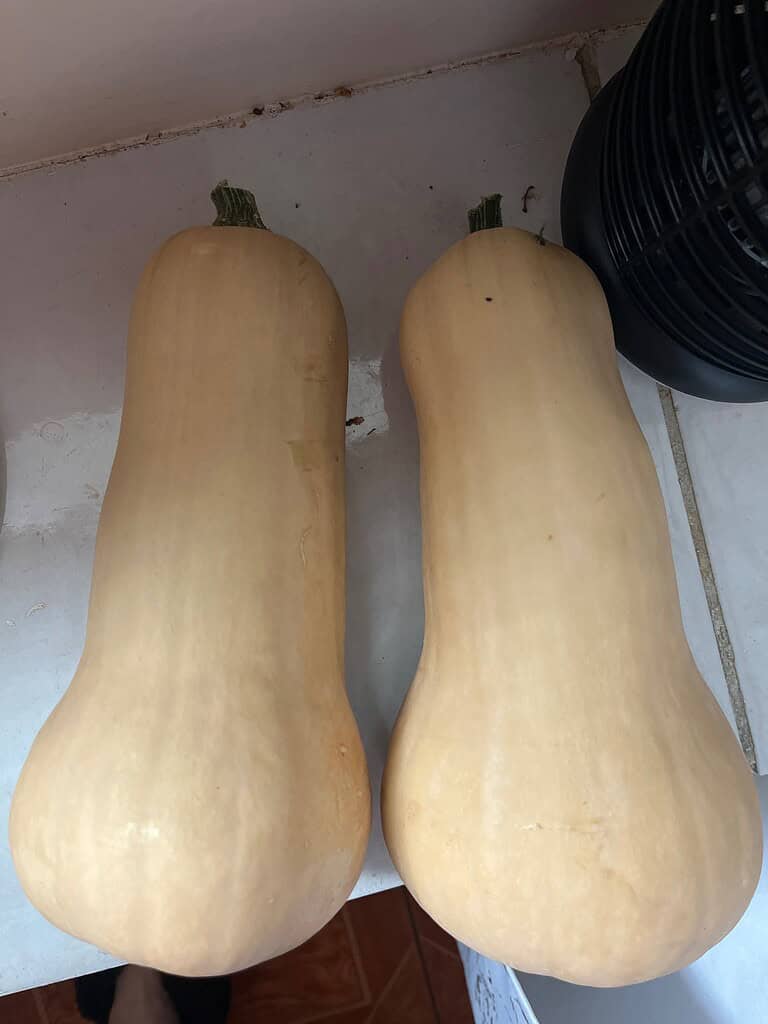
For winter squash, you're looking for a fully hardened skin that resists puncture from a fingernail, a dry and corky stem, and a matte (not shiny) surface.
The skin color will have deepened to its mature shade.
Most winter squash should be harvested before the first hard frost of fall. Cure them in a warm, dry location (around 80 to 85°F) for 1 to 2 weeks after harvest to harden the skin and extend shelf life.
Once your harvest is in, you'll want to preserve the abundance.
Whether you freeze cubed butternut squash or can a summer squash relish, our guide to canning for beginners is a practical starting point for keeping your harvest shelf-stable all winter long.
And if you're looking to dehydrate your squash, check out our post on the best foods to dehydrate for long-term storage.
Your Squash Season Starts Now – Don't Wait Another Day
Growing squash successfully comes down to acting at the right moment.
The growers who get the best harvests aren't necessarily the most experienced – they're the ones who prepared their beds early, chose the right variety for their space, got seeds in the ground at the right time, and stayed on top of pests and pollination before problems got out of hand.
The window for squash is real – cold soil, late frosts, and shortened growing seasons don't wait for anyone. But with the steps laid out above, you now have everything you need to plant with confidence and harvest with pride.
Start with your soil, pick your variety, mark your planting date, and commit to checking on your plants regularly throughout the season.
If you're just getting started with a bigger homestead garden, you'll also love our guide on how to start gardening for beginners with easy tips to grow fast – it covers the foundational habits that make every crop, squash included, more successful.
Have you grown squash before? What variety worked best in your garden – or what challenge tripped you up?
Drop your experience in the comments below – your tips could help a fellow homesteader have their best squash season yet!
Plan Your Garden With Confidence!

Ever start planting… and then realize halfway through that things feel a little scattered?
A simple plan changes everything.
When you sketch your layout first, you can see what fits, what flows, and what actually makes sense for your space. It saves time, money, and a whole lot of second-guessing later.
Our free Garden Planner helps you map out beds, organize plant spacing, rotate crops, and keep track of seasonal tasks – all in a clean, printable format you can actually use.
Whether you’re designing a low maintenance front yard or planning your full homestead garden, this gives you a clear starting point.
Less chaos. More clarity. A garden that works.
Frequently Asked Questions
Can I grow squash in containers or pots?
Yes, but with some important caveats. Bush-type summer squash varieties – like ‘Bush Baby' zucchini or ‘Patio Star' – are specifically bred for container growing and can do well in large pots (at least 5 to 10 gallons).
Vining winter squash varieties are generally too sprawling for containers unless you have a very large planter and a trellis system.
Choose a container with excellent drainage, use a rich potting mix amended with compost, and be prepared to water more frequently than in-ground plants, as containers dry out quickly in summer heat.
Why do my squash flowers fall off without producing fruit?
Flower drop is completely normal in the early stages of squash growth.
The first several flowers are typically male flowers, which do not produce fruit – they're there to provide pollen once female flowers open.
Female flowers have a small immature squash at their base; male flowers have a straight, thin stem.
If female flowers are appearing but still dropping without fruiting, the likely cause is insufficient pollination (too few bees visiting), extreme heat (above 90°F can inhibit fruit set), or inconsistent watering. Try hand-pollinating if bee activity seems low, and water consistently to reduce plant stress.
How do I prevent my squash from rotting at the blossom end?
Blossom end rot in squash – where the fruit develops a sunken, dark, mushy spot at the blossom end – is caused by calcium deficiency, which is almost always a result of inconsistent watering rather than a lack of calcium in the soil.
When soil moisture fluctuates dramatically, plants cannot absorb calcium effectively even when it's present. The fix is consistent, deep watering – never letting the soil dry out completely between waterings, and never over-saturating it either.
Mulching around plants heavily helps maintain even soil moisture. Avoid over-fertilizing with nitrogen, which can also interfere with calcium uptake.
Is it safe to eat squash leaves and flowers?
Absolutely – both squash leaves and flowers are edible and have been used in traditional cooking for centuries. Squash blossoms are a delicacy, often stuffed with cheese and lightly fried or added to quesadillas and soups.
Male blossoms are more commonly harvested for eating since removing them doesn't affect fruit production – but harvest sparingly so there's still enough pollen for female flowers.
Young, tender squash leaves can be cooked like other greens and have a mild, slightly sweet flavor. Just make sure any flowers or leaves you eat haven't been treated with pesticides or sprays.
How do I save squash seeds for next year's garden?
Squash seed saving is straightforward, but there's one important catch: squash varieties cross-pollinate very easily.
If you're growing multiple varieties of the same squash species in the same garden (for example, two types of Cucurbita pepo like zucchini and acorn squash), they will cross-pollinate and the seeds won't produce true-to-type plants next year.
To save reliable seeds, grow only one variety per species, or isolate plants by significant distance. To save seeds, allow a fruit to stay on the vine well past eating maturity – until the skin is extremely hard and the fruit has fully cured.
Scoop out the seeds, rinse them clean, dry thoroughly on a screen for two to three weeks, then store in a cool, dry place in labeled envelopes or jars. Properly dried squash seeds remain viable for 4 to 6 years.