Homemade dill pickles are a whole other league compared to store-bought ones (crisp, bright, and bursting with flavor.
Canning them at home isn’t as daunting as it seems) just use the right cucumbers, follow a tested recipe, and follow safe canning procedures.
In this article), you'll learn how to make vinegar-based dill pickles that are shelf-stable, safe, and reliably crisp.
We'll cover ingredients, equipment, step-by-step instructions, and key safety tips needed for a successful batch.
If you’re new to preserving food, check out our guide on canning for beginners.
Types of Dill Pickles You Can Make
Before you begin, it helps to know that there are two main ways to make dill pickles. Both are delicious, but they use very different methods.
Fresh-Pack (Quick Process) Dill Pickles
This is the method in the recipe you’re following here.
Fresh cucumbers are packed into jars, covered with a hot vinegar-based brine, and processed in a boiling-water bath.
The vinegar supplies the acidity that makes the pickles safe for long-term storage at room temperature.
These pickles are ready to eat after they’ve had time to sit on the shelf for a few weeks so the flavors can develop.
Fermented Dill Pickles
This is the traditional way of making pickles, where cucumbers are placed in a saltwater brine and left at room temperature for several weeks to sour naturally.
The lactic acid produced during fermentation acts as the preservative.
Fermented pickles are not canned for shelf storage – instead, they’re stored in the refrigerator or a cool cellar once fermentation is complete.
Understanding the difference is important because only vinegar-based fresh-pack pickles can be processed and stored safely on your pantry shelf.
Fermented pickles need different handling, so be sure you know which method you’re using before you begin.
Ingredients

| Ingredient | Notes |
|---|---|
| Pickling cucumbers (3–5 inch) | Firm and small – avoid slicing cucumbers |
| Vinegar (5% acidity) | Must be 5%; can use white or cider (white preferred for color) |
| Water | Clean, filtered water is fine. Mineral-heavy water may cloud the brine |
| Pickling/canning salt | No iodine or anti-caking agents – use pure pickling salt |
| Sugar (optional) | Helps balance flavor in high-acid brine; ok in small amounts |
| Dill (fresh or seed) | ~1½ heads per pint jar or ~1½ tsp seed per pint |
| Mustard seed | ~2 tsp per pint jar |
| Whole mixed pickling spices (optional) | Use in a spice bag |
| Garlic and dried red pepper (optional) | Enhance flavor; adjust to taste |
Equipment You’ll Need
- Mason-style jars, lids, and bands (new lids recommended for each batch)
- A large pot with rack (boiling-water canner or deep stockpot)
- Jar lifter, funnel, bubble remover or clean chopstick, clean cloth/paper towels, cooling towel or rack
Need more info on home canning?
I’ve put together a whole series of step-by-step guides to help you fill your shelves:
5 Steps on How to Can Dill Pickles
Canning dill pickles might look intimidating at first, but once you know the basics, it’s a straightforward process.
Follow these steps and you’ll have homemade pickles ready to enjoy all year long.
1. Prepare the Cucumbers
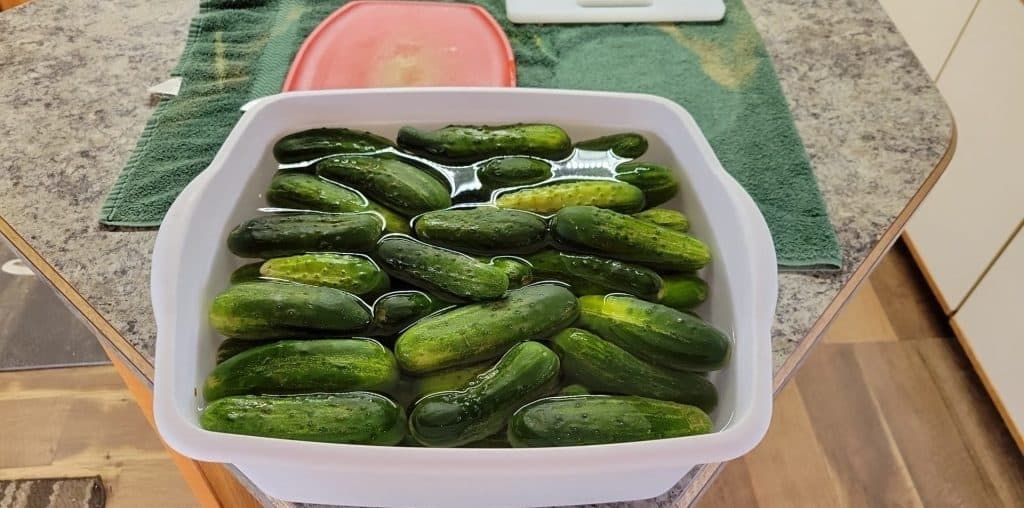
Begin by washing your cucumbers thoroughly under cool running water to remove any dirt.
Trim about 1/16 inch from the blossom end of each cucumber, as enzymes present in this end can cause softening over time.
If desired, you may soak the cucumbers in salted or iced water for several hours to enhance crispness, but always keep them cold.
For even firmer pickles, you can soak the cucumbers in a salt brine overnight (2 gallons of water mixed with ¾ cup pickling salt), then draining them before moving on.
2. Make the Brine
Next, prepare the brine by combining vinegar, water, and pickling salt in a large pot according to the tested proportions.
If you wish, you can also add a small amount of sugar to balance the flavor. Place pickling spices in a cloth bag and add them to the mixture for a well-rounded flavor.
Bring the brine to a full boil, stirring to dissolve the salt and sugar completely. Keep the brine hot while you prepare the jars.
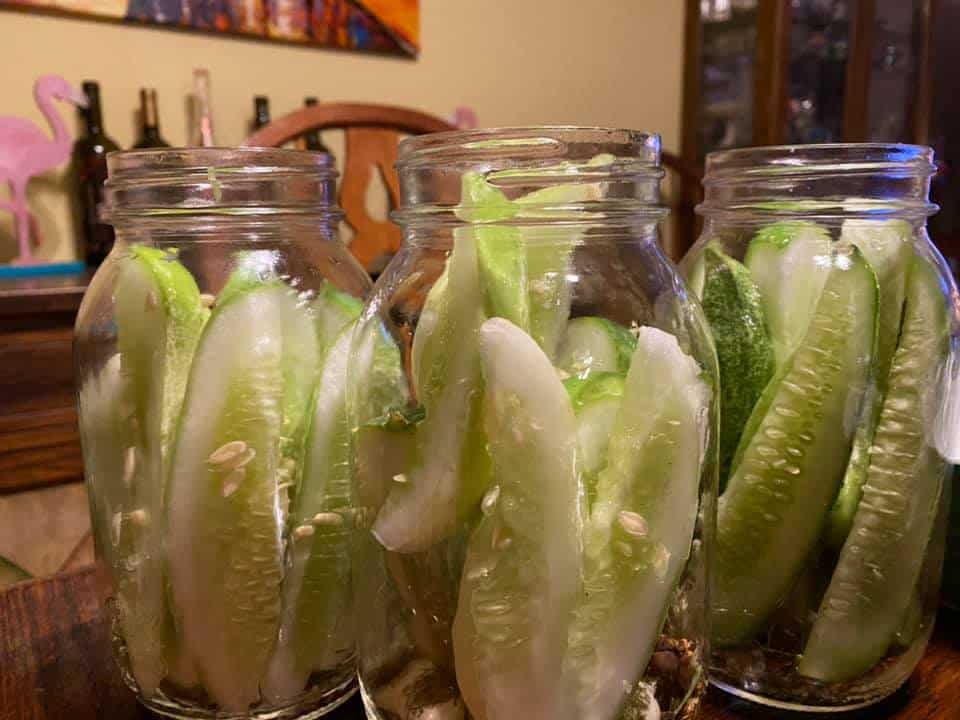
3. Pack the Jars
Keep your canning jars hot and clean by running them through the dishwasher on the sanitize setting or by dipping them in boiling water before filling.
Into each jar, place the dill, mustard seed, garlic, or other flavorings you have chosen. Pack the cucumbers snugly but without forcing them, leaving about ½ inch of headspace at the top of the jar.
Carefully pour the hot brine over the cucumbers, ensuring that they are completely covered while maintaining the proper headspace.
Use a bubble remover or clean chopstick to release any trapped air bubbles, then adjust the liquid level if necessary.
Wipe the rims clean with a damp cloth or paper towel, place the lid on the jar, and secure it with a band tightened just to fingertip tightness.
4. Process in a Boiling-Water Bath
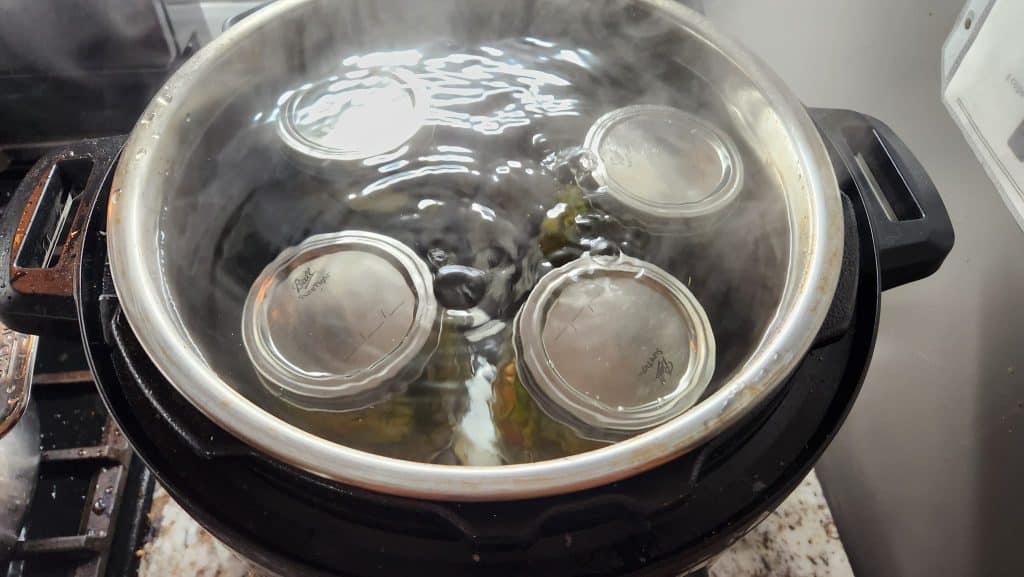
Place the filled jars on the rack inside your canner, making sure they are covered with at least one inch of water.
Bring the water to a vigorous rolling boil before starting your timer. This method is known as water bath canning, and it ensures your pickles are shelf-stable and safe to store.
Process pint jars for 10 minutes at altitudes up to 1,000 feet.
At 1,001 to 6,000 feet, increase the time to 15 minutes, and at altitudes above 6,000 feet, process for 20 minutes.
For quart jars, add 5 minutes to each of those times.
When processing is complete, carefully remove the jars from the canner with a jar lifter and place them on a towel or cooling rack.
Leave them undisturbed for 12 to 24 hours.
5. Check, Store, and Wait
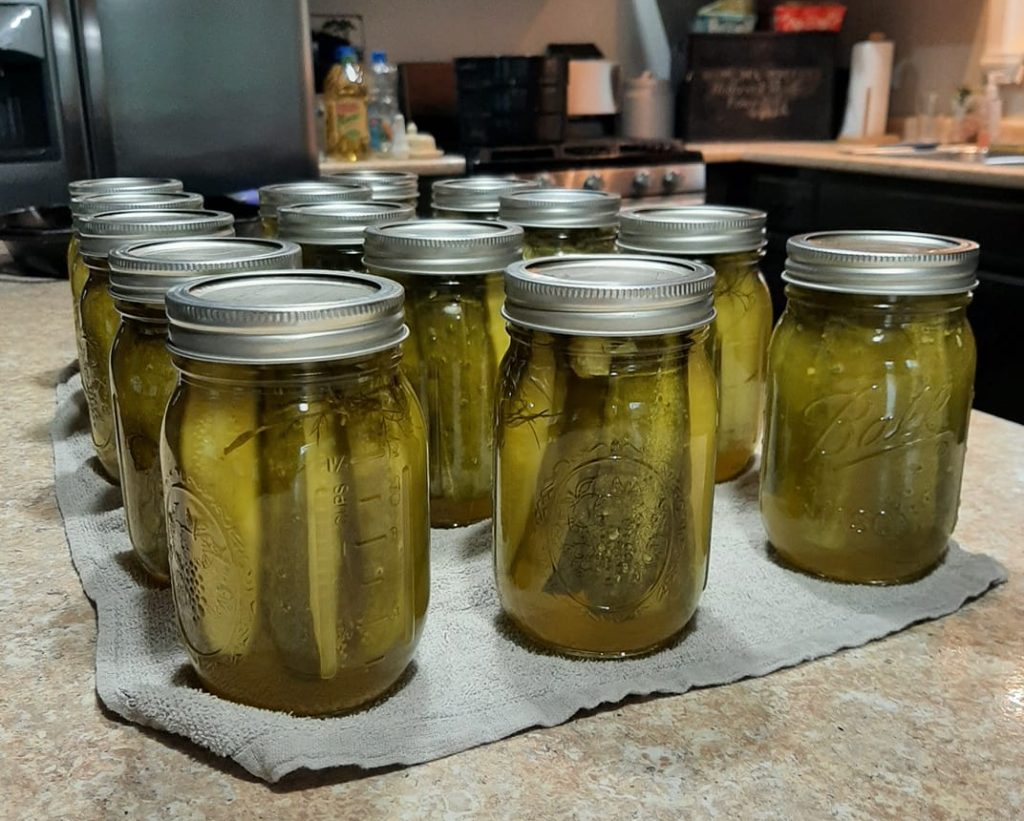
After the jars have cooled, check the seals by pressing gently on the center of each lid.
A properly sealed lid will be slightly concave and will not flex when pressed. If any jars did not seal, refrigerate them and use the pickles within a few weeks or reprocess them using the same method.
Label the sealed jars with the date and store them in a cool, dark place such as a pantry or cupboard. They will keep for up to one year.
For the best flavor, allow the jars to sit for at least two to four weeks before opening, though many find that the flavor continues to improve for up to eight weeks.
6 Tips to Avoid Soft or Mushy Pickles
Nobody wants soggy pickles, and thankfully, there are a few key things you can do to keep them crisp and firm.
1. Choose the Right Cucumbers
Pickling cucumbers are the best choice because they are small, firm, and have fewer seeds than slicing types. Using slicing cucumbers can lead to soft, watery pickles.
2. Trim the Blossom End
Always remove about 1/16 inch from the blossom end of each cucumber before canning. Enzymes in the blossom end can cause pickles to soften during storage.
3. Soak Before Canning
Soaking cucumbers in a brine made with water and pickling salt before packing can help improve texture. This step is optional but recommended if you want extra-crisp results.
If lime is used for soaking, the cucumbers must be rinsed thoroughly in fresh water several times before canning to remove all lime residue, since leftover lime can reduce acidity and make the product unsafe.
4. Don’t Overprocess
Keep to the recommended processing time and method closely.
Overprocessing jars in boiling water or letting the temperature exceed 185°F when using the low-temperature pasteurization method can cause soft pickles.
5. Keep Cucumbers Submerged
Cucumbers must stay fully covered with brine in the jar. Any portion exposed above the brine can soften or discolor.
6. Skip the Lime (Unless Rinsed Correctly)
Pickling lime was once commonly used to firm cucumbers, but it requires multiple rinses to remove all traces before canning.
If not rinsed thoroughly, it can neutralize the acidity of the brine and make the pickles unsafe.
Because of this, many home canners choose to avoid lime altogether and rely instead on good cucumber selection, blossom-end trimming, and correct processing for crisp pickles.
How to Store Dill Pickles for Freshness
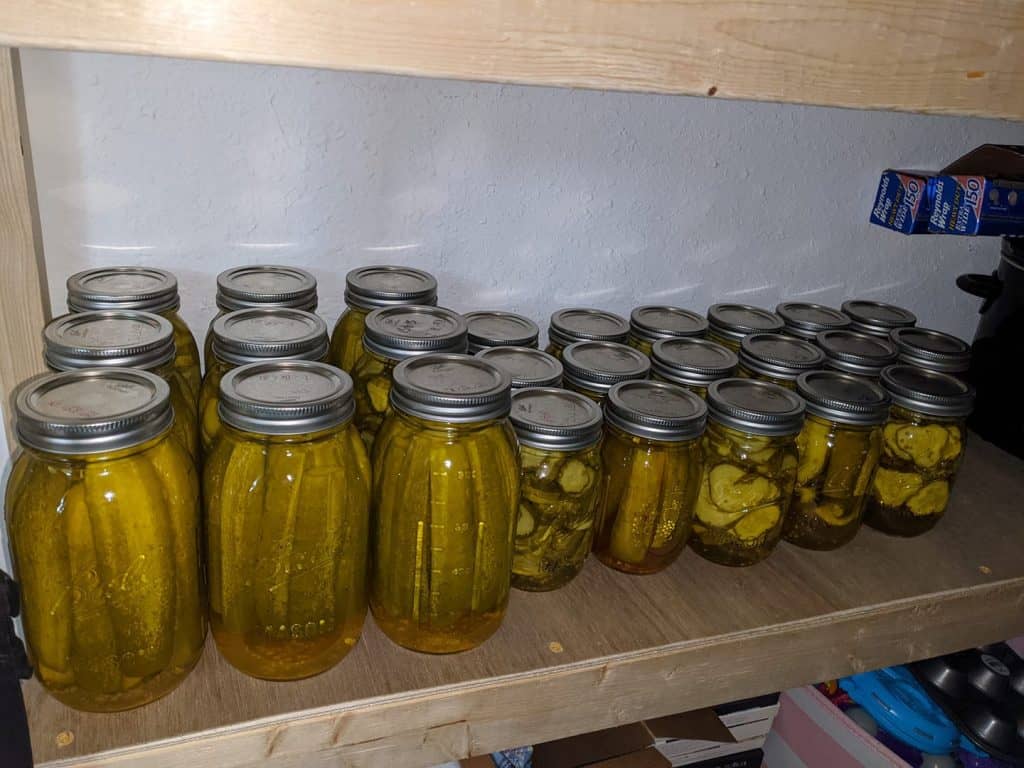
Once your jars are sealed and cooled, store them in a consistently cool, dark, and dry place – like a pantry or cupboard – avoiding heat or sunlight.
When stored this way, your pickles will stay safe and maintain quality for up to and around one year.
Although they are safe to eat earlier, for the best flavor it’s a good idea to let the pickles sit for about 4 to 5 weeks before opening. This resting period allows the flavors to mellow and meld beautifully.
After opening a jar, keep it refrigerated to preserve freshness. Always use clean utensils, reseal the jar securely, and monitor the pickles.
If you observe off smells, cloudiness, surface slime, or mold, discard the contents.
Keep It Simple for the Best Pickles
Canning dill pickles doesn’t need to be complicated.
If you use the right kind of cucumbers, follow a proven method, and don’t skip the little details – like trimming the blossom end or watching your processing time – you’ll end up with crisp, flavorful pickles that last all year.
Stick to clean, simple ingredients and be patient during the storage time. Once you’ve done a batch or two, it becomes second nature. Keep it simple, stay safe, and enjoy the jars you’ve put up.
FAQs
1. How long should I wait before opening my canned pickles?
Give them at least 2 to 4 weeks so the flavors can develop. They’ll taste even better if you wait up to 8 weeks.
2. Can I reuse jars and lids from a previous batch?
You can reuse jars and rings, but always use new lids for every canning session to make sure you get a proper seal.
3. What if one of my jars didn’t seal properly?
Store it in the fridge and eat it within a few weeks. Or you can reprocess it right away using the same method.
4. Can I change the vinegar-to-water ratio in the brine?
No – it’s important to keep the vinegar strong enough (5% acidity) to make sure the pickles are safe to store. Stick with tested ratios.
5. Why are my pickles cloudy?
Cloudiness can come from using table salt or hard water. If they were made with canning salt and filtered water, and they smell fine, they’re usually still safe to eat.