If you’ve got a pile of carrots and you’re not sure what to do with them, pressure canning is the safe, shelf-stable route.
Carrots are a low-acid vegetable, which means they need the higher temperatures of a stovetop pressure canner – not a water bath – to protect against botulism.
This guide article NCHFP/USDA tested directions from start to finish, so even if you’re new to canning, you’ll find the steps methodical and straightforward.
We’ll cover exactly what to do (from clean prep to correct headspace and altitude-adjusted pressure) so you can stock your pantry with jars you can trust.
What You’ll Need to Can Carrots

Before you start chopping or peeling, it helps to have everything laid out. Canning goes a lot smoother when you're not scrambling to find tools mid-process.
Here's what you'll need on hand:
Basic Equipment
- Pressure canner with rack – A stovetop pressure canner is required for plain carrots. (Electric multi-cookers are not approved for pressure canning by USDA/NCHFP.)
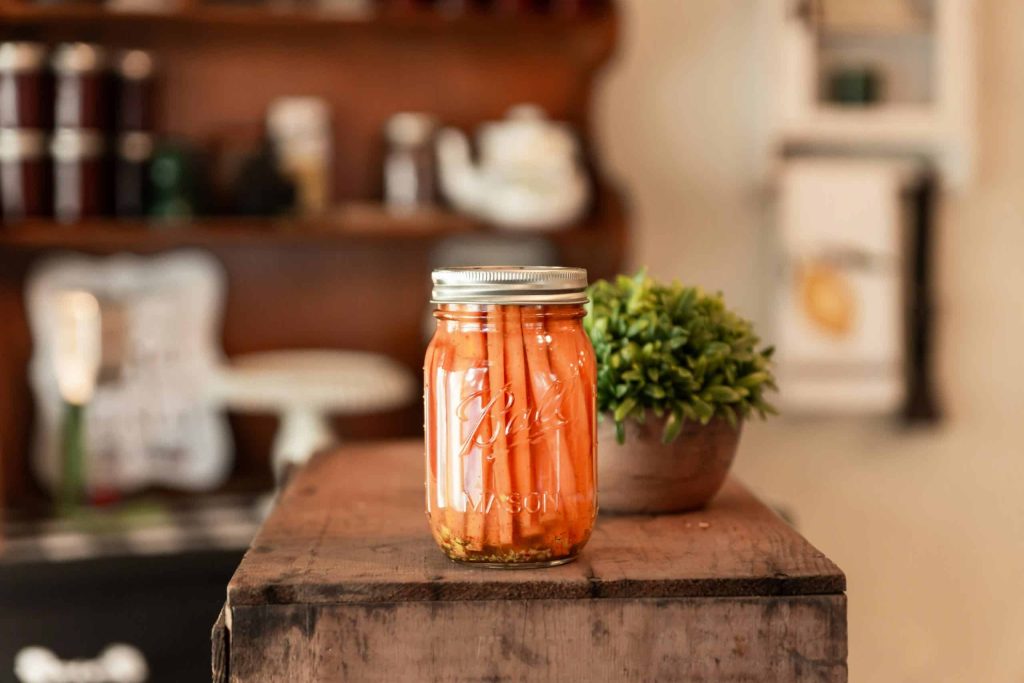
- Mason jars – Pints or quarts, free of cracks or chips.
- New lids and clean rings – Always use new lids for a reliable seal; rings may be reused if rust-free and not bent.
- Jar lifter – Safely transfers hot jars in and out of the canner.
- Canning funnel – Helps fill jars neatly and maintain correct headspace.
- Plastic de-bubbler or spatula – Removes trapped air bubbles (avoid metal utensils, which can scratch glass).
- Clean towels – For wiping jar rims and resting hot jars after processing.
Ingredients
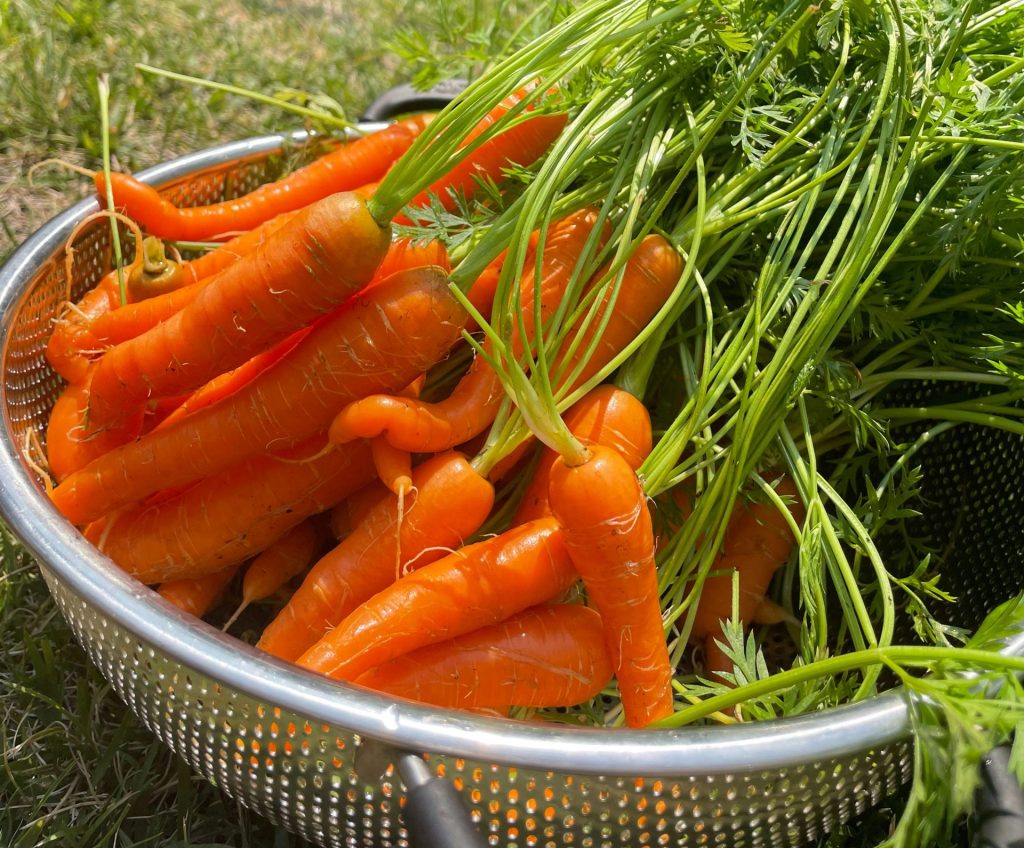
- Fresh carrots – Small, tender carrots (1–1¼ inches in diameter) give the best texture. Avoid overly large, fibrous carrots.
- Boiling water – Used to cover carrots in jars (raw pack) or the hot cooking liquid from simmering carrots (hot pack).
- Optional salt – ½ teaspoon per pint or 1 teaspoon per quart. This is for flavor only and does not affect safety.
For your information:
- 7 quarts: about 17½ pounds of carrots (without tops).
- 9 pints: about 11 pounds.
- 1 bushel (50 pounds): yields 17–25 quarts (≈2½ pounds per quart).
Important Note: For plain canned carrots, the tested liquid is water or the hot cooking liquid from simmering carrots.
Do not can carrots in syrups, juices, or other liquids. If you want sweet or spiced carrots, use a tested pickled-carrots recipe or add seasonings when serving.
That’s it. Once your gear is rounded up and your carrots are ready, it’s time to prep and peel.
Need more info on home canning?
I’ve put together a whole series of step-by-step guides to help you fill your shelves:
When Should You Plant in Your Area?
Enter your ZIP code for personalized frost dates, planting schedules, and growing tips.
Prepping and Peeling Carrots
This step takes the most hands-on time, but once you get into the rhythm, it can be relaxing.
Wash thoroughly
Carrots grow underground and hold on to soil in every crevice. Wash them well under cool running water. Scrub them thoroughly – even if they look clean.
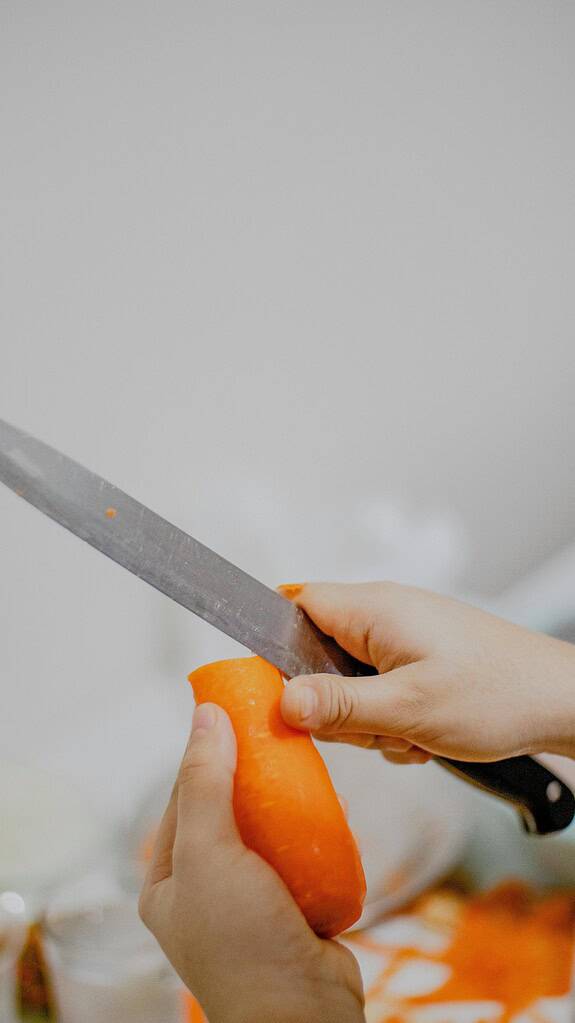
Peel (required for canning)
For safe home canning, carrots must be peeled. Peeling removes soil and bacteria that may cling to the skin and improves flavor and texture. After peeling, rinse the carrots again.
Trim and cut (sliced or diced only)
Trim off both ends. Then slice the carrots into rounds or dice them into small pieces.
USDA-tested directions for canning carrots apply to sliced or diced carrots only – do not can them whole or in sticks. Keep sizes fairly uniform for even processing.
Baby carrots
Pre-peeled “baby-cut” carrots from the store can be used, but treat them as sliced – cut them down if needed so they’re similar in size to regular carrot slices.
Batch prep
If you’re working in stages, peeled and cut carrots can be stored in the refrigerator for up to a few days. Keep them cold until you’re ready to can.
When filling jars, rely on correct canner water temperatures (140°F for raw-pack, 180°F for hot-pack) to prevent thermal shock – don’t let carrots sit out at room temperature.
Free Planting Guides for This Article
Get exact planting dates, frost schedules, and growing tips for your zone:
Raw Pack vs. Hot Pack: Two Safe Options
When canning carrots, you can choose either raw pack or hot pack. Both methods are USDA-tested and safe – the difference is in the prep.
Raw Pack (quickest method)
- Wash, peel, and slice or dice carrots.
- Fill hot jars tightly with raw carrots.
- Add boiling water, leaving 1-inch headspace.
- Add optional salt: ½ teaspoon per pint or 1 teaspoon per quart.
This method is faster, but you may see more floating carrots and slightly less dense packing.
Hot Pack (better quality over time)
- Wash, peel, and slice or dice carrots.
- Cover with boiling water; simmer 5 minutes.
- Pack hot carrots into hot jars.
- Cover with hot cooking liquid, leaving 1-inch headspace.
- Add optional salt: ½ teaspoon per pint or 1 teaspoon per quart.
Hot packing takes a little more time but usually results in jars with less floating and better color/texture during storage.
Filling the Jars
At this point, your carrots are peeled, cut, and either raw or simmered (depending on raw pack vs. hot pack). Now it’s time to load them into jars.
Packing the Jars
Pack the carrots into clean, hot jars. Fill them snugly but without forcing or crushing.
Always leave 1 inch of headspace at the top of the jar – this ensures proper expansion during processing and allows the jar to seal correctly.
Adding Liquid
- Raw pack: Pour boiling water over the carrots, leaving 1 inch headspace.
- Hot pack: Cover carrots with the hot cooking liquid, also leaving 1 inch headspace.
- Add optional salt: ½ teaspoon per pint or 1 teaspoon per quart. This is for flavor only and does not affect safety.
Important Note: For plain canned carrots, the only tested liquid is water (or hot cooking liquid from simmering). Do not add syrups, juices, or other flavorings inside the jar.
If you want sweet or spiced carrots, use a tested pickled-carrots recipe or add flavors when serving.
Removing Bubbles
Run a plastic spatula or de-bubbling tool around the inside of each jar to release trapped air. Adjust liquid as needed to restore 1 inch headspace. Wipe jar rims clean before applying lids.
Adjusting Lids Before Canning (Not “Sealing” Yet)
- Wipe rims: Clean the jar’s sealing surface with a dampened paper towel so no food or liquid remains.
- Prepare & place lids: Prepare flat lids per the lid manufacturer’s directions. Center the lid (gasket side down) on the clean rim.
- Apply bands: Add the screw band and tighten as the manufacturer directs (usually fingertip-tight) – snug, not cranked down.
- Too loose → liquid loss/failed seals.
- Too tight → air can’t vent; buckled lids/jar damage, especially with raw-pack in a pressure canner.
- Load the canner: Place jars upright on the rack with a jar lifter. Use ~140°F water for raw-pack loads or ~180°F for hot-pack loads, per NCHFP’s pressure-canning steps.
- The seal forms after processing as jars cool – do not re-tighten bands after they come out of the canner.
How Hard Is It to Garden in Your County?
Every county has a unique Gardening Difficulty Score based on frost risk, soil quality, drought, altitude, and climate trends. Find yours — plus personalized frost dates, planting calendars, and soil data.
Check Your County's Score →7 Steps for Pressure Canning Carrots
You’ve got your jars packed, lids on, and everything’s ready to go – now it’s time to run those jars through the pressure canner.
Here’s how to pressure can your carrots, start to finish:
1) Prepare the canner
Place the rack in the canner and add 2–3 inches of water. Heat the canner water to ~140°F for raw-pack loads or ~180°F for hot-pack loads.
2) Load the jars
Using a jar lifter, set upright jars onto the rack (don’t tilt). Keep jars hot and maintain 1-inch headspace in each jar.
3) Lock the lid & vent (exhaust) 10 minutes
Lock the lid with the weight off / petcock open. Turn heat to high until a strong, steady funnel of steam escapes. Vent for 10 minutes.
4) Bring to pressure
Apply the weight/close the petcock and allow pressure to rise. Start timing only when the dial shows the target pressure or the weight jiggles/rocks as specified for your canner.
Maintain a steady pressure. If it drops below target, return to pressure and restart the full time.
5) Process times & altitude pressures (carrots)
- Pints: 25 minutes
- Quarts: 30 minutes
- Dial-gauge PSI: 0–2,000 ft 11 · 2,001–4,000 12 · 4,001–6,000 13 · 6,001–8,000 14
- Weighted-gauge PSI: 0–1,000 ft 10 · Above 1,000 ft 15
6) Cool the canner – naturally
Turn off the heat (and if electric, you may remove the canner from the burner). Do not force-cool (no running water, no lifting the weight early).
Let pressure fall to zero on its own. (Older heavy-walled canners typically take ~30 min with pints and ~45 min with quarts.
7) Wait, then open safely
After the canner is fully depressurized, wait 10 minutes, then remove the weight and open the lid away from your face.
Lift jars straight up with a jar lifter and set them on a towel or rack, spaced apart.
Do not re-tighten bands. Let jars cool, undisturbed, 12–24 hours.
Cooling, Sealing, and Storage
You’re in the home stretch – these last steps protect your seal and shelf life.
Let the jars cool undisturbed
Place hot jars upright on a towel or rack with space between them.
Do not re-tighten bands or move/tilt jars. Let them cool 12–24 hours at room temperature. (Lower liquid in raw-pack jars is normal; don’t open jars to add liquid.)
Check the seals (after 12–24 hours)
Remove the screw bands, then use one (or more) of NCHFP’s tests:
- Press the center of the lid – if it springs up, it’s unsealed.
- Tap with a teaspoon – ringing = sealed; dull = unsealed (also dull if food touches the lid underside).
- Look across the lid – it should be slightly concave.
If a lid didn’t seal, you can reprocess within 24 hours using a new lid (following a tested process), refrigerate and use within a few days, or freeze (leave 1 inch headspace).
Clean up and store
For sealed jars: remove bands; wash lid and jar to remove residues; rinse and dry. Label and date, then store in a clean, cool, dark, dry spot.
For best quality, keep storage 50–70°F and use within 1 year. Avoid heat (>95°F), direct sunlight, and dampness (which can corrode lids and compromise seals).
Tip: Don’t re-tighten bands after processing; the vacuum forms as the jars cool.
Put Those Carrots to Work
Pressure canning carrots is one of those practical kitchen wins that keeps on giving.
Once you’ve got a shelf full of jars, you’re only ever a few minutes away from tossing together a quick meal, warming up a side dish, or adding veggies to just about anything.
If you haven’t tried canning carrots yet, don’t overthink it. Just get your hands on some fresh ones, set aside a little time, and go step by step.
The hardest part is usually just starting – and once you’ve done it, you’ll probably wonder why you waited so long.
Now go grab those carrots.
Your future self will thank you when dinner's halfway done just by opening a jar.
FAQs
Do I have to peel the carrots before canning them?
Yes, it’s highly recommended. While you technically can leave the skins on, they can get tough and give the finished carrots an earthy flavor. Peeling also helps get rid of any lingering dirt or bacteria from the soil.
Can I use baby carrots from the store?
You sure can. Just make sure they’re fresh and not slimy or dried out. Give them a good rinse, and you're good to go. Some folks say they don’t taste quite as sweet as freshly peeled carrots, but they’ll still preserve well.
Why can’t I use a water bath canner for carrots?
Because carrots are low-acid, and water bath canners don’t get hot enough to kill off the bacteria that could cause botulism. Pressure canning is the only safe way to preserve plain carrots at home.
How long do canned carrots last?
If sealed properly and stored in a cool, dark spot, they’ll keep well for 12 to 18 months – some even say longer. But for the best flavor and texture, try to use them within that window.
Can I add herbs or other veggies in the jars?
It’s safest to stick to tested recipes. Adding garlic, onions, or herbs can change the acidity or density of the jars, which could mess with safe processing times. If you want to add flavor, do it when you’re serving them, not when you can.
Level Up Your Garden
Our most popular gardening guides


