Okra doesn’t always get the love it deserves, but once you pickle it, everything changes. Instead of being slimy, it turns crisp, tangy, and full of flavor.
This pickled okra recipe is simple enough for anyone to try, even if you’ve never canned anything before. If you’re new to the process, this guide to canning for beginners can help you get started with confidence.
It’s great for snacking, tossing into salads, or even serving alongside a good Southern meal.
Why Make Pickled Okra?
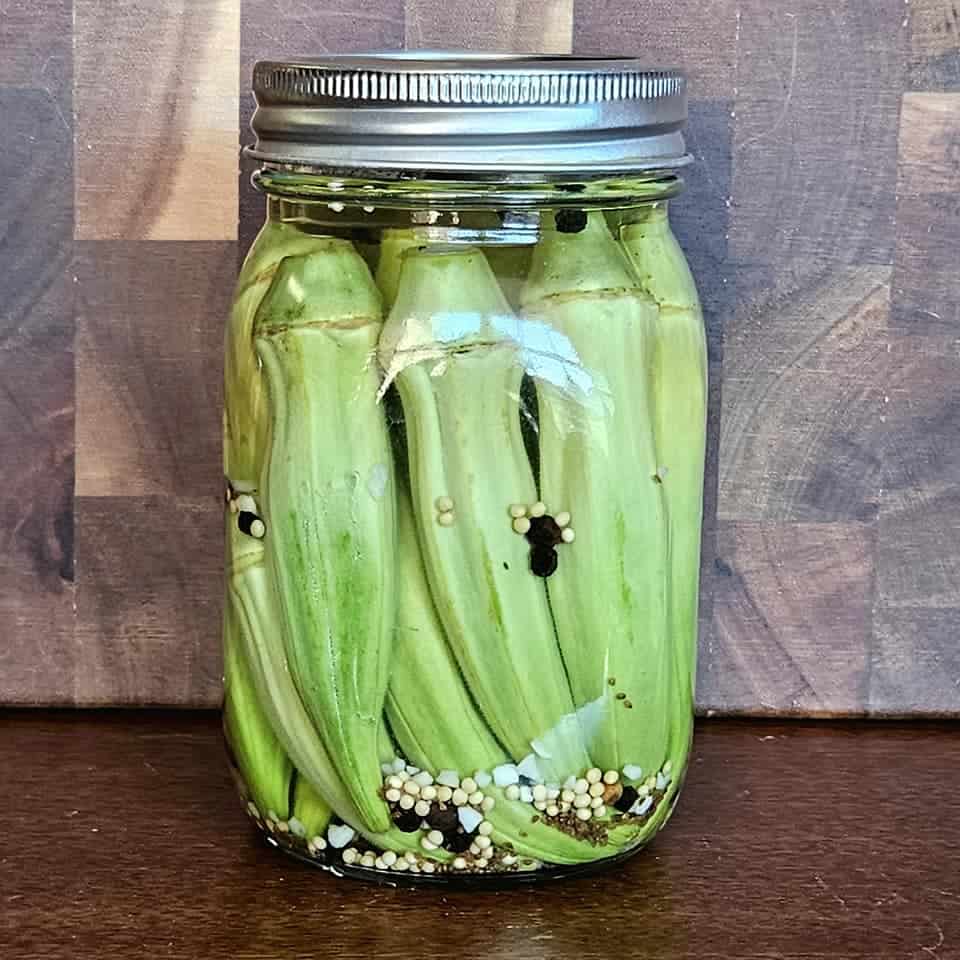
Fresh okra is tasty on its own, but pickling takes it to another level. The vinegar brine soaks into the pods, giving them a crisp bite and a tangy kick.
The slimy texture that some people shy away from? Gone. Instead, you get a firm, crunchy okra with just the right amount of spice and zing.
Love Pickling? This is part of my How to Pickle Everything series! Check out more recipes:
- Quick Pickled Radishes Recipe
- Easy Pickled Beets Recipe
- How to Make Pickled Cabbage (Only 20 Minutes!)
- How to Make Pickled Jalapeños at Home
- How to Make Pickled Cucumbers at Home
- Pickled Garlic Recipe
- Easy Pickled Banana Peppers Recipe
- Quick Pickled Carrots Recipe
- How to Make Pickled Asparagus at Home
- How to Make Pickled Ginger (Gari) at Home
- How to Make Pickled Cauliflower
- Crisp Pickled Green Beans Recipe
- Homemade Pickled Eggs with Beets
- Easy Pickled Cherry Tomatoes (No Canning Needed)
Another reason to make your own is that you can control the flavor. Whether you like it garlicky, a little sweet, or with extra heat from red pepper flakes, you can adjust it to your liking.
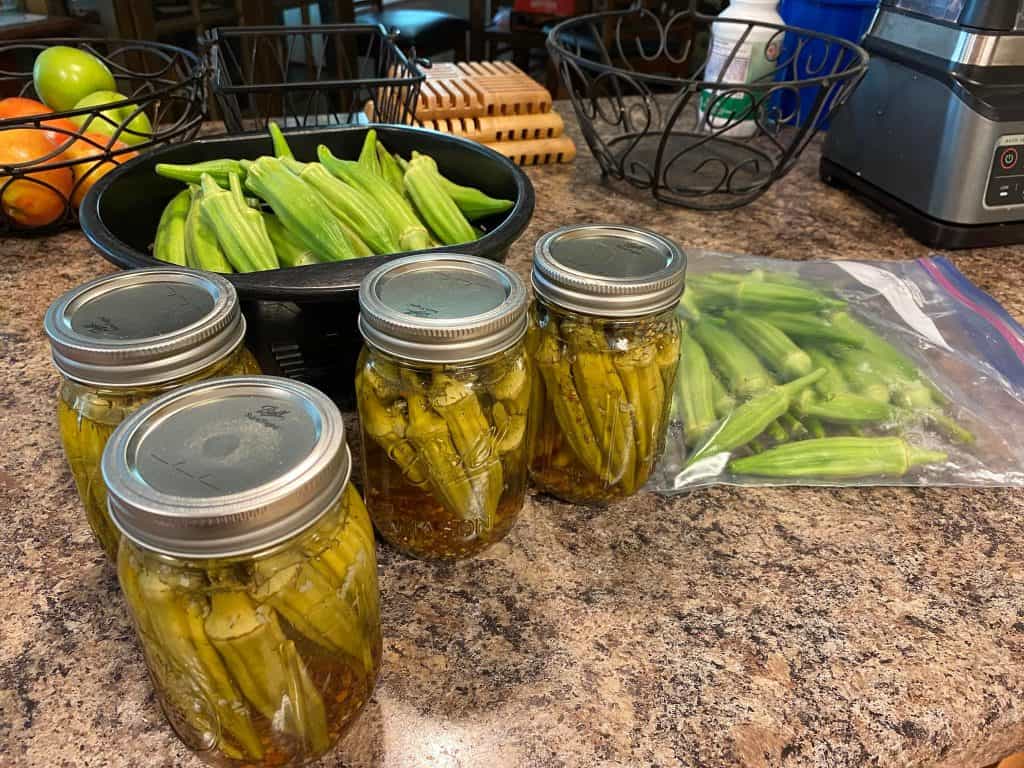
Plus, homemade pickled okra stores well for months, making it perfect for stocking your pantry or gifting to friends.
Ingredients (Yield ≈ 8–9 pints)
- 7 lb small okra pods, whole, washed and trimmed
- 6 small hot peppers (optional, adds heat)
- 8–9 garlic cloves (one per jar)
- 4 tsp dill seed (distributed across jars)
- 2/3 cup canning or pickling salt
- 6 cups water
- 6 cups vinegar (5% acidity)
Safety Overview
Okra is a low-acid vegetable and cannot be safely canned on its own in a boiling-water canner. To make it shelf-stable, it must be acidified with vinegar of at least 5% acidity.
This tested recipe combines vinegar, water, and salt in specific ratios to ensure the correct acidity level for safe preservation.
Following this acidified, water-bath canning method is essential to prevent the growth of dangerous bacteria, including Clostridium botulinum.
For safety, do not reduce the vinegar, dilute the brine, or change jar sizes. Always follow tested recipes exactly and adjust processing times based on your altitude.
8-Step Guide to Making Pickled Okra

Making pickled okra is straightforward once you break it down into a few simple steps. Here’s how to go from fresh okra to perfectly sealed jars, ready for your pantry or fridge.
1. Prepare the Jars
Wash pint jars, new lids, and bands in hot soapy water and rinse well.
Keep jars hot until ready to use by placing them in simmering water or a dishwasher’s hot cycle.
Prepare your boiling-water canner with a rack and enough water to cover jars by 1–2 inches.
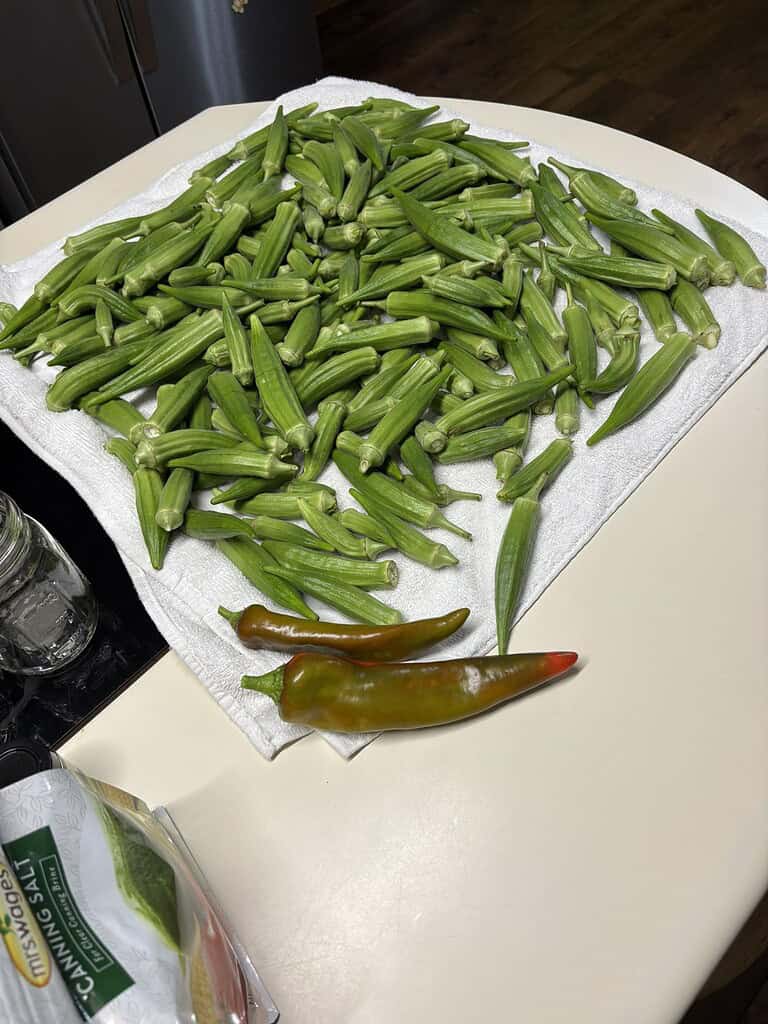
2. Wash and Trim the Okra
Select small, firm pods (2–4 inches long). Rinse thoroughly under cool water. Trim stems slightly, but do not cut into the seed cavity.
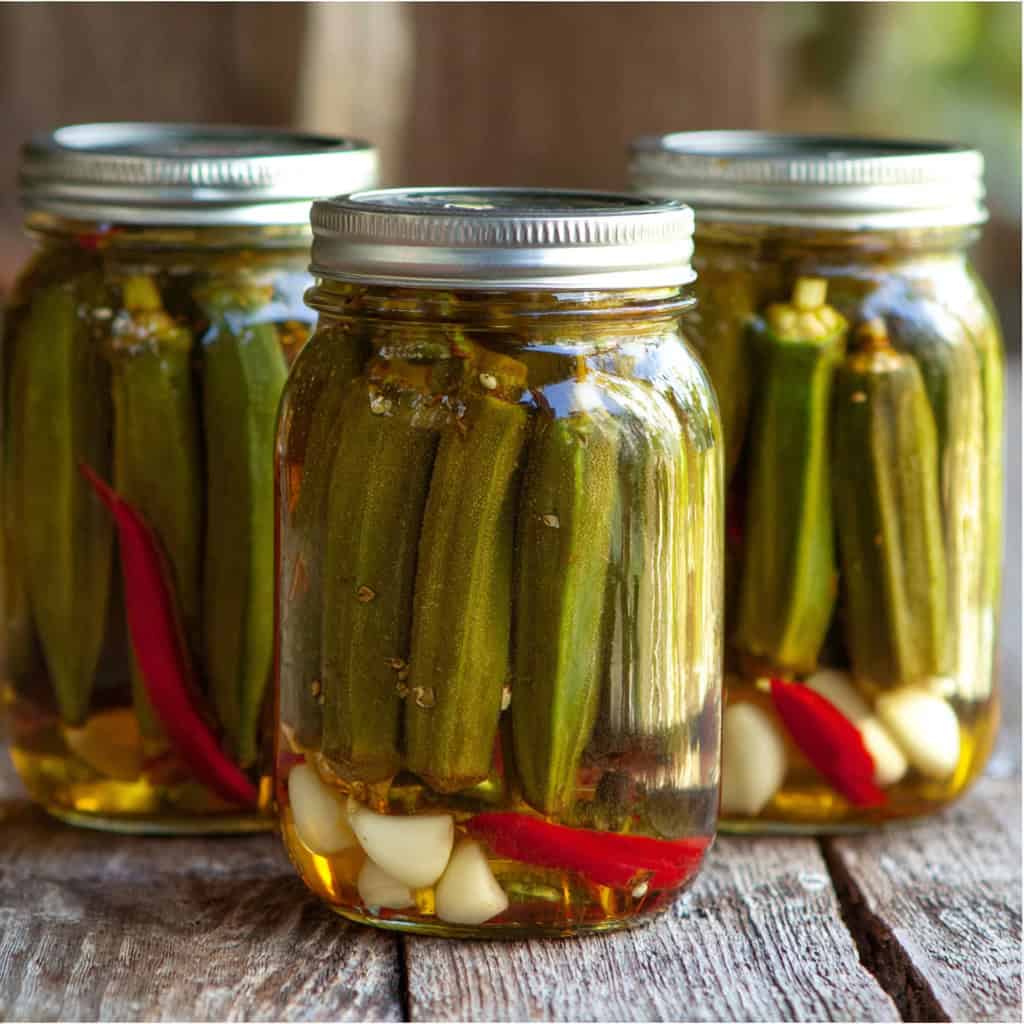
3. Pack the Jars
Pack whole okra pods upright and firmly into hot, clean pint jars, leaving ½-inch headspace. Place 1 peeled garlic clove into each jar.
4. Prepare the Brine
In a large saucepan, combine:
- 6 cups water
- 6 cups vinegar (5% acidity)
- ⅔ cup canning or pickling salt
- 6 small hot peppers (optional)
- 4 teaspoons dill seed (to be divided among jars if not added directly)
Bring mixture to a full rolling boil, stirring to dissolve salt completely.
5. Add Hot Brine to Jars
Carefully pour the boiling brine over okra in each jar, maintaining ½-inch headspace. Remove air bubbles by running a nonmetallic utensil along the inside of the jar.
Adjust headspace by adding more hot brine if needed.
6. Wipe Rims and Apply Lids
Wipe jar rims with a clean, damp cloth to remove any residue. Center lids on jars and screw bands down until fingertip tight.
7. Process in a Boiling-Water Canner
Place jars on the rack in the canner. Ensure water covers the tops by at least 1–2 inches. Bring to a vigorous boil and process pints for the time required by your altitude:
- 0–1,000 ft: 10 minutes
- 1,001–6,000 ft: 15 minutes
- Above 6,000 ft: 20 minutes
8. Rest and Cool the Jars
When processing time is complete, turn off heat, remove canner lid, and let jars sit in hot water for 5 minutes.
Then, lift jars out carefully and place them on a towel-lined counter, leaving space between jars. Allow to cool 12–24 hours undisturbed.
Cooling and Storing Your Pickled Okra
After processing, turn off the heat, remove the canner lid, and wait 5 minutes. Then lift jars straight up onto a towel or rack, spacing them so air can circulate.
Do not retighten lids. Let jars cool undisturbed at room temperature for 12–24 hours.
Check seals after 12–24 hours. Remove ring bands and test seals (lid should be concave and not flex; you can also tap for a clear, ringing sound). Wash and dry jars and lids if needed, label and date them.
Storage conditions: Store sealed jars without the ring bands in a clean, cool, dark, dry place (ideally 50–70 °F) and use within one year for best quality. Avoid heat, sunlight, and dampness.
If a jar did not seal:
- You may reprocess within 24 hours (new lid; follow hot-pack directions), or
- Refrigerate and use within about one week (or freeze up to a year; leave 1-inch headspace before freezing).
Quality suffers with reprocessing, so refrigeration is often preferred.
Do not open sealed jars to “top up” liquid if some brine is lost during processing. Liquid loss is common; opening the jar breaks the seal and risks safety.
Flavor development: Fresh-pack/quick pickles improve in flavor after standing for several weeks post-canning (so “24 hours” is too short for peak taste).
By following these best food canned storage tips, your pickled okra will stay fresh and flavorful for months!
Troubleshooting Tips
Even when you follow directions carefully, a few common issues can come up:
- Cloudy Brine: Natural starches, minerals in water, or spices can sometimes cloud the brine. This is usually harmless. However, discard the jar if you also notice an off-odor, slimy texture, or mold.
- Unsealed Jars: If a lid does not seal after 12–24 hours, you can reprocess within 24 hours using a new lid, but quality may suffer. Otherwise, refrigerate and use within 1 week.
- Bulging Lids or Leaking Jars: These are signs of spoilage. Do not taste; discard the contents immediately.
- Soft or Mushy Okra: This can happen if overripe pods are used or if jars are overprocessed. Always select small, tender okra and follow the exact processing times.
- Excessive Shrinkage After Canning: Okra may shrink slightly as it absorbs brine. As long as the jars are properly sealed and the okra is covered by liquid, this is normal.
Ready to Make Your Own Pickled Okra?
Making pickled okra at home is simpler than it seems, and the results are well worth the effort.
With just a few fresh ingredients, some basic spices, and a little time, you can fill your pantry with jars of crisp, tangy okra that taste better than store-bought.
Whether you snack on them, serve them with a meal, or share them with friends, this recipe is a great way to enjoy okra in a whole new way.
Frequently Asked Questions
1. How long does pickled okra last once opened?
Once you open a jar, store it in the refrigerator and use it within 1–3 weeks for best quality and safety. Keep the okra fully covered in brine, and discard the jar if you notice mold, off-odors, or slimy texture.
2. Can I skip the sugar in the brine?
Yes. The sugar is mainly for flavor balance and can be left out without affecting the safety of the recipe. The vinegar provides the necessary acidity for preservation.
3. Why did my brine turn cloudy?
Brine can sometimes look cloudy because of natural starches in okra, minerals in the water, or spices. This is usually harmless. However, if cloudiness is paired with spoilage signs – such as an unpleasant smell, mushy okra, or a bulging lid – the jar should be discarded.
4. Do I have to use a water bath, or can I make refrigerator pickles?
For shelf-stable storage, jars must be processed in a boiling-water canner using the tested recipe. Skipping this step means the jars are not safe to keep at room temperature. If you prefer, you can make refrigerator pickles by pouring the hot brine over prepared okra, cooling, and refrigerating. These should be eaten within a few weeks.
5. How do I keep my pickled okra crunchy?
Start with small, tender pods – they stay firm better than large or mature ones. Avoid overcooking, and don’t exceed the recommended processing times. If you want extra crispness, you can add a commercial pickling crisping agent (such as calcium chloride), which is safe and effective.