Apples have a natural sweetness and a gentle tartness that make them perfect for preserving.
When cooked down with sugar, spice, and a touch of lemon, they turn into a rich, spoonable preserve that captures the flavor of fall in a jar.
This recipe is adapted directly from the National Center for Home Food Preservation (NCHFP), which means it’s a tested and safe method for home canning.
By following their steps, you’ll create a jam with the right balance of sugar and acidity for both flavor and food safety.
Whether you’re stocking your pantry for the winter or making a few jars to share with friends, these apple jam are a cozy, versatile spread.
If you’re in the mood for more apple projects, try canning apple pie filling for a cozy pantry staple that’s ready to go whenever you want pie without all the prep.
Ingredients for Homemade Apple Jam

Here’s everything you’ll need to make a batch of apple preserves that’s safe for long-term storage:
- 6 cups apples – peeled, cored, and sliced
- 1 cup water
- 1 tablespoon bottled lemon juice (don’t use fresh; bottled has consistent acidity for safe canning)
- 1 package powdered pectin
- ½ lemon, thinly sliced (optional) – adds flavor and a pretty look in the jar
- 4 cups sugar
- 2 teaspoons ground nutmeg
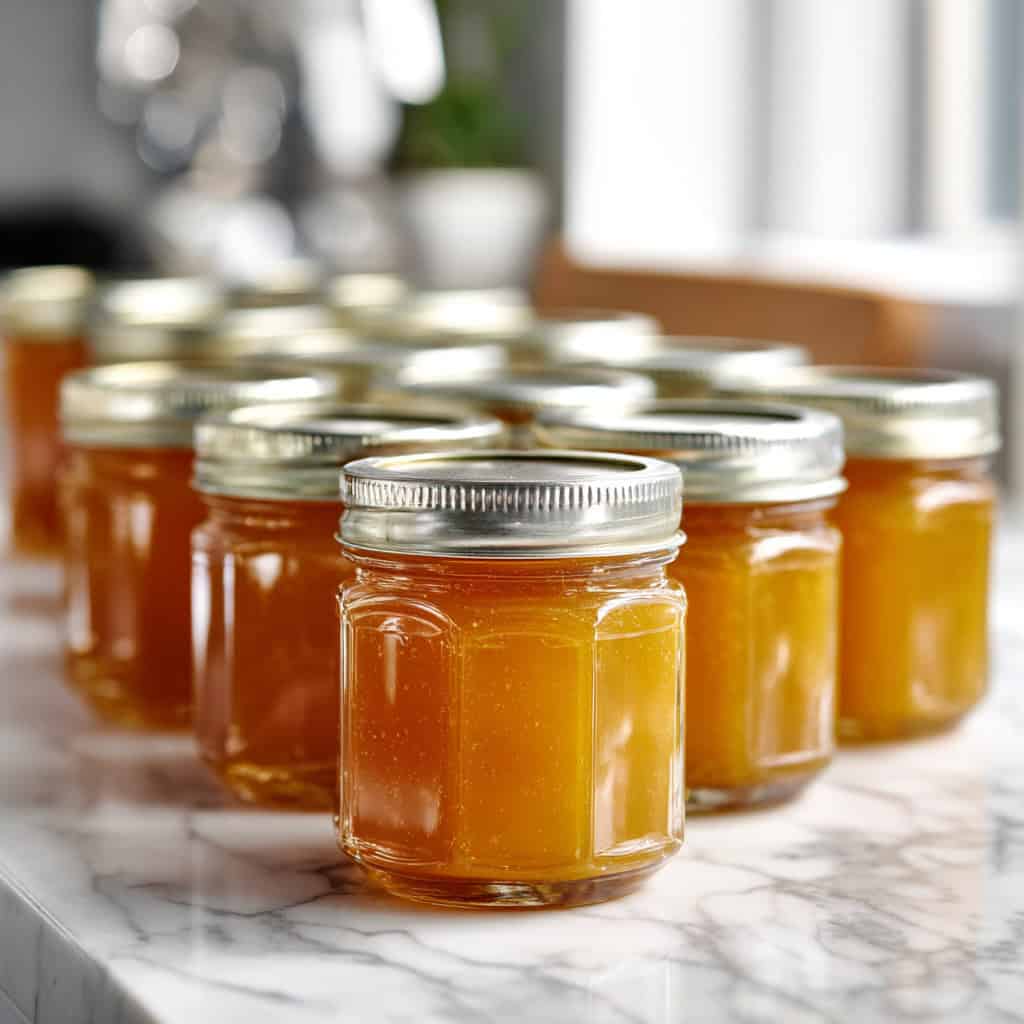
Yield: About 6 half-pint jars
Looking for more ways to fill your pantry? This recipe is included in our Jam Series. Take a peek at the others here.
- Easy Strawberry Jam Recipe (With Pectin)
- Easy Cherry Jam Recipe
- Small-Batch Blueberry Jam Recipe
- How to Make Blackberry Jam
- Homemade Peach Jam Recipe with Powdered Pectin
- Easy Raspberry Jam Recipe Without Pectin
- How to Make Strawberry Rhubarb Jam
- How to Make Homemade Apricot Jam
- Homemade Plum Jam Recipe
7 Steps on How to Make Apple Jam at Home

Making apple preserves takes a bit of patience, but each stage is simple when you know what to expect. Follow these steps carefully, and you’ll have safe, shelf-stable jars ready to enjoy all year.
Step 1: Prep Your Jars and Lids
Before cooking begins, it’s important to prepare your jars properly. Wash your jars, lids, and screw bands thoroughly in hot, soapy water, then rinse them well.
Keep the jars hot until they are ready to be filled – this can be done by simmering them in a pot of hot water or by leaving them in the dishwasher on a “keep warm” cycle.
Clean, hot jars prevent cracking when filled with boiling preserves. Lids should be kept clean and warm but not boiled, as modern lids are designed to seal best without pre-boiling.
Step 2: Cook the Apples
Place your peeled, cored, and sliced apples into a large, heavy-bottomed saucepot. Add one cup of water and one tablespoon of bottled lemon juice, then cover the pot with a lid.
Allow the apples to simmer gently for about ten minutes, stirring occasionally, until they become tender.
The apples should soften without breaking down completely, which gives the finished preserves a pleasing texture.
The bottled lemon juice is essential – it provides consistent acidity, ensuring both food safety and a balanced flavor.
Step 3: Add the Pectin
Once the apples are tender, stir in one package of powdered pectin. Bring the mixture to a full rolling boil, which means the boil continues even while you stir.
This stage is critical, so be sure to stir frequently to prevent the mixture from scorching at the bottom of the pot.
The pectin helps the preserves set properly and gives them that classic jam-like consistency. Skipping or reducing it will alter the outcome and may also affect safety if you intend to can the preserves.
Step 4: Add Sugar and Lemon Slices
When the pectin is well incorporated, add all four cups of sugar at once. Stir until it dissolves completely, then add the optional half-lemon, thinly sliced.
These slices not only enhance the flavor but also make the jars look attractive. Return the mixture to a full rolling boil and allow it to boil hard for one full minute, stirring constantly.
This step ensures the fruit, sugar, and pectin bond together properly, creating a reliable gel.
Step 5: Finish with Spice
Remove the pot from the heat and stir in two teaspoons of ground nutmeg. This gives the preserves a warm, aromatic flavor that pairs beautifully with apples.
If foam has formed on the surface during cooking, skim it off with a spoon so the finished jars remain clear and appealing. At this stage, the preserves are fragrant, glossy, and ready for canning.
Step 6: Fill the Jars
Working quickly but carefully, ladle the hot preserves into hot jars, leaving a quarter-inch of headspace at the top.
Headspace is the small gap between the food and the lid, and getting it right helps ensure a proper seal.
Run a clean utensil down the inside of each jar to release any trapped air bubbles. Wipe the rims with a damp paper towel to remove drips or stickiness, which could interfere with sealing.
Place the lids on the jars and screw the bands down until they are fingertip tight – secure but not overly tight.
Step 7: Process in a Boiling-Water Canner
Place the filled jars into a boiling-water canner, ensuring they are covered with at least one to two inches of water.
Cover the canner with its lid, bring the water to a rolling boil, and only then begin timing. Process the jars according to the altitude chart provided in the next section.
Once the time is complete, turn off the heat and carefully remove the jars with a jar lifter.
Place them on a towel or cooling rack, leaving space between each jar, and let them cool undisturbed for twelve to twenty-four hours.
During this time, the lids will seal as the jars cool, locking in freshness and safety.
How Long to Process Apple Jam in a Water Bath Canner
Processing your apple preserves in a boiling-water canner is the step that makes them shelf-stable.
The amount of time you need depends on your altitude, since water boils at lower temperatures the higher you go. Always begin timing only after the water has reached a full, rolling boil.
Here are the recommended processing times for half-pint or pint jars:
| Elevation | Processing Time |
|---|---|
| 0 – 1,000 ft | 5 minutes |
| 1,001 – 6,000 ft | 10 minutes |
| Above 6,000 ft | 15 minutes |
When the time is complete, turn off the heat, remove the canner lid, and let the jars sit in the hot water for about five minutes.
This small pause helps prevent siphoning (when liquid leaks from the jars). Afterward, use a jar lifter to carefully transfer jars onto a towel or cooling rack. Leave them undisturbed for 12–24 hours while the lids seal.
The next day, check the seals by pressing the center of each lid. A properly sealed lid will be firm and not spring up when pressed.
Store sealed jars in a cool, dark place for up to a year. Any unsealed jars should be refrigerated and used within three to four weeks.
If you’re new to canning and want the full picture, check out my easy water bath canning guide for a complete step-by-step walkthrough before you start.
Best Ways to Store Homemade Apple Jam for Long-Lasting Freshness

Once your apple preserves are processed and sealed, proper storage will keep them tasting their best.
After removing the jars from the boiling-water canner, allow them to cool undisturbed for 12 to 24 hours.
During this time, the lids will form a vacuum seal. You can check the seal by pressing the center of each lid; if it doesn’t flex up or down, the jar is sealed correctly.
Pantry Storage
Sealed jars can be labeled with the contents and the date, then stored in a cool, dark, and dry place such as a pantry or cupboard.
Avoid places that experience direct sunlight, fluctuating temperatures, or dampness, since these conditions can shorten shelf life.
Properly sealed jars of apple preserves will keep for up to one year without losing quality.
Refrigeration for Unsealed Jars
If any jars fail to seal, don’t panic – simply place them in the refrigerator and enjoy them within three to four weeks.
You can also freeze apple preserves for longer storage if desired; just be sure to leave extra headspace in the jars or freezer-safe containers to allow for expansion.
By following these storage steps, you’ll be able to enjoy the warm, spiced flavor of homemade apple preserves throughout the year.
Delicious Ways to Use Apple Jam
Homemade apple preserves are far more versatile than just a sweet spread for toast. Once you’ve stocked a few jars in your pantry, you’ll find plenty of ways to enjoy them throughout the day.
Spread on Toast or Biscuits
The simplest and most classic use is spreading apple preserves on warm toast, fresh biscuits, or English muffins. The sweetness and spice bring a cozy flavor to even the quickest breakfast.
Stir into Breakfast Bowls
A spoonful of apple preserves adds natural sweetness to oatmeal, yogurt bowls, or even a stack of pancakes. It blends especially well with cinnamon, nuts, and granola.
Use as a Baking Filling
Apple preserves make an excellent filling for cookies, bars, or pastries. Try them in thumbprint cookies, layered dessert bars, or folded into puff pastry turnovers for a quick homemade treat.
Pair with Cheese and Meats
For something savory, serve apple preserves alongside a cheese board. The spiced apple flavor pairs beautifully with sharp cheddar, brie, or gouda. You can also use it as a glaze for pork or chicken dishes.
Add to Sandwiches and Wraps
Apple preserves can double as a spread in sandwiches or wraps. Try pairing it with turkey, ham, or roast chicken for a touch of sweetness that balances out the savory flavors.
Make a Batch of Apple Jam This Season
Homemade apple preserves are one of the easiest ways to capture the cozy flavor of fall and enjoy it all year long.
With just a handful of ingredients and a safe, tested method, you can fill your pantry shelves with jars of golden, spiced sweetness.
Whether you spread it on breakfast toast, serve it with cheese, or use it in baking, each spoonful brings comfort and flavor to the table.
Gather some apples, grab your jars, and try this recipe at home. You’ll end up with a preserve that’s not only delicious but also shelf-stable and gift-worthy.
Have you made apple preserves before, or do you have a favorite way to enjoy them? Comment down below – I’d love to hear your tips, tweaks, and serving ideas!
FAQs
Can I use fresh lemon juice instead of bottled?
For canning, always use bottled lemon juice. The acidity level is standardized, which ensures the preserves are safe for shelf storage. Fresh lemons can vary in acidity, making them unreliable for canning safety.
Do I have to peel the apples?
Yes, peeling is recommended. Apple skins can toughen during cooking and may cause uneven textures in the preserves. For the smoothest, most reliable results, peel the apples before slicing.
Can I reduce the amount of sugar in this recipe?
No, not if you’re planning to can the preserves. The sugar is part of what makes this a tested and safe recipe. Reducing sugar could affect both the set and the safety of your preserves. If you want a lower-sugar option, look for a tested low-sugar recipe that uses special pectin.
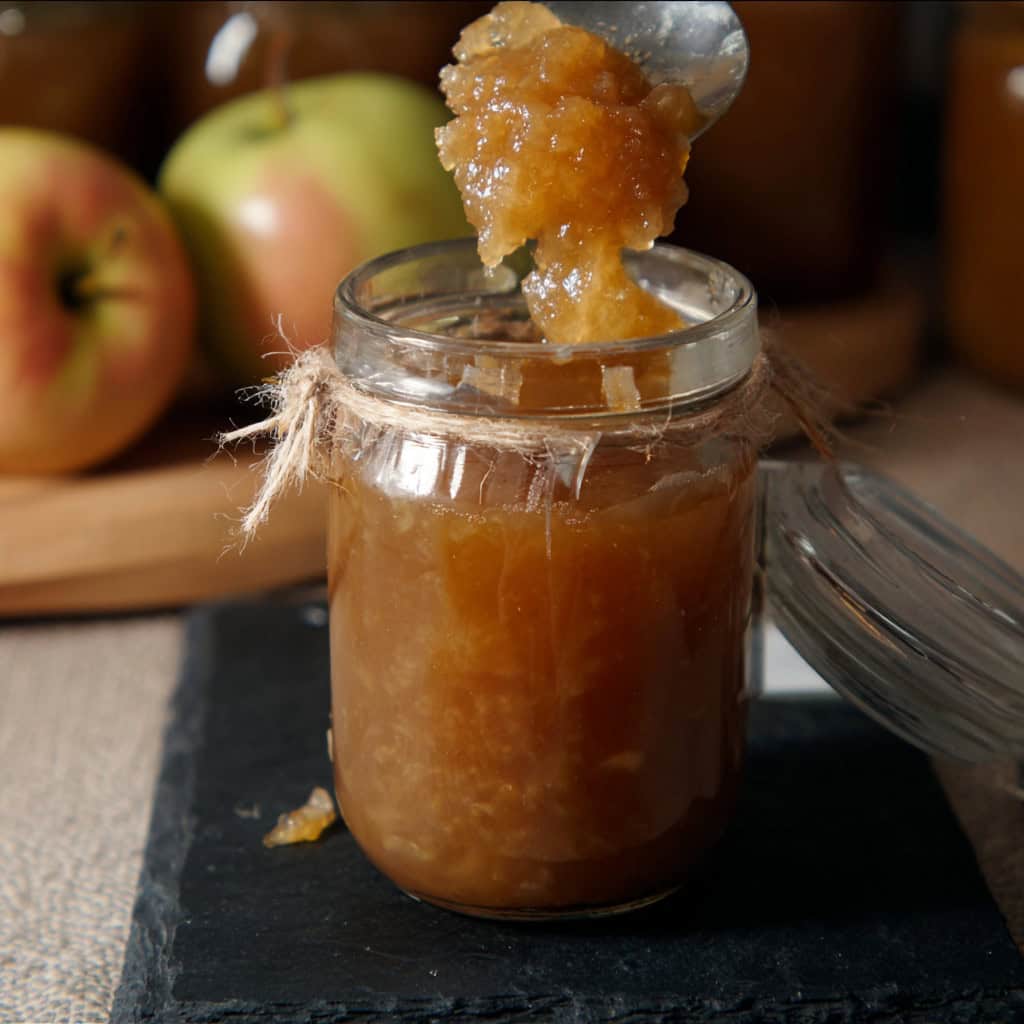
What if my preserves don’t set properly?
Sometimes preserves can be softer than expected, especially if the apples are low in natural pectin. If your batch doesn’t firm up after cooling, don’t worry – it’s still safe to eat. Use it as an apple spread, a topping for pancakes, or as a glaze for meats.
How long do apple preserves last once opened?
After opening, store the jar in the refrigerator and use it within three to four weeks for the best quality and safety. Always use a clean spoon to scoop out preserves to avoid contamination.