Chickens absolutely need a good place to roost. It’s not just a cute habit – it’s how they stay safe, cozy, and clean at night.
Without a decent roost, you’re asking for sore feet, poop everywhere, and some seriously unhappy hens.
Setting up a roost sounds easy – it’s just a bar, right? But trust me, getting it wrong can cause a whole mess of problems you didn’t even see coming.
Too low, too narrow, or just plain uncomfortable? Your chickens will let you know – by avoiding it, or worse, sleeping on the damp floor.
In this article, we’re going to cover what materials work best, where to put your roost, how much space your birds really need, and some tricks to keep things clean and peaceful.
Just solid tips to make sure your flock sleeps well (and so do you).
Ready? Let’s get roosting.
What Makes a Good Roosting Bar? (And What Makes a Bad One Less Bad)

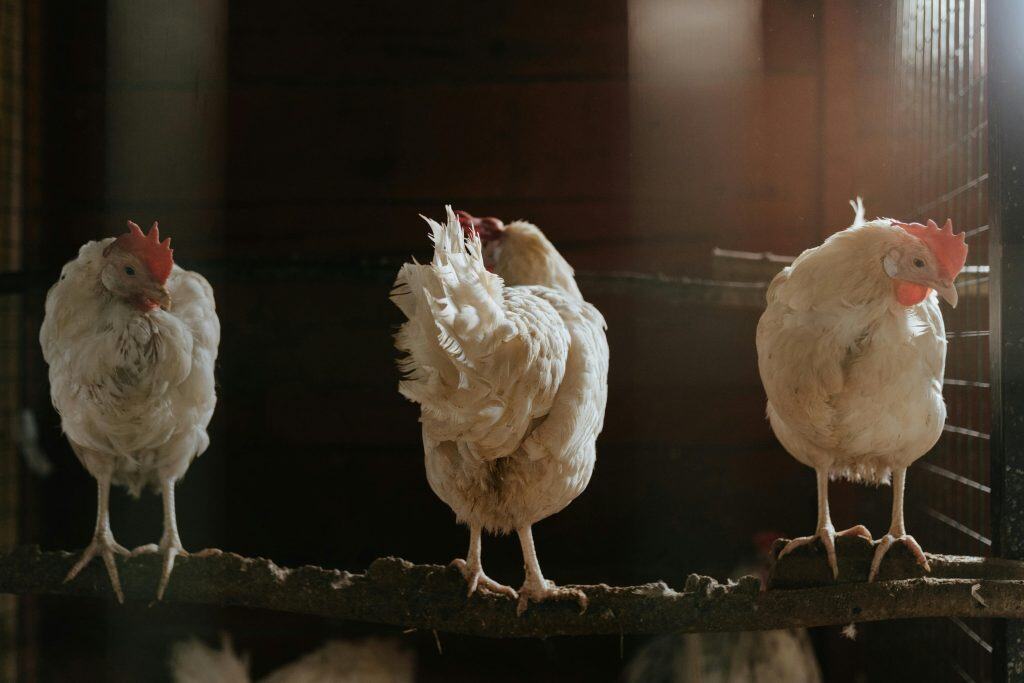
You’ve probably seen people slap a stick in a chicken coop and call it a day. And sure, chickens will use just about anything. But if you want fewer injuries, less mess, and happier hens, there’s a better way to do it.
Start with a 2×4 – But Flip It Right
If you’re using a 2×4 board (and many people do), make sure the 4-inch side is facing up.
That wide, flat surface allows chickens to sit with their toes flat and covered, which is important in colder climates. When chickens grip narrow, rounded bars, their toes are exposed, increasing the risk of frostbite in winter.
Flat bars also discourage toe pecking and chewing from rodents, which can happen if you’re in an area with mice or rats in the coop especially during colder months when pests are looking for shelter.
Sanding and Rope-Wrapping
Raw wood? Yeah, it’s got splinters and rough spots. Not great for chicken feet. So sanding every edge smooth is a tiny step that pays off big – no painful little cuts that can turn into nasty bumblefoot infections.
Now, some people take it further and wrap the bars with rope. It’s like giving your chickens a natural branch vibe, the kind they’d pick in the wild.
Plus, the rope lets air flow under their toes, which somehow helps keep their feet drier and less sore. No fancy science yet, but vets swear by it. So, if you want to get fancy (and cozy), rope’s a solid move.
Painting Can Help – If You Use the Right Kind
Painting your roost bars? Totally optional, but it can help keep the wood from splintering and makes cleaning way easier. Just don’t grab any old paint.
You want something non-toxic and safe for birds – think milk paint or chalk paint. If you go for it, plan on repainting once or twice a year, and give those bars a good scrub with white vinegar in between.
Keeps things fresh and keeps the creepy crawlies away.
Natural Alternatives Are Totally Fine
You don’t have to stick to store-bought wood. If you have access to sturdy tree branches, those are actually closer to what chickens would choose in nature. Just be sure they’re:
- At least 2 inches in diameter
- Straight enough for stable footing
- Thoroughly cleaned and dried to avoid pests or mold
And yes – old wooden ladders can make excellent multi-level roosts. Just secure them properly and inspect for rot or instability.
If You're Building It Yourself…
- Use fasten brackets if you want to make your roost removable or collapsible. That way, you can easily take it down for deep cleaning or reconfiguring.
- Always pre-drill holes before inserting screws, especially if you’re using older wood or making a tiered “ladder” design. It prevents cracking and extends the life of your roost.
- Make sure everything is level and solid – shaky roosts cause stress, and stressed chickens stop laying.
Where You Put the Roost Matters More Than You Think
Even if you build the world’s best roosting bar, placing it in the wrong spot can still lead to dirty eggs, injured hens, and daily frustration. A few simple placement strategies make all the difference.
Position It Over Something Easy to Clean
Chickens poop while they sleep – consistently, and a lot. That means you’ll want something under the roost to catch droppings. A poop board, removable tray, or even just a scrap board placed under the bar works well.
You can line this surface with:
- Vinyl shelf liner (easy to wipe)
- A dusting of Sweet PDZ or Diatomaceous Earth to absorb moisture and reduce ammonia
- Newspaper or old feed bags if you want to replace it daily
Scrape the surface daily with a metal paint scraper to keep bacteria, flies, and odor in check.
Always Keep Roosts Higher Than Nesting Boxes
If your nesting boxes are the tallest things in the coop, your chickens will sleep in them. That means poopy eggs, broken shells, and chickens picking up bad habits. The roosting bars should always be higher than the nesting boxes (at least by 12–18 inches) to discourage this behavior.
If they’re already sleeping in the boxes, you can:
- Temporarily block off the boxes at night
- Manually place them on the roost after dark for a few days to retrain them
Getting Young Chickens to Use the Roost

Roosting isn’t automatic. You’d think it would be – but nah.
Start them young.
Introduce low practice roosts by 4 weeks old. Just a few inches off the ground. It’s like monkey bars for chicks. They learn balance, grip, and where the cool kids hang out.
By 8 to 10 weeks, most will figure it out on their own. If the roost is comfy and the highest spot, they’ll go for it. Usually.
For the ones that don’t…
You’ll find them in a pile on the floor. Or worse – in the nesting boxes, acting like it’s a holiday inn.
The trick? After dark, when they’re calm, just place them on the roost. One by one. Quietly. Like tucking in toddlers. Do it for a few nights. Works more often than not.
Trouble spots to check
If someone’s avoiding the roost:
- It might be too high.
- It might be too crowded.
- They might be low in the pecking order.
- Or the top hens are hogging the best spots like it’s high school lunch tables.
And again – nesting boxes aren’t beds. If that’s happening, it’s a setup problem, not a chicken problem.
One Size Definitely Does Not Fit All
There’s a general rule floating around that chickens need eight inches of roosting space each.
Eh. Sort of.
That number’s a decent starting point, but it doesn’t tell the whole story. It doesn’t account for how real chickens actually act when it gets dark and they’re trying to get comfy.
I've seen flocks where eight inches per bird looked like a game of feathery Tetris – and not the fun kind.
Why More Space Helps More Than You’d Think
Watch your birds at bedtime sometime. Just quietly stand there for a few minutes.
You'll notice how some like to stretch out a little (especially when it's hot) while others clump together like they’re trying to merge into one super-chicken in the winter.
That extra inch or two gives them options.
Less shoving. Fewer squabbles. And way fewer birds grumpily huffing on the coop floor because they couldn’t find a comfy spot.
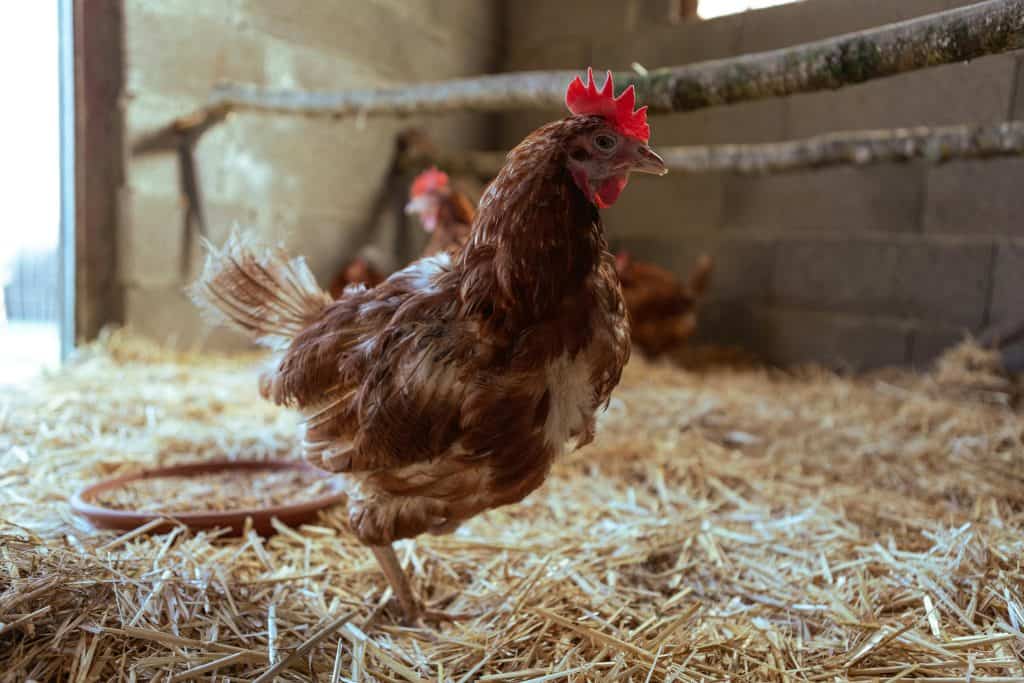
Floor Sleepers Aren’t Just Being Quirky
Speaking of the floor – if you’ve got a hen who insists on sleeping down there, don’t shrug it off.
She’s not just being weird.
Something’s off. Maybe she’s getting pecked at and booted off the bar. Maybe the roost is too high and she’s just not up for the leap.
Either way, the floor is not a safe place to snooze. Too damp. Too poopy. Too many invisible creepy-crawlies. It’s like choosing to sleep in the grossest part of the bathroom – every night.
The Pecking Order Doesn’t Clock Out at Night
This part surprised me when I first got chickens: they don’t stop being political just because it’s dark.
Bedtime is just another round of the pecking order.
The top hens claim the prime real estate – the highest, coziest, most central spots on the bar. The others? They get the edges. Or the awkward, lower bars. Or nothing at all.
So if your coop only has one bar, or the roost space is limited, your shy or lower-ranking girls might get pushed out completely. And yeah, they’ll end up on the floor (see earlier bathroom analogy).
Sometimes just adding a second bar – even just adjusting the spacing a bit – is all it takes. Doesn’t need to be fancy. Just fair.
Health & Safety Stuff You Definitely Don’t Want to Ignore
Roosting keeps chickens cleaner, safer, and calmer – but it only works when the bar itself and the surrounding area are thoughtfully set up.
This is more than just a comfort thing. A well-built roost actually protects your chickens from illness and injury.
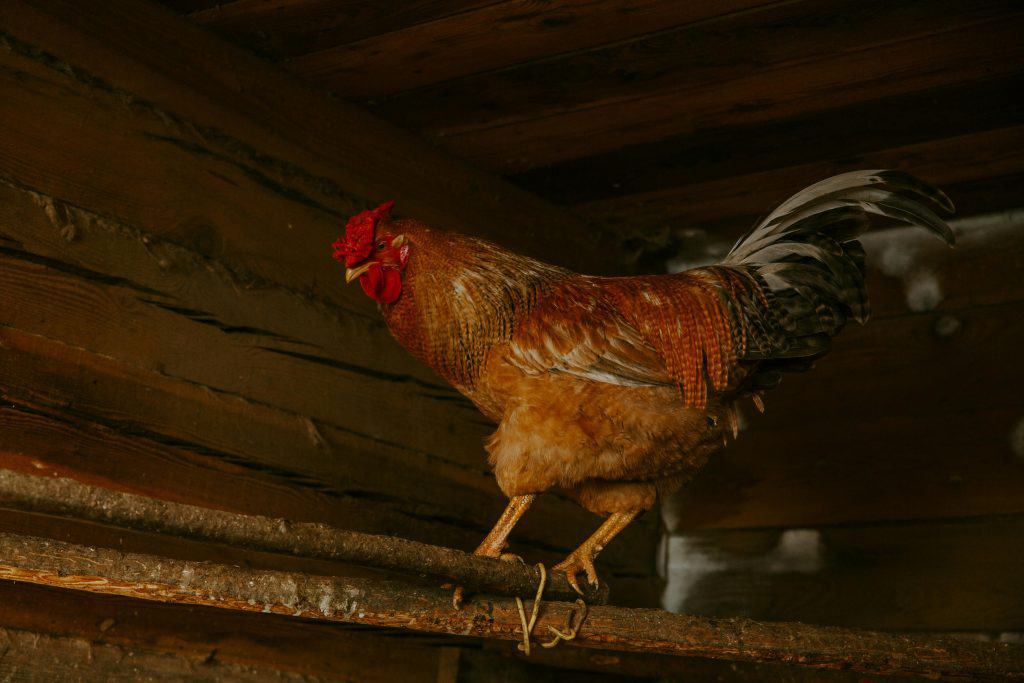
Roosting High Keeps Trouble Low
Chickens have a hardwired instinct to sleep up high. It’s leftover from their jungle-fowl days when they needed to stay out of reach of night stalkers.
Even in a totally predator-proof coop, that instinct stays put. They feel safer when they’re off the ground.
Plus, the higher they roost, the further they are from the bacteria-rich bedding soup that builds up below. Win-win.
Flat Bars for the Win
Here’s the thing: they don’t need a perch. They need a platform.
The wide, flat side of a 2×4? Perfect.
That shape lets them tuck their feet in under their feathers and stay warm in winter. It’s like putting on a little down blanket.
Round bars (or skinny ones) make them grip with their toes all night. Not great for balance. Definitely not warm.
And here's something weird-but-true: rats have been known to nibble on chicken toes while they sleep. I know. Horrifying. Keep those toes tucked, folks.
Not All About the Feet
A lot of folks think chickens sleep like parrots – all perched and upright.
Not quite.
Most of their weight rests on their keel bone – that firm ridge down their chest. So the bar needs to be solid and smooth, sure. But also wide enough that they’re not balancing like circus performers.
Clean Roost, Healthy Birds
Let’s be real: chickens poop while they sleep. Constantly. Like little feathered Pez dispensers.
If that stuff builds up, you’re looking at mites, lice, and nasty ammonia fumes that irritate their lungs.
What works for me? A metal paint scraper. One quick pass in the morning and the bar’s good as new.
Every couple weeks, I give it a scrub with vinegar – plain white works fine, but I like using orange-peel vinegar because it smells like a cleaning fairy stopped by.
Some folks get clever and line the wall behind the roost with vinyl shelf liner – makes scraping way easier. Others add a poop board or tray underneath. It doesn’t have to be fancy. Just something to catch the mess and keep it out of the bedding.
And if you want bonus freshness, sprinkle a little Diatomaceous Earth or Sweet PDZ underneath. Just a light dusting. Not a powder explosion. Especially not in a coop with iffy airflow.
Dry Before Bed Always
And this is tiny, but big: don’t let them roost on wet wood.
Seriously.
Wet roosts pull heat from their feet and can cause frostbite in winter or fungal problems year-round. If you’ve just cleaned or sprayed something down, give it time to dry.
They’ll never say thank you.
But you’ll see it in their clean feet, their happy clucks, and the fact that no one’s trying to sleep in the nest box anymore.
Random Odds & Ends That Are Weirdly Useful
Some things don’t fit anywhere else, but still deserve a shout.
Try Sweet PDZ or DE under the roost.
It absorbs moisture, cuts ammonia, and keeps bugs from throwing parties in your bedding. Sprinkle lightly. Don’t suffocate the coop.
Use fasten brackets.
Roosts that come off easily = deep cleaning made simple. Highly recommend for anyone who hates contorting their body under a low roof.
Ladder-style roosts? Love them.
Especially for older or heavier birds. Just stagger the rungs like stairs. Pre-drill everything so the wood doesn’t split and curse your name.
Rope-wrapping: still great.
Already said this. Still mean it. Some chickens genuinely prefer it. And your coop looks kind of rustic-farmhouse in a good way.
Cozy Bars, Happy Birds
There’s no such thing as a “perfect” roost. Every flock’s got its quirks. Every coop’s got its weird angles.
And every season brings its own drama. But if your chickens have a dry, sturdy spot to sleep that’s clean, elevated, and roomy enough for a little stretching (or a little snuggling), you’re already ahead of the game.
It’s wild how something as simple as a wooden bar can have such a ripple effect. A good roost means less stress, cleaner eggs, fewer squabbles, and way fewer mystery poops in the nesting boxes.
Once you’ve got it right, it kind of fades into the background – just one of those quiet systems that works without needing daily fuss.
So build it well. Keep it clean. And once in a while, hang back at bedtime and watch who ends up where.
You’ll learn a lot just by observing. Who’s bossy. Who’s shy. Who’s sneaking in late like they’re trying not to be noticed.
It’s all part of the chicken soap opera – and it all starts on the roost.
Frequently Asked Questions (FAQs)
Got roosting questions? You're not alone. Whether you're troubleshooting a stubborn floor-sleeper, these quick answers cover the most common roosting bar problems backyard chicken keepers run into.
Can I use metal or PVC instead of wood for my roosting bars?
Technically yes, but wood is much better. It’s warmer, easier for chickens to grip, and feels more natural. Smooth metal or plastic can get too cold and slippery, especially in winter.
One of my hens sleeps on the floor every night – is that a big deal?
It can be. Floor-sleeping exposes her to cold, damp bedding, parasites, and more. Check if she’s getting bullied off the bar, or if it’s too high or awkward for her to reach.
How can I keep poop from getting all over the walls and floor?
Install a poop board or even a scrap of plywood under the roost. Some keepers also add vinyl behind the bars to make scraping easier. Daily cleaning makes the biggest difference.
How often should I clean or replace my roosts?
Scrape droppings daily if possible. Deep clean with vinegar every couple of weeks. If the wood starts to splinter or get soft, replace it – especially if you see signs of mold or mites.
My chickens keep sleeping in the nesting boxes. What now?
That usually means your roosts aren’t high enough or comfortable enough. Raise them above the boxes, block access to the boxes at night for a few days, and retrain your birds gently.
Ready To Transform Your Garden?

Are you looking for the best way to layout your garden beds? Maybe you're feeling a bit stuck on how to make the most of your space?
We’ve got you covered! Check out our 101+ Garden Bed Layout Ideas for your next raised bed project. This guide is filled with creative and practical ideas that can help you design a garden that fits your style, whether you’re just starting out or have been gardening for years.
Get your copy today and get inspired to bring your gardening dreams to life.