Pickled red onions are one of those simple things that make meals pop. They’re crisp, tangy, and bring just the right touch of sweetness.
The good news is you don’t need to buy them at the store – this recipe is quick, easy, and ready in about an hour.
With just a red onion, some vinegar, sugar, and salt, you’ll have a jar of fresh pickled onions that can brighten up tacos, burgers, salads, and so much more.
In this article, you’ll learn how to make quick pickled red onions that are ready in just an hour. I’ll walk you through the ingredients, steps, and a few tips to get them just right.
What Are Pickled Red Onions?
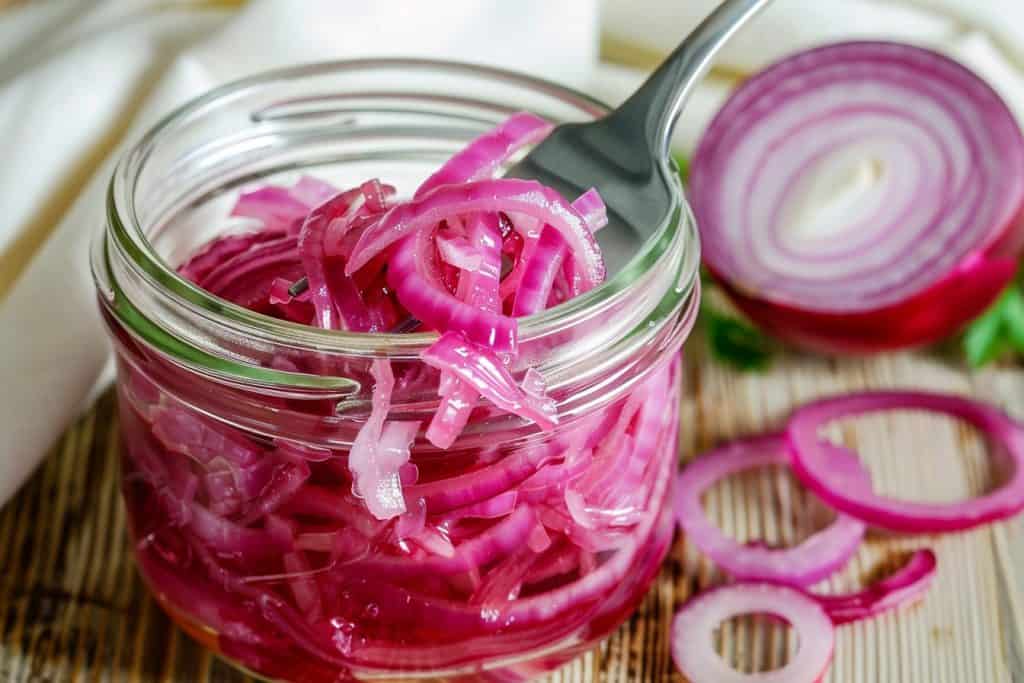
Pickled red onions are raw onions that have been soaked in a mix of vinegar, water, sugar, and salt. This process gives them a bright, tangy flavor and softens their sharp bite.
The vinegar also turns the onions into a beautiful pink color that looks great on any dish.
Unlike raw onions, pickled onions have a milder taste, which makes them easy to add to just about anything – tacos, sandwiches, or even roasted veggies.
They’re not as strong, but they still give you that satisfying crunch.
Why Make Pickled Red Onions at Home?
Making pickled red onions at home is simple and worth it. You get to control the flavor – how tangy, sweet, or salty you want them to be.
It’s cheaper than buying pre-made jars, and you don’t need any special tools. Plus, homemade pickled onions don’t have any preservatives, so you’re just getting fresh, clean flavors.
The whole process takes about an hour, but most of that time is just waiting for them to soak up the brine. It’s one of those little kitchen tricks that instantly makes meals taste better without much effort.
Key Details of This Recipe
This recipe is perfect when you need a quick, flavorful topping without spending hours in the kitchen. Here’s what to know before you start:
- Prep Time: 5 minutes – just enough to slice the onion and mix the brine.
- Marinating Time: 55 minutes – the onions soak in the brine and pick up all that tangy flavor.
- Total Time: 1 hour from start to finish.
- Servings: About 8 – plenty to use for a few meals throughout the week.
The beauty of this recipe is its simplicity. You only need a handful of ingredients and about an hour, and you’ll end up with a jar of crisp, bright pickled onions ready to use.
Ingredients You’ll Need
You only need a handful of basic ingredients to make these quick pickled red onions.
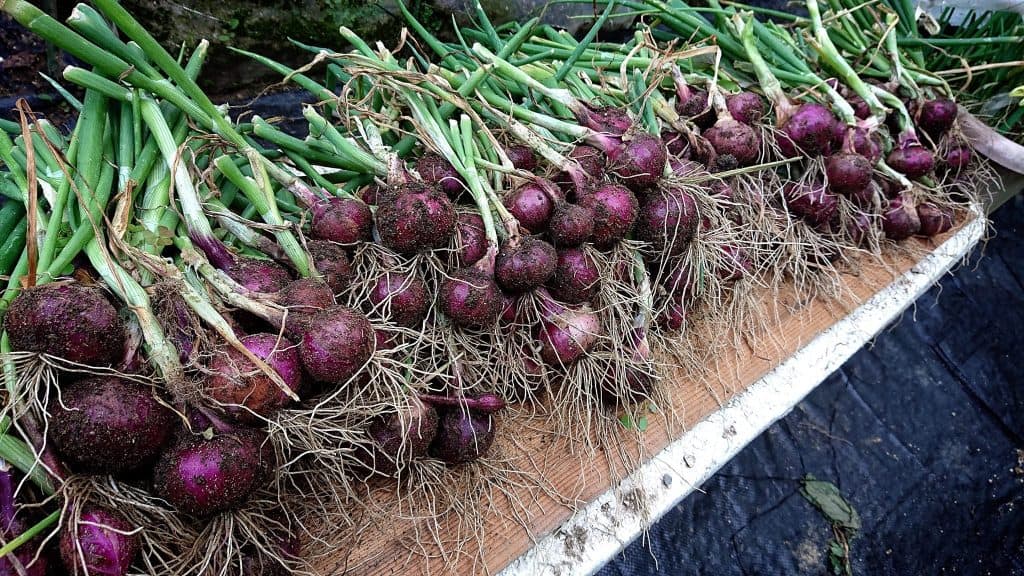
- 1 red onion (thinly sliced): Red onions are perfect for pickling because of their natural sweetness and vibrant color. Thin slices soak up the brine faster and have a softer bite.
- ½ cup apple cider vinegar: Adds a mild tang with a touch of sweetness. If you don’t have apple cider vinegar, you can use white wine vinegar, rice vinegar, or plain white vinegar.
- 1 tablespoon granulated sugar: Balances out the sharpness of the vinegar. You can use honey or maple syrup if you prefer a natural sweetener.
- 1½ teaspoons kosher salt: Enhances the flavor and helps the onions pickle quickly.
- 1 cup hot water (not boiling): Dilutes the vinegar so it’s not overpowering and helps dissolve the sugar and salt.
Tools and Equipment
You don’t need much to make pickled red onions, but having the right tools makes it easier:
- Mandoline slicer or sharp knife: A mandoline gives you thin, even slices quickly, but a sharp knife works just as well.
- Clean glass jar or covered bowl: A wide-mouth jar is best because it’s easy to fill and shake, but any container with a tight lid will do.
- Measuring cup or bowl: For mixing the vinegar, sugar, salt, and hot water.
- Spoon or whisk: To stir the brine until the sugar and salt fully dissolve.
Step-by-Step Instructions
These steps will guide you through the entire process, from slicing the onions to storing them in the fridge. Each step has a few tips to make sure you get the best result.
1. Slice the Onions
Peel your red onion and cut off the ends. Slice the onion as thinly as possible so it can soak up the flavors quickly.
A mandoline slicer works best for getting even slices in no time, but a sharp kitchen knife will work just fine.
If you want your onions to stay crunchier and have a firmer bite, cut them slightly thicker, but keep in mind that they’ll need more time in the brine to fully pickle.
2. Prepare the Jar
Take a clean glass jar or bowl, preferably something with a wide mouth so it’s easy to add and remove the onions later.
Layer the onion slices loosely inside the jar rather than pressing them down too much. Leaving space between the slices helps the brine flow through and evenly coat every piece.
If you have extra onion slices, it’s better to use a second jar rather than stuffing one too full.
3. Make the Brine
In a measuring cup or medium bowl, combine the apple cider vinegar, sugar, salt, and hot water.
Make sure the water is hot but not boiling – it should be warm enough to dissolve the sugar and salt easily but not so hot that it cooks the onions.
Stir the mixture well until the sugar and salt are fully dissolved, leaving a smooth, clear liquid with no granules at the bottom.
4. Pour and Submerge
Slowly pour the brine over the sliced onions in the jar. The goal is to make sure the onions are completely covered with the liquid, as this is what will pickle them evenly.
If the onions float to the top, press them down gently with a spoon or the back of a fork until they are submerged.
You can add a small piece of parchment paper or a clean weight to keep them under the brine if needed.
5. Rest and Pickle
Let the jar sit on your kitchen counter, uncovered, for about an hour.
This resting time allows the onions to absorb the tangy, slightly sweet flavors of the brine while also cooling down to room temperature.
If you sliced your onions thicker, give them a little extra time to soak before refrigerating.
6. Refrigerate for Storage
After the onions have marinated for about an hour, cover the jar with a tight lid and place it in the fridge. As they sit, the onions will keep soaking up flavor and turning a bright, beautiful pink.
They are ready to eat right after the first hour but taste even better the next day.
How to Use Pickled Red Onions
Pickled red onions are one of those condiments that work with almost anything. Their tangy, slightly sweet flavor can brighten up rich or heavy dishes and add a nice crunch. Here are some of the best ways to use them:
- Tacos: Add them on top of beef, chicken, or fish tacos for a burst of flavor and color.
- Burgers and Sandwiches: Use them instead of raw onions for a softer, less sharp bite.
- Salads and Grain Bowls: Toss them into salads or bowls with quinoa, rice, or roasted veggies for a tangy contrast.
- Avocado Toast: Sprinkle them on avocado toast to give it a flavorful twist.
- Grilled Meats: Serve them alongside grilled chicken, steak, or pork for a bright, fresh topping.
- Cheese Boards: Add them as a tangy, colorful side for cheeses, crackers, and cured meats.
Storage and Shelf Life
Once your pickled red onions are ready, keeping them fresh is simple.
Store them in an airtight glass jar or container in the fridge. The onions should always be fully submerged in the brine – this is what preserves their flavor and crunch.
How long do they last?
Properly stored, pickled red onions can last for about 2 to 3 weeks in the refrigerator.
How to keep them fresh
Always use a clean utensil when taking onions from the jar to prevent introducing bacteria. If the liquid level gets low, you can top it off with a little extra vinegar and water mixture.
Signs they’ve gone bad
If the onions develop a strange smell, slimy texture, or mold, it’s best to throw them out and make a new batch.
Make Your Own Batch Today
Pickled red onions are one of the easiest ways to add a punch of flavor to everyday meals.
With just a few simple ingredients and an hour of your time, you can have a jar ready to brighten up tacos, sandwiches, salads, and more.
Once you try making them at home, you’ll see how much better and fresher they taste compared to store-bought versions.
So, grab a red onion, mix up the brine, and make your own batch today – you’ll be glad to have them on hand for the week ahead.
FAQs
1. Can I reuse the brine for a second batch?
It’s best to make a fresh brine each time. The flavor and acidity of the brine weaken after the first batch, so a new mix ensures the onions pickle properly and stay fresh.
2. How soon can I eat the onions after making them?
You can start eating them after about an hour of marinating at room temperature. For a stronger flavor, let them sit in the fridge overnight.
3. Can I pickle other vegetables using this same brine?
Yes! This brine works well with cucumbers, carrots, radishes, and even jalapeños. Just slice the vegetables thinly so they can absorb the flavor quickly.
4. What’s the best vinegar for the mildest flavor?
Apple cider vinegar is the mildest and adds a subtle sweetness. If you prefer a sharper, more traditional pickle taste, plain white vinegar is the way to go.
5. Why are my pickled onions bitter or too soft?
This can happen if the onions are sliced too thin and left in overly hot liquid. Make sure your water is hot, not boiling, and don’t soak them for too long outside of the recommended time.
Ready To Transform Your Garden?

Are you looking for the best way to layout your garden beds? Maybe you're feeling a bit stuck on how to make the most of your space?
We’ve got you covered! Check out our 101+ Garden Bed Layout Ideas for your next raised bed project. This guide is filled with creative and practical ideas that can help you design a garden that fits your style, whether you’re just starting out or have been gardening for years.
Get your copy today and get inspired to bring your gardening dreams to life.
Planting Guides for This Article
Get exact planting dates, frost schedules, and growing tips for your zone: