Garlic has a way of transforming even the simplest dish, and when you pickle it, the flavor becomes bright, tangy, and addictively snackable.
This recipe is quick to pull together, requires no special canning equipment, and gives you crunchy cloves that are just as welcome on a charcuterie board as they are in a salad or marinade.
The one important thing to remember: this is a refrigerator pickle, not a pantry-stable preserve. Garlic is a low-acid vegetable, which means it isn’t safe for water-bath canning.
But kept cold, these jars are both safe and delicious.
With just a few steps, you’ll have homemade pickled garlic that develops better flavor as it rests in the fridge – and will be ready to enjoy within a couple of weeks (and if you want to take it a step further, check out our guide on how to grow garlic so you can pickle your own harvest).
The Do’s and Don’ts of Pickling
1. Sterilize jars properly. If pickles are processed less than 10 minutes, jars should first be sterilized via boiling water for 10 minutes (more at high elevations), then filled while hot.
2. Refrigerator pickles (“fresh-pack” or “quick-process”) are not fermented and should only be stored in the fridge. These products must be kept chilled and used within a short timeframe, as they don’t undergo preservation through fermentation or heat processing.
3. Never can garlic by water-bath or processing for shelf storage, even if you hear a seal pop; garlic is low‑acid, and such attempts remain unsafe.
4. Always follow tested, reliable recipes. Do not alter proportions of vinegar, salt, or water. Uniform acidity is crucial for safety (see the National Center for Home Food Preservation for trusted guidelines).
5. Use canning/pickling salt only. Avoid flake salt or salts with additives; they can cloud brine or affect flavor – and potentially safety.
Love Pickling? This is part of my How to Pickle Everything series! Check out more recipes:
- Quick Pickled Radishes Recipe
- Easy Pickled Beets Recipe
- Homemade Pickled Okra Recipe
- How to Make Pickled Cabbage (Only 20 Minutes!)
- How to Make Pickled Jalapeños at Home
- How to Make Pickled Cucumbers at Home
- Easy Pickled Banana Peppers Recipe
- Quick Pickled Carrots Recipe
- How to Make Pickled Asparagus at Home
- How to Make Pickled Ginger (Gari) at Home
- How to Make Pickled Cauliflower
- Crisp Pickled Green Beans Recipe
- Homemade Pickled Eggs with Beets
- Easy Pickled Cherry Tomatoes (No Canning Needed)
Equipment for Making Pickled Garlic
- 4 sterilized pint‑size canning jars (see sterilization method below)
- Large saucepan
- Ladle
- Clean utensils (e.g. chopstick/skewer for air bubbles)
- Clean cloth or paper towel
Jar Sterilization: Boil jars in a boiling‑water canner – submerge completely in hot (not boiling) water, boil 10 minutes (add 1 minute per 1,000 ft elevation). Keep jars hot until filling.
Ingredients for Pickled Garlic
- ¼ cup canning salt
- 5 cups distilled or filtered white vinegar (5% acidity) (do not dilute)
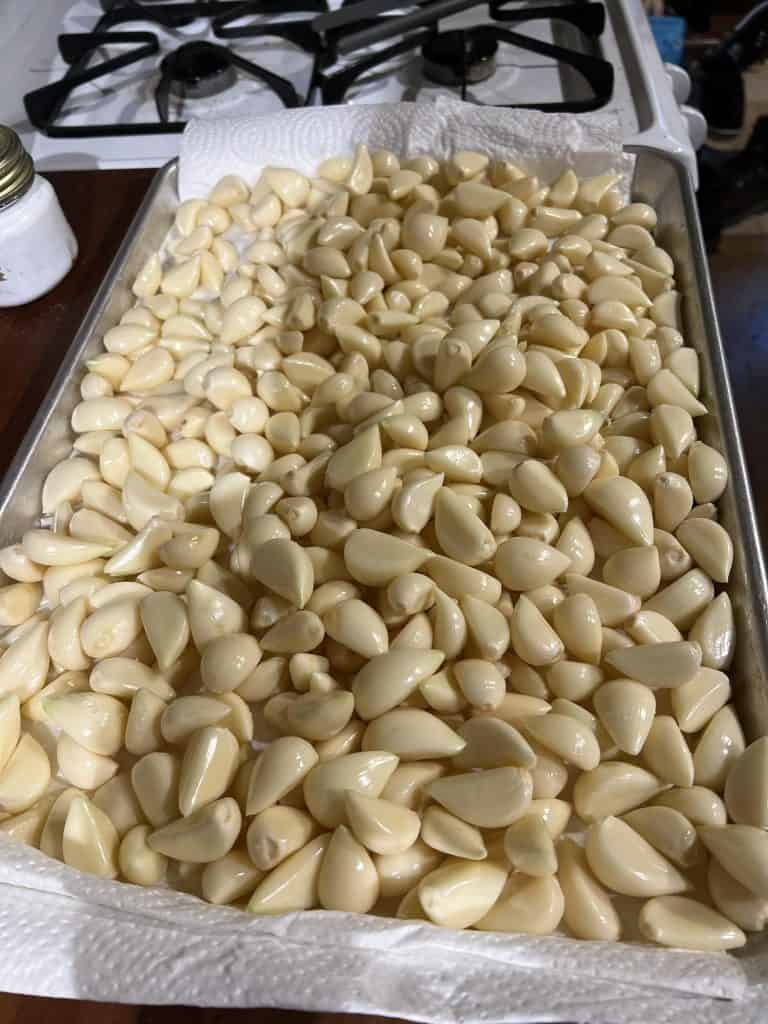
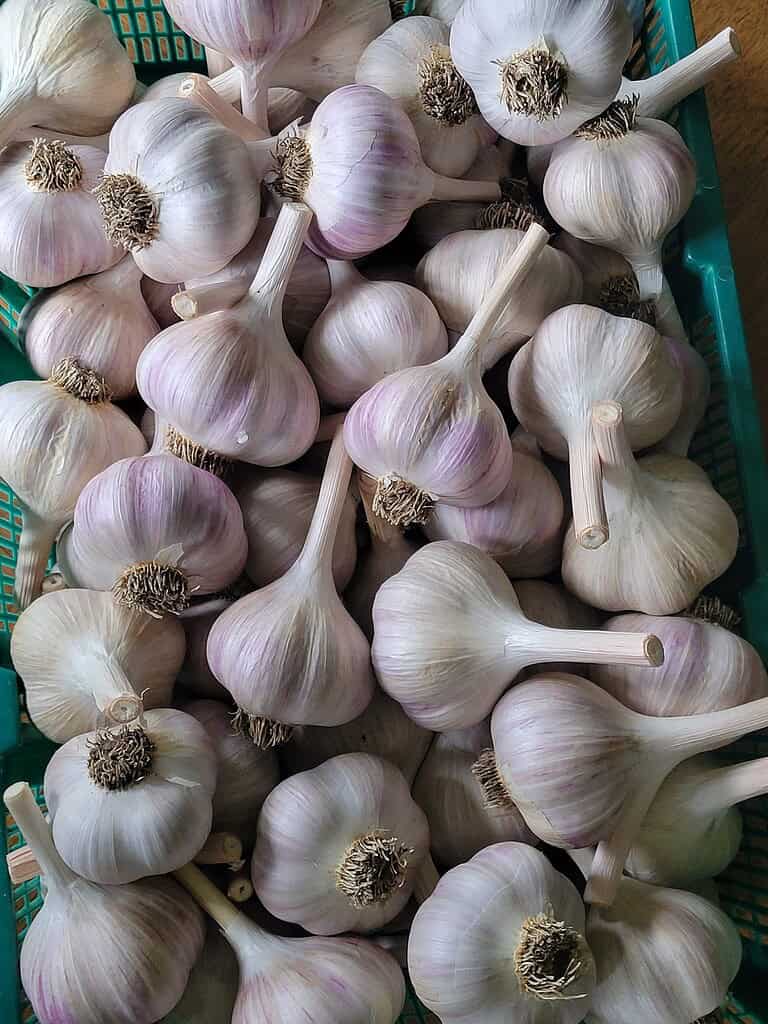
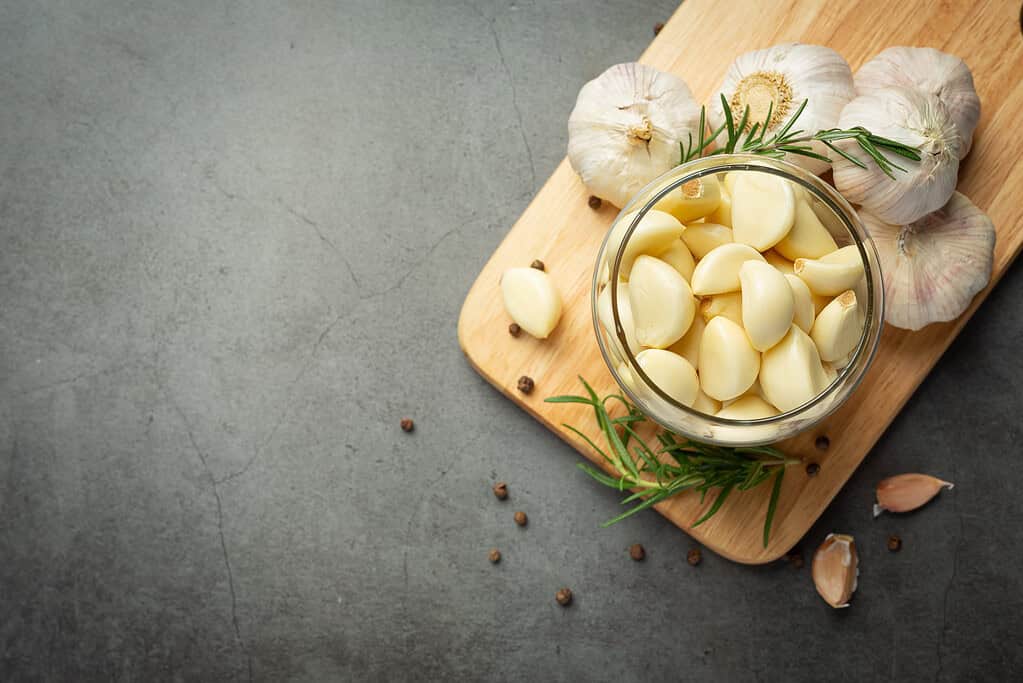
- 2 lb fresh garlic, peeled (firm, unblemished)
- Optional: 1 tsp red chili flakes (add per jar as desired)
- Optional: fresh dill (~4 heads or 2 cups loosely packed)
7 Easy Steps to Make Pickled Garlic at Home
Making refrigerator pickled garlic is straightforward, but paying attention to the details ensures both flavor and safety.
Each step matters, from preparing a strong brine to storing your jars properly.
Here’s a careful, step-by-step process:
1. Prepare the brine
Begin by combining the canning salt and vinegar in a large stainless steel or enamel saucepan.
Bring the mixture just up to a gentle boil, then reduce the heat and let it simmer briefly – long enough to fully dissolve the salt.
It’s important not to overheat or boil for too long; you want the brine hot and well blended, not reduced.
This hot vinegar solution is the foundation of your pickle, ensuring both safety and the sharp, tangy flavor that balances the garlic.
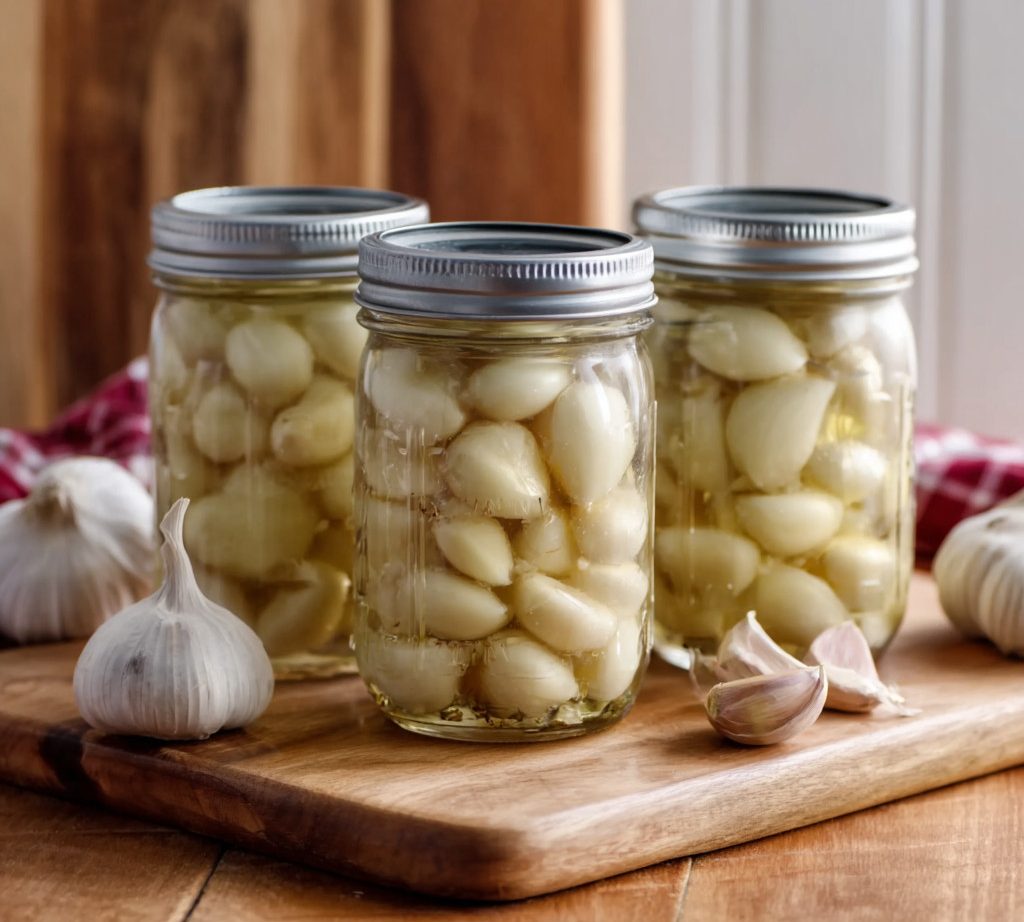
2. Pack and flavor jars
While the brine simmers, prepare your sterilized jars. Place peeled garlic cloves into each jar, distributing them evenly.
If you’d like a little spice, add chili flakes to each jar, adjusting the amount to your taste. Tuck in a sprig or head of fresh dill (or a generous spoonful of chopped dill) for herbal brightness.
Be sure to leave about ½-inch of headspace at the top of each jar – this space is needed so the brine can cover the ingredients properly without overflowing.
3. Add brine
Carefully ladle the hot vinegar solution into each jar, pouring slowly to cover the garlic and herbs completely.
The cloves should be fully submerged under the brine, which keeps them safe and ensures even pickling.
Maintain about ½-inch of headspace at the top of the jar so the liquid doesn’t touch the lid. A steady pour also helps avoid splashing or sudden temperature changes that might crack the jars.
4. Remove air bubbles
Air pockets can prevent the brine from reaching every clove.
To avoid this, slide a clean non-metal utensil (like a chopstick or skewer) gently down the inside of the jar, moving the garlic around to release trapped bubbles.
You may notice the liquid level drop slightly – if so, add a bit more hot brine to restore that ½-inch headspace.
Taking the time to do this helps the brine fully surround each clove and improves both safety and texture.
5. Seal jars
Before sealing, wipe the rims of the jars with a clean, damp cloth. Even small drops of brine or bits of herb on the rim can interfere with the lid’s ability to sit properly.
Place the lids on top and secure the bands just until snug – avoid overtightening, which can make the jars difficult to reopen or cause warping as they cool.
6. Cool and refrigerate
Once sealed, allow the jars to cool at room temperature for about two hours. This cooling period helps prevent condensation inside the refrigerator and ensures the jars settle without thermal shock.
As soon as they reach room temperature, transfer the jars to the refrigerator. Since this recipe is not shelf-stable, refrigeration is essential for food safety from the very beginning.
7. Wait before eating
While it may be tempting to sample right away, the flavors improve significantly with time. For the best taste, allow the jars to rest in the refrigerator for at least one week before eating.
During this time, the garlic mellows and absorbs the tangy brine. Peak flavor usually develops between one and two weeks, giving you crunchy, well-balanced pickled garlic that’s worth the wait.
How to Store Pickled Garlic Safely
Refrigerator pickled garlic depends entirely on proper cold storage for safety. Unlike canned pickles, it has not been heat-processed, so it must be kept cold from start to finish.
Here’s what to keep in mind:
Temperature Matters
Always store jars at or below 40 °F (4 °C). This prevents harmful bacteria from growing and keeps the brine stable. Never leave the jars sitting out at room temperature for extended periods.
Shelf Life
For the best flavor, texture, and safety, use the garlic within two weeks. During this time, the cloves will stay crisp and the brine will taste its freshest.
While some sources suggest longer storage under refrigeration, the most conservative and reliable guidance for refrigerator-only pickles is a short storage window.
Watch for Spoilage
Check your jars before every use. If you notice mold, yeast activity, bubbling, cloudiness, sliminess, or unpleasant odors, discard the entire jar immediately.
Do not taste test to confirm – if something seems off, it’s safest to throw it away.
Color Changes
It’s normal for garlic to sometimes turn a blue or green color in vinegar brine. This happens when natural sulfur compounds in garlic react with minerals in the vinegar or utensils.
As long as the color is uniform and smooth, the garlic is safe to eat. If the discoloration looks patchy, fuzzy, or uneven, that indicates mold or spoilage, and the jar should be discarded.
Best Practices for Refrigerator Pickled Garlic
A few simple practices will help you get the best results from your refrigerator pickled garlic while keeping it safe to eat.
Choose Fresh, Firm Garlic
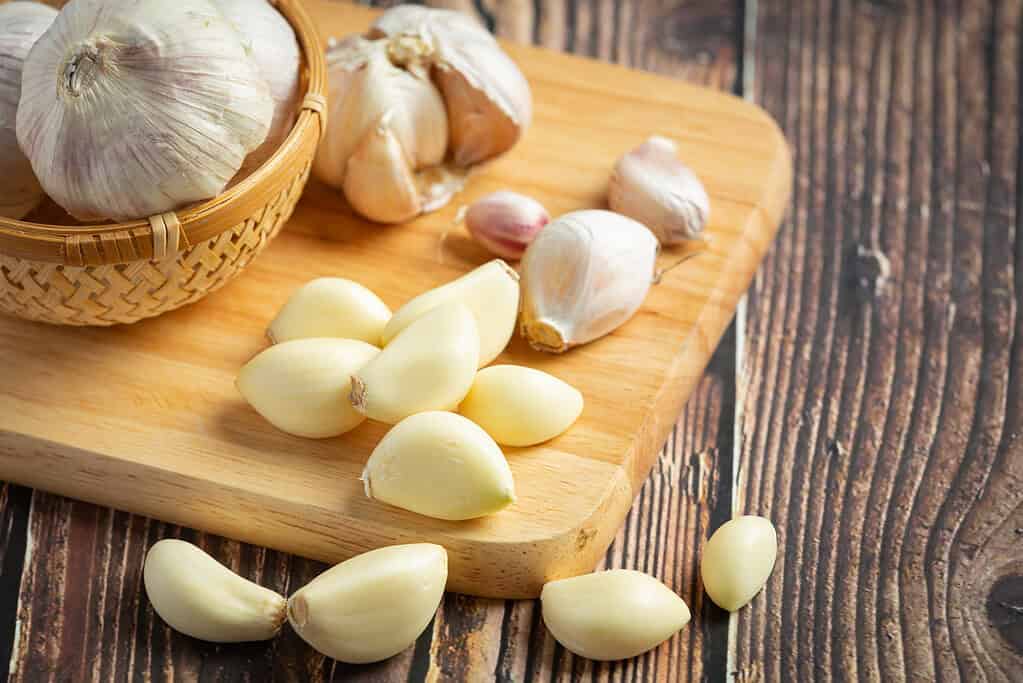
Start with the best quality cloves you can find. Look for firm, tight bulbs without blemishes, mold, or green sprouts. The fresher the garlic, the crisper it will stay once it’s pickled.
Handle it carefully – wash your hands before peeling, and keep cutting boards and knives clean to avoid introducing unwanted bacteria.
Stick to Tested Ratios
The brine is more than just flavor – it’s the safety mechanism for your pickles. Always use vinegar with 5% acidity and stick to the tested amount of canning salt.
Never dilute the vinegar or reduce the salt in the recipe, since this lowers the acidity and could allow bacteria, including Clostridium botulinum, to grow.
Skip the Water Bath Processing
It may be tempting to “seal” jars in a boiling water bath, but this does not make garlic shelf-stable. Garlic is a low-acid food, and water-bath processing can create a false sense of safety.
These jars must be stored in the refrigerator at all times, regardless of whether you’ve processed them in hot water.
Delicious Ways to Use Pickled Garlic
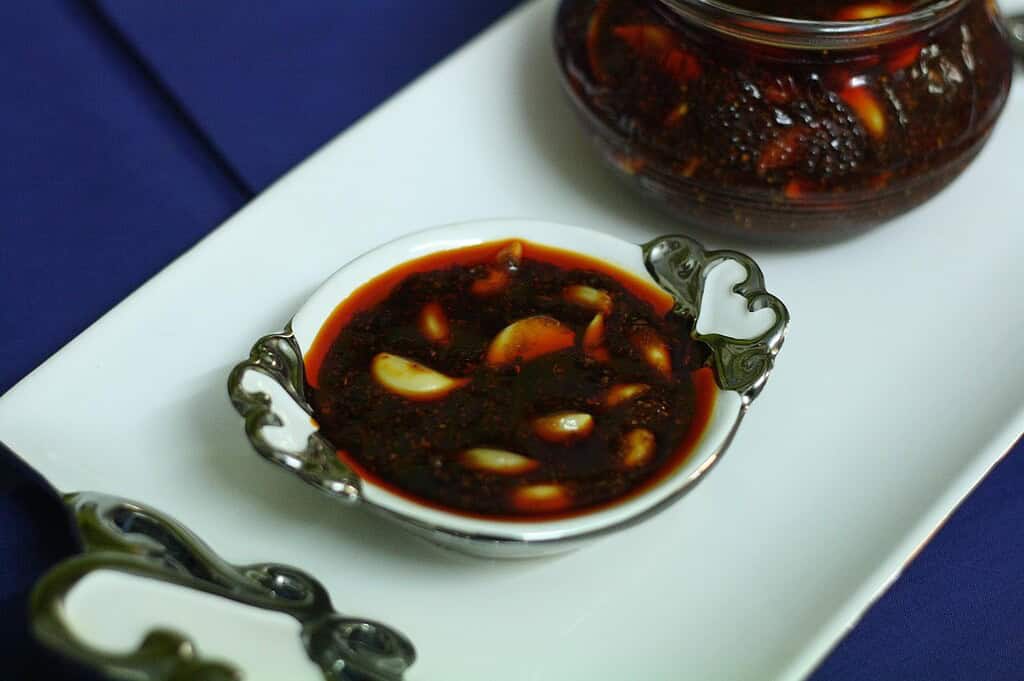
Pickled garlic is more than just a snack – it adds a punch of flavor to all kinds of dishes and boards.
Here are a few simple ways to use it:
- Bloody Mary Bar: Toss a few cloves onto skewers for a tangy, crunchy garnish.
- Charcuterie or Jarcuterie Boards: Add them alongside meats, cheeses, olives, and crackers for an easy flavor boost.
- Antipasto Platters: Mix with marinated olives, roasted peppers, and artichokes.
- Salads and Grain Bowls: Chop up a few cloves and sprinkle them over fresh greens or warm bowls for extra bite.
- Marinades and Dressings: Use the brine or chopped garlic to season chicken, vegetables, or homemade dressings.
Make Your Own Pickled Garlic Today
Pickled garlic is one of those small kitchen projects that pays off every time you open a jar.
With just a few ingredients and some simple steps, you can have crunchy, tangy garlic ready to enjoy for months.
Whether you’re adding it to a charcuterie board or sneaking a clove straight from the jar, this recipe is a reliable way to enjoy garlic in a new, flavorful way.
Frequently Asked Questions
Why can’t pickled garlic be shelf-stable?
Garlic is a low-acid vegetable, which makes it especially prone to Clostridium botulinum (botulism) if stored at room temperature. Even though the vinegar brine raises the acidity, it’s not enough to make garlic safe for shelf storage. That’s why this recipe is designed for refrigerator use only – even if jars are sealed in a water-bath canner, they are not shelf-stable.
How long should I let the garlic pickle before eating?
For the best flavor, let the jars sit in the refrigerator for at least 1 week. During this time, the garlic mellows and takes on the tang of the brine. Peak flavor is usually reached between 1–2 weeks, but for safety and quality, the garlic should be eaten within 2 weeks total.
Can I reuse the pickling liquid?
The leftover brine can be repurposed as a flavorful ingredient in marinades, salad dressings, or sauces. However, it should not be reused to pickle another batch of raw garlic or vegetables. Once used, the acidity balance may no longer be reliable for food safety, and the flavor will be weaker.
Why did my garlic turn blue, and is it safe to eat?
Sometimes garlic takes on a blue or green tint after pickling. This is caused by natural sulfur compounds in garlic reacting with trace minerals or acids in the brine, and it’s a harmless reaction. As long as the color is smooth and uniform, the garlic is safe to eat. If discoloration looks fuzzy, patchy, or uneven, that’s a sign of spoilage, and the jar should be discarded.
Can I add other vegetables to this pickling recipe?
Yes, firm vegetables such as carrots, cauliflower, or green beans can be added for variety. Just remember to keep the same vinegar-to-salt ratio for safety, and store them the same way – as refrigerator pickles only. All added vegetables must remain fully submerged in the brine.