Pickled asparagus is one of those treats that feels both special and practical.
It’s crisp, tangy, and versatile – a great snack straight from the jar, a beautiful addition to charcuterie boards, or even a garnish for cocktails like Bloody Marys.
Best of all, when you pickle asparagus using a tested recipe from the National Center for Home Food Preservation (NCHFP), you know it’s not only delicious but also safe for long-term storage.
Unlike quick refrigerator pickles, this recipe is designed for boiling water canning.
That means your jars will be sealed and shelf-stable for up to a year, giving you a way to preserve asparagus while it’s in season and enjoy it months later.
Why Follow a Tested Recipe?

Pickling is about more than just flavor – it’s about food safety. To prevent spoilage and the growth of harmful bacteria like botulism, the vinegar-to-water ratio and processing times must be exact.
You can adjust the seasonings (like adding garlic, dill, or hot peppers) to suit your taste, but the amounts of vinegar, water, and salt cannot be changed.
By following NCHFP’s tested recipe, you’ll get consistent results: crunchy spears, bright flavor, and jars you can confidently store in your pantry.
Love Pickling? This is part of my How to Pickle Everything series! Check out more recipes:
- Quick Pickled Radishes Recipe
- Easy Pickled Beets Recipe
- Homemade Pickled Okra Recipe
- How to Make Pickled Cabbage (Only 20 Minutes!)
- How to Make Pickled Jalapeños at Home
- How to Make Pickled Cucumbers at Home
- Pickled Garlic Recipe
- Easy Pickled Banana Peppers Recipe
- Quick Pickled Carrots Recipe
- How to Make Pickled Ginger (Gari) at Home
- How to Make Pickled Cauliflower
- Crisp Pickled Green Beans Recipe
- Homemade Pickled Eggs with Beets
- Easy Pickled Cherry Tomatoes (No Canning Needed)
What You Need
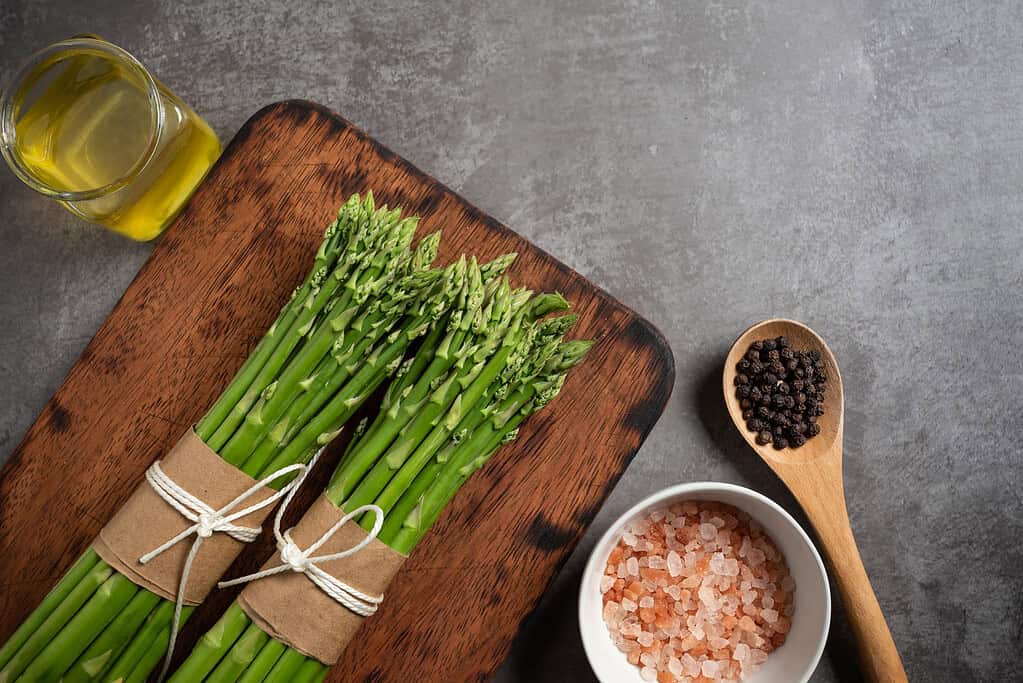
Before you get started, make sure you’ve got everything on hand. You just need a few basic tools and ingredients that you probably already have in your kitchen.
Equipment
- Boiling water canner
- Pint or 12-ounce canning jars with 2-piece lids
- 8-quart Dutch oven or large saucepan
- Canning funnel, jar lifter, and clean towels
- Knife and cutting board
Ingredients
This tested recipe gives you two options, depending on the jar size you’re using.
For Six Wide-Mouth Pint Jars
- 10 pounds asparagus
- 6 large garlic cloves
- 4½ cups water
- 4½ cups white distilled vinegar (5% acidity)
- 6 small hot peppers (optional)
- ½ cup canning or pickling salt
- 3 teaspoons dill seed
For Seven 12-Ounce Jars
- 7 pounds asparagus
- 7 large garlic cloves
- 3 cups water
- 3 cups white distilled vinegar (5% acidity)
- 7 small hot peppers (optional)
- ⅓ cup canning or pickling salt
- 2 teaspoons dill seed
6 Simple Steps for Perfect Pickled Asparagus
Making pickled asparagus isn’t complicated, but it’s important to move through each stage with care. First, you’ll prepare your jars and asparagus.
Then you’ll make the pickling brine, fill the jars, and finish by processing them in a boiling water canner to ensure they are safe for shelf storage.
Step 1: Prepare the Jars
Wash your canning jars in hot, soapy water, and rinse well. Keep the jars warm until you’re ready to use them – warm jars are less likely to crack when hot brine is added.
You can keep them hot in simmering water or in a dishwasher on the “keep warm” setting. While the jars are staying hot, prepare the lids as directed by the manufacturer.
Most modern lids don’t require pre-boiling, but they should be kept clean and ready.
Step 2: Wash and Trim the Asparagus
Gently wash the asparagus under cool running water. Trim the woody ends so that the spears will fit upright in your jars with a little less than ½-inch of space (headspace) left at the top.
Headspace matters because it allows for proper sealing during processing. Peel the garlic cloves, and place one at the bottom of each jar.
Then, stand the asparagus spears upright in the jars, packing them firmly but without crushing, with the blunt ends down and the tips up. Tighter packing helps prevent floating later.
Step 3: Make the Pickling Brine
In an 8-quart Dutch oven or large saucepan, combine the water, vinegar (always labeled 5% acidity), canning salt, dill seed, and hot peppers if using.
Bring the mixture to a full boil, stirring to dissolve the salt.
This brine is the heart of the recipe – its acidity level is what ensures the asparagus is preserved safely and can be stored on the shelf for up to a year.
Step 4: Fill the Jars
If using hot peppers, place one into each jar on top of the asparagus spears.
Then, using a canning funnel to reduce spills, carefully pour the boiling brine over the asparagus until the liquid reaches ½-inch from the rim.
Maintaining this headspace is essential. Next, release any trapped air bubbles by sliding a non-metallic utensil (like a bubble remover or plastic knife) down the inside edge of the jar.
If the liquid level drops, add more brine to bring it back to the correct level.
Wipe each jar rim with a clean, damp towel to remove any residue, place a lid on top, and screw on the band until fingertip-tight.
Don’t overtighten – jars need a little flexibility for air to escape during processing.
Step 5: Process in a Boiling Water Canner
Place the filled jars into your boiling water canner. The jars should be completely covered with at least one inch of water.
If necessary, add more hot water to reach the proper level. Cover the canner with a lid and bring the water to a vigorous, rolling boil.
Once the boil is achieved, begin timing the process according to your altitude:
| Elevation | Processing Time (Pints or 12-oz jars) |
|---|---|
| 0 – 1,000 ft | 10 minutes |
| 1,001 – 6,000 ft | 15 minutes |
| Above 6,000 ft | 20 minutes |
When the time is up, turn off the heat and remove the canner lid. Let the jars rest in the hot water for about 5 minutes before removing them.
Carefully lift the jars out with a jar lifter and place them on a towel in a draft-free area. Do not tighten lids or disturb jars while they cool.
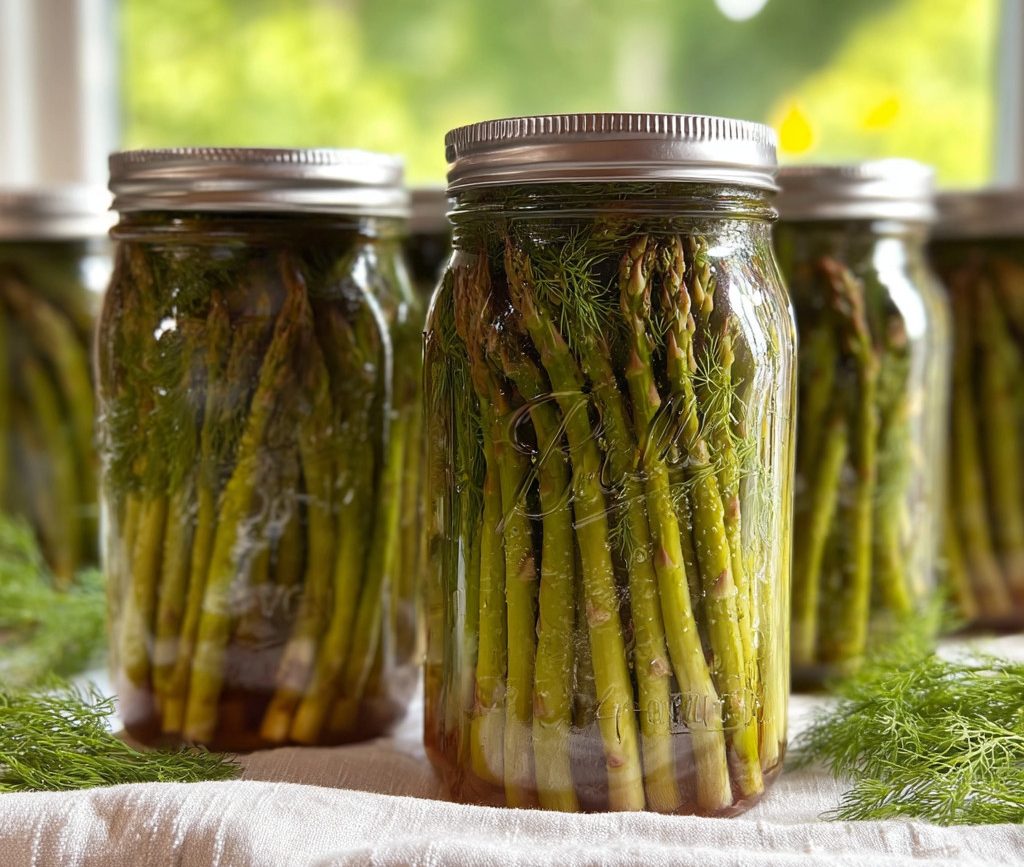
Step 6: Cool and Store
Allow the jars to sit undisturbed for 12–24 hours as they cool and seal. Once cooled, check each seal: lids should not flex up and down when pressed in the center.
Remove the bands, wipe down the jars, and label them with the date. Store sealed jars in a cool, dark place for up to one year.
Any jars that did not seal properly should be refrigerated and eaten within 2 weeks. For the best flavor, let your pickled asparagus sit for 3–5 days before opening a jar.
Tips (and Variations!)
Once you’ve got the basics down, there’s plenty of room to adjust things to your taste or based on what you’ve got around.
Use Vinegar With 5% Acidity
The acidity of the vinegar is what makes this recipe safe for shelf storage. Only vinegar clearly labeled 5% acidity should be used.
Lower-acidity vinegars (sometimes sold as “table vinegar” or artisanal brands) don’t create the correct pH level and can make the product unsafe, even if the jars appear sealed.
You can use either distilled white vinegar or apple cider vinegar, but check the label carefully before starting.
Don’t Alter the Brine Ratio
The balance of water, vinegar, and salt in this recipe has been scientifically tested to ensure safety.
It may be tempting to cut down on the salt or reduce the vinegar for a milder flavor, but doing so could prevent the asparagus from being preserved properly.
Feel free to add extra herbs or spices – such as black peppercorns, red pepper flakes, or a slice of jalapeño – but keep the vinegar, water, and salt measurements exactly as written.
Choose Tender, Young Asparagus
The quality of your asparagus will determine the texture of the final product.
Younger, thinner spears tend to hold their crispness best after canning.
Older, thicker stalks can still be pickled, but they may be tougher or develop a softer texture in the brine.
If you’re harvesting your own, aim to pickle within a day or two of picking for the best crunch.
Be Patient for the Best Flavor
While your pickled asparagus is safe to eat as soon as the jars cool and seal, the flavor truly shines after it has had time to develop in the brine.
Waiting at least 3 to 5 days allows the vinegar and spices to infuse into the spears, giving you a balanced, tangy, and aromatic pickle.
If you can resist the temptation, give the jars a week before opening – you’ll be rewarded with the fullest flavor.
Creative Ways to Serve Pickled Asparagus
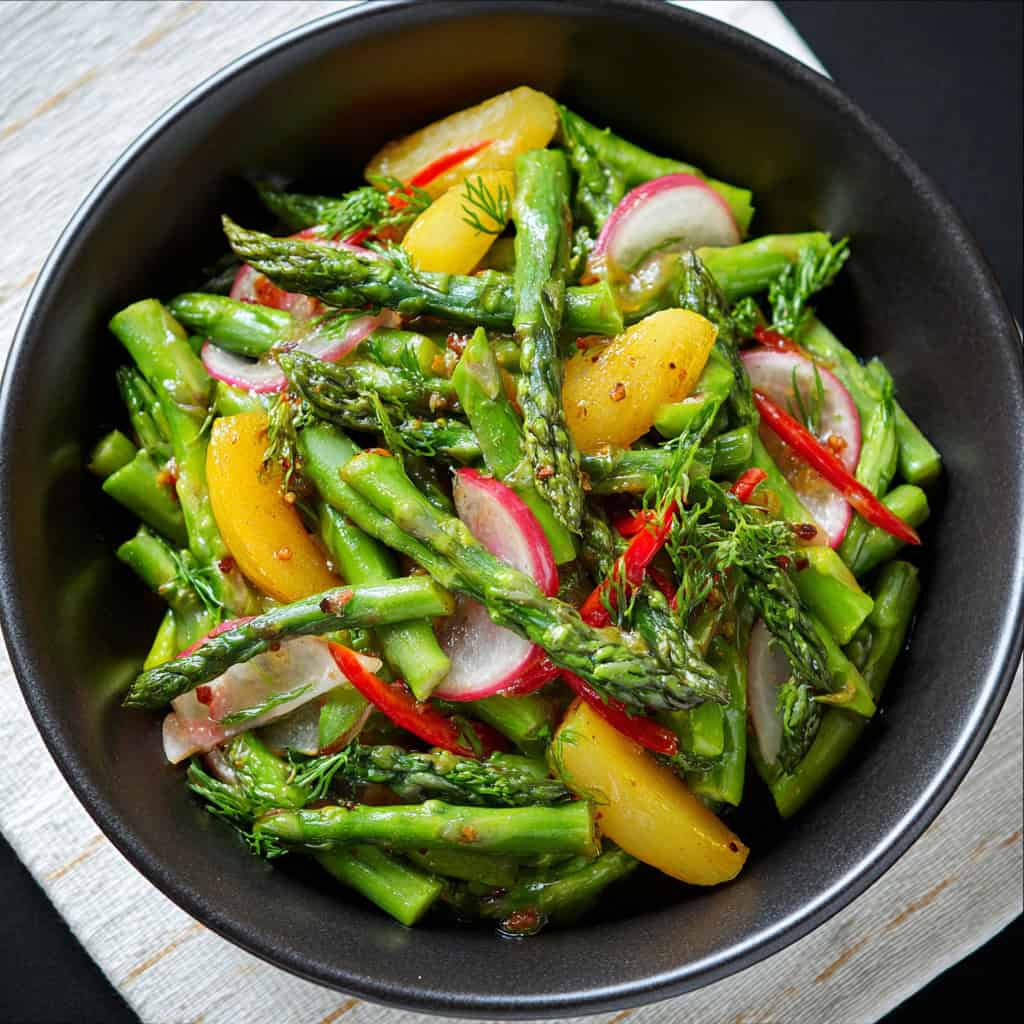
Once your pickled asparagus is ready, there are lots of easy ways to use it.
- Add a few spears to a snack board with cheese and cured meats
- Chop and toss into green salads for a tangy crunch
- Mix into pasta salads for extra flavor
- Tuck into sandwiches or wraps for a zesty bite
- Wrap with prosciutto for an easy appetizer
- Drop a spear into a Bloody Mary for a savory twist
- Enjoy straight from the jar as a quick, flavorful snack
Can You Use Frozen Asparagus?

For safe, high-quality results, always use fresh asparagus when making pickled asparagus. The NCHFP recipe was tested with fresh spears only, and using frozen asparagus is not recommended.
Freezing breaks down the cell structure of the vegetable, so once thawed, the spears become soft and lose their crisp texture.
This not only affects quality but may also interfere with safe packing and heat penetration during canning.
If you want asparagus with a firm crunch and bright flavor, start with freshly harvested spears and preserve them as soon as possible after picking or purchasing.
If you’re growing your own, check out this guide on how to start asparagus plants so you can enjoy garden-fresh spears every spring.
How to Tell If Pickled Asparagus Has Spoiled

Properly processed jars of pickled asparagus should be clear, with a bright vinegar aroma and firm spears. Once cooled and sealed, jars can be stored in a cool, dark place for up to 1 year.
Before opening, always check that the lid is tightly sealed and concave (pulled downward).
Discard the jar if you notice any of the following:
- The seal is broken or the lid flexes when pressed.
- The brine is cloudy or shows signs of mold.
- The asparagus feels mushy or slimy.
- There is an off odor when opening.
If a jar doesn’t seal after processing, store it in the refrigerator and eat within 2 weeks. When in doubt, always err on the side of caution – never taste food that shows any signs of spoilage.
Start Pickling and Preserve Asparagus for Months to Come
Making pickled asparagus at home using a tested recipe gives you safe, flavorful results that can last in your pantry for up to a year.
With just a handful of ingredients and some simple canning equipment, you can transform fresh asparagus into a tangy, crunchy treat that’s ready to enjoy anytime.
Whether you serve it as part of a charcuterie board, add it to salads, or snack on it straight from the jar, pickled asparagus is a delicious way to extend the season and make the most of this springtime vegetable.
Frequently Asked Questions (FAQs)
Can I use thick asparagus spears?
Yes, you can. Thicker spears will stay crunchier but might not absorb the brine as quickly. If you use them, you might want to let them sit a bit longer in the fridge before eating.
Can I skip the sugar or use a sugar substitute?
Sugar helps balance out the sharpness of the vinegar. Skipping it will change the flavor.
Stevia hasn’t been tested with this recipe, but one person used hot honey and liked the result. If you try a substitute, just know it might taste different.
What kind of vinegar should I use?
Distilled white vinegar is the most straightforward option. You can also use white wine vinegar or apple cider vinegar if you want a slightly different flavor. Just make sure it has at least 5% acidity.
How will I know when the asparagus is ready?
It’s usually ready after one full day in the fridge. You can leave it longer if you want the flavor to get stronger. By day two or three, it’ll be fully pickled.
How should I store it, and how long will it last?
Keep the jars in the fridge at all times. The asparagus will stay good for up to two weeks. If it ever smells off, looks cloudy, or feels slimy, it’s best to throw it out.