Got a handful of cherry tomatoes sitting around? Pickling them is a quick way to keep them from going to waste – no canning equipment required.
This is a refrigerator pickle recipe, which means the tomatoes are preserved in a vinegar brine and stored cold. They are not shelf-stable and must be kept in the refrigerator at all times.
The result is tangy, crisp, flavorful tomatoes that are delicious on sandwiches, tossed into salads, or eaten straight from the jar.
In this article, you’ll find everything you need to know – from the ingredients and step-by-step instructions to storage tips and flavor variations.
If you're growing your own tomatoes, check out our expert tips for growing tomatoes successfully to ensure you have the best harvest for this recipe.
What Are Pickled Cherry Tomatoes?
Refrigerator pickled tomatoes are small tomatoes (like cherry or grape) that are preserved in a vinegar-based brine and stored in the fridge.
Unlike traditional canned pickles, these do not go through a boiling water bath canning process or pressure canning.
Because there’s no heat processing, these pickles are not shelf-stable. They must be kept cold at all times.
The trade-off is that refrigerator pickles are quicker to make, and the tomatoes stay fresher and crisper in texture.
These quick pickled tomatoes are best eaten fresh from the fridge, within a few weeks.
Love Pickling? This is part of my How to Pickle Everything series! Check out more recipes:
- Quick Pickled Radishes Recipe
- Easy Pickled Beets Recipe
- Homemade Pickled Okra Recipe
- How to Make Pickled Cabbage (Only 20 Minutes!)
- How to Make Pickled Jalapeños at Home
- How to Make Pickled Cucumbers at Home
- Pickled Garlic Recipe
- Easy Pickled Banana Peppers Recipe
- Quick Pickled Carrots Recipe
- How to Make Pickled Asparagus at Home
- How to Make Pickled Ginger (Gari) at Home
- How to Make Pickled Cauliflower
- Crisp Pickled Green Beans Recipe
- Homemade Pickled Eggs with Beets
Ingredients You’ll Need
Making pickled tomatoes doesn’t take much. Most of the ingredients are things you probably already have on hand, and there’s room to swap or add things depending on what you like.
Do Not Can This Recipe: This recipe has not been tested for water bath canning or shelf storage. Always use vinegar labeled 5% acidity, keep jars refrigerated (≤40°F), and enjoy within 1 month for best quality. Discard if mold, slime, or off-odors develop.
- 1 pint cherry tomatoes – Choose ripe but firm ones. Grape, pear, or cocktail tomatoes also work well. Avoid any that are mushy, split, or overripe.
- 1 clove garlic, peeled (optional) – Adds flavor and aroma.
- ½ teaspoon mustard seeds – Traditional for pickling. Mustard powder can be used in a pinch, but it may cloud the brine.
- 1–2 sprigs fresh dill – Classic pickle flavor. You can also substitute other fresh herbs (thyme, rosemary, or basil). If using dried dill, about 1 teaspoon per pint works.
- 1 cup vinegar (5% acidity) – Apple cider vinegar or white distilled vinegar are the most reliable options. You may also use wine or rice vinegar only if the label says 5% acidity. Avoid homemade vinegars, balsamic, or sherry vinegar, which are not suitable for pickling.
- 1 cup water – Helps balance the sharpness of the vinegar.
- 1 tablespoon pickling or canning salt – These dissolve cleanly and contain no additives. If using kosher salt, check the label to ensure it has no additives or anti-caking agents, and measure by weight rather than volume for accuracy.
- 1 teaspoon sugar (optional) – Softens the vinegar’s sharpness.
Must-Have Supplies
Using the right containers and keeping everything clean helps your refrigerator pickles last longer and taste their best.
- Glass Jars (Mason jars or any airtight glass container)
- Lid with Seal (To ensure the jars are airtight)
- Saucepan (For preparing the vinegar brine)
- Measuring Cups and Spoons (For accurate measurements of spices and liquids)
- Chopping Knife (If you need to slice tomatoes or other ingredients)
- Cutting Board
- Funnel (To easily fill jars without spilling)
- Tea Towel or Paper Towels (For wiping jar rims)
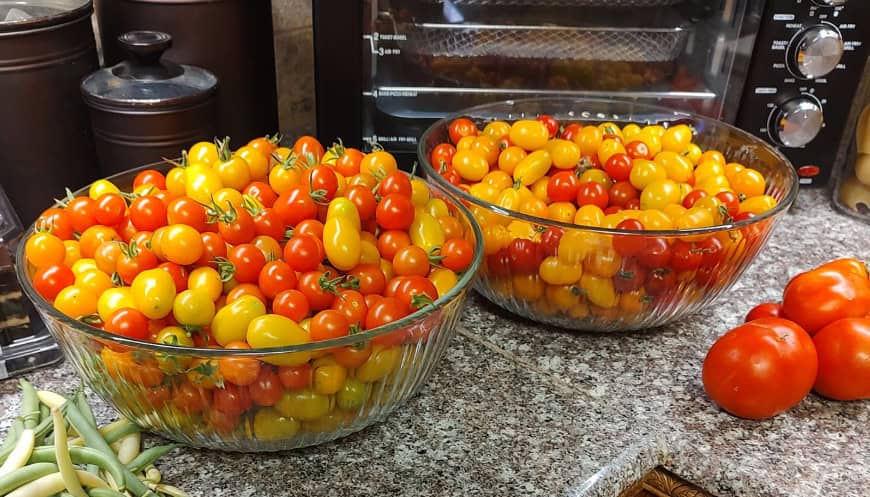
Choosing the Right Tomatoes for Pickling
The quality of your tomatoes makes a big difference in the final flavor and texture of your refrigerator pickles.
Since these aren’t heat-processed, the tomatoes keep much of their fresh texture – so the better they start, the better they’ll taste.
Best Tomato Types
Stick with small, firm tomatoes that hold up well in brine:
- Cherry tomatoes
- Grape tomatoes
- Pear tomatoes
- Cocktail tomatoes
These varieties can be pickled whole and have firm skins that prevent them from breaking down too quickly.
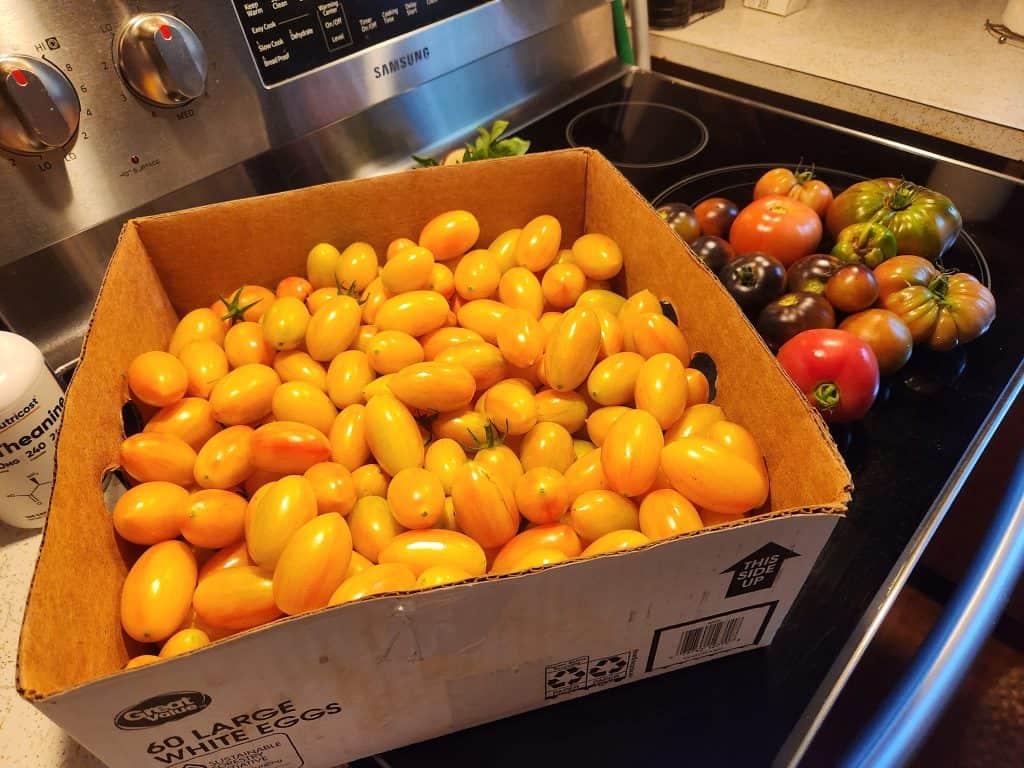
What to Look For
- Firm but ripe – They should have a little give when squeezed but not feel soft or mushy.
- Smooth, unblemished skin – Avoid cracks, spots, or signs of decay.
- Fresh-picked or recently purchased – The fresher the tomato, the crisper the pickle.
What to Avoid
- Overripe tomatoes – Too soft, and they’ll split or turn mushy in the brine.
- Cracked or damaged skin – Creates weak spots where spoilage can start.
- Large slicing tomatoes – Not ideal for this recipe unless cut into smaller pieces (which changes the texture and pickling time).
Tip for Better Texture: Pricking each tomato once or twice with a toothpick before adding to the brine helps the vinegar soak in and keeps the skins from splitting later.
Step-by-Step Guide to Making Pickled Cherry Tomatoes

This method takes only about 15 minutes of hands-on prep. After that, the tomatoes need to sit in the refrigerator for a couple of days to let the flavors develop fully.
Step 1: Clean Your Jar
Wash your glass jar and lid in hot, soapy water. Rinse well to remove all residue.
For refrigerator pickles, sterilizing jars in boiling water isn’t required, but starting with a clean jar helps prevent spoilage.
Step 2: Add Flavorings to the Jar
Place in the bottom of each pint jar:
- 1 peeled garlic clove
- ½ teaspoon mustard seeds (or ¼ teaspoon mustard powder)
- 1–2 sprigs fresh dill (or 1 teaspoon dried dill)
- Any optional spices (peppercorns, chili flakes, or red onion slices)
Divide evenly if making multiple jars.
Step 3: Prick and Pack the Tomatoes
Use a toothpick or skewer to prick each tomato once or twice. This helps the brine soak in and reduces the chance of skins splitting.
Gently fill the jar with tomatoes, leaving a little headspace at the top. Don’t pack them too tightly.
Step 4: Make the Brine
In a small saucepan over medium heat, combine:
- 1 cup vinegar (must be 5% acidity)
- 1 cup water
- 1 tablespoon pickling or canning salt
- 1 teaspoon sugar (optional)
Heat just until the salt and sugar dissolve. Stir well. There’s no need to boil the brine.
Step 5: Pour Brine Over Tomatoes
Carefully pour the hot brine over the tomatoes, making sure they’re fully submerged.
Tap the jar lightly on the counter to release trapped air bubbles.
Wipe the rim of the jar and seal with a tight-fitting lid.
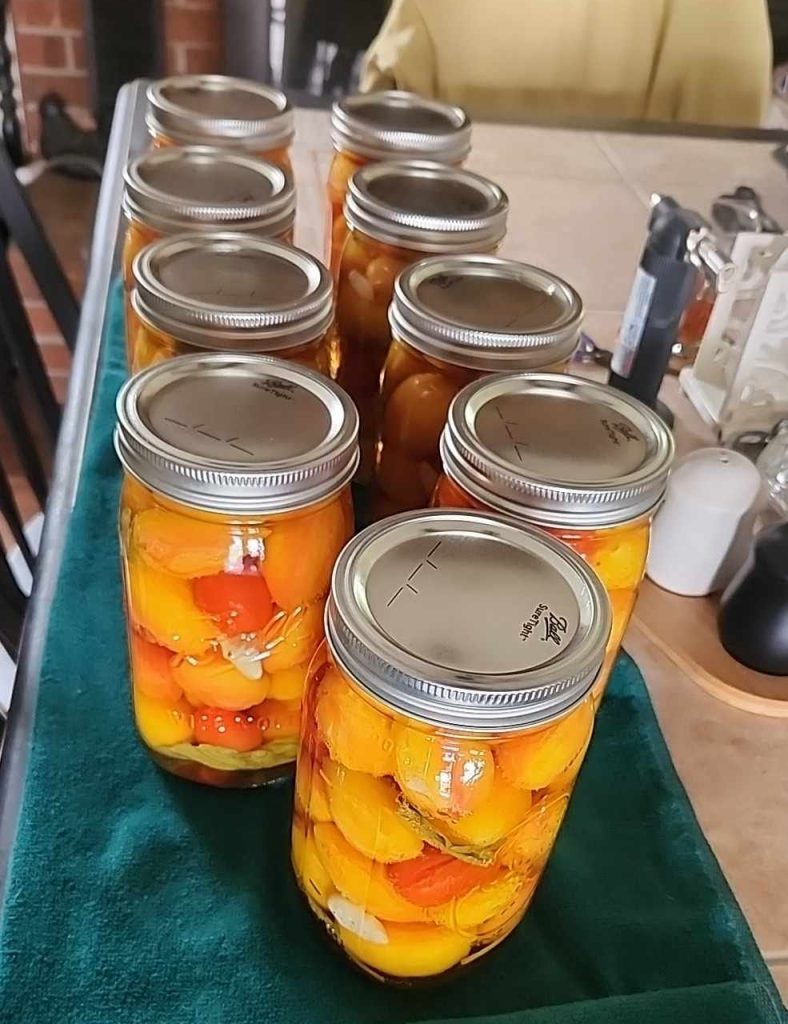
Step 6: Cool and Refrigerate
Allow the jar to cool to room temperature before placing it in the refrigerator. Never put a hot jar directly into the fridge.
Let the tomatoes sit for at least 48 hours before eating. They’ll continue to develop flavor as they rest.
How to Store Pickled Cherry Tomatoes Safely
Because this is a refrigerator pickle recipe, the tomatoes are not shelf-stable.
Proper storage is the key to keeping them crisp, flavorful, and safe to eat.
Keep Jars in the Refrigerator
- Always store jars at 40°F (4°C) or below.
- Never leave them at room temperature for more than an hour.
Use Clean, Airtight Glass Jars
- Mason jars are ideal for refrigerator pickles.
- Avoid plastic or metal containers, which can absorb odors or react with vinegar.
Keep Tomatoes Fully Submerged
- Tomatoes should always be completely covered by brine.
- If they float above the liquid, they can spoil or develop mold.
Use Within 1 Month
- For best quality, use your pickled tomatoes within 3–4 weeks.
- Some batches may last longer, but texture and flavor decline over time.
- Discard immediately if you notice mold, slime, or off-odors.
Handle With Clean Utensils
Avoid touching the brine or tomatoes with your fingers, which introduces bacteria.
Always use a clean fork or spoon to remove tomatoes from the jar.
Enjoy Your Homemade Pickled Cherry Tomatoes
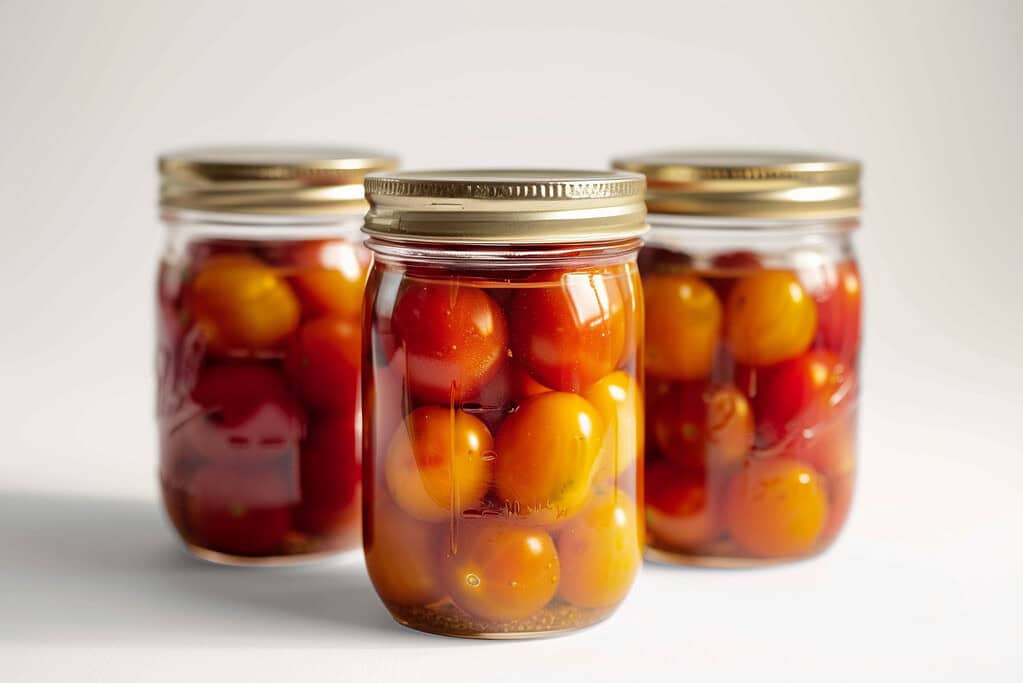
Pickling cherry tomatoes in the refrigerator is one of the easiest ways to extend a fresh harvest or use up extra tomatoes before they spoil.
With just vinegar, salt, and a few spices, you can create a crisp, tangy snack in only a couple of days.
Remember the keys to success:
- Always use vinegar with 5% acidity.
- Keep jars refrigerated at 40°F or below.
- Use tomatoes within 3–4 weeks for best flavor and quality.
- Discard any jars that show signs of spoilage.
These quick pickles are delicious on sandwiches, tossed into salads, or enjoyed right from the jar. Try making a small batch with your favorite herbs and spices to discover the flavor you love most.
Have you ever tried pickling cherry tomatoes at home? What spices or herbs would you add to your jar? Share your ideas in the comments below!
Frequently Asked Questions (FAQs)
1. Can I skip the sugar in the brine?
Yes. The sugar is optional and only helps balance the vinegar’s sharpness. It is not required for safety.
2. How long do pickled cherry tomatoes last in the fridge?
For best quality, use within 3–4 weeks. They may keep longer, but texture and flavor decline over time. Always discard if you see mold, slime, or notice an off-odor.
3. Can I use large tomatoes instead of cherry tomatoes?
Not for this exact method. Large tomatoes have softer flesh and different acidity. If you want to pickle them, use a tested recipe from NCHFP or USDA guidelines. Stick to small varieties for refrigerator pickles.
4. Is it safe to store these jars outside the fridge?
No. This recipe is not shelf-stable. The tomatoes must be kept refrigerated at all times at 40°F (4°C) or below.
5. What should I do if the brine looks cloudy?
Cloudiness can happen from spices like mustard seeds or garlic and is not harmful. However, if you notice slime, mold growth, or a foul smell, the entire jar should be discarded.