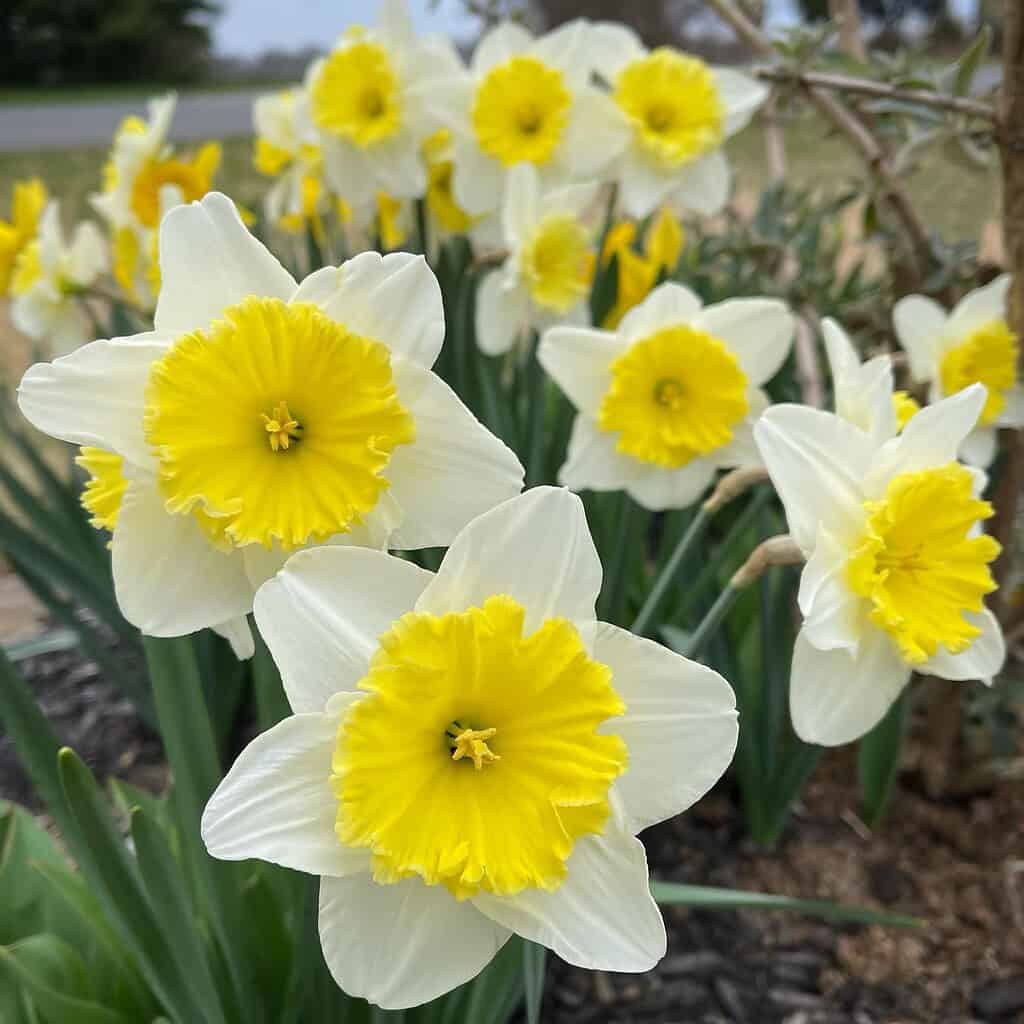
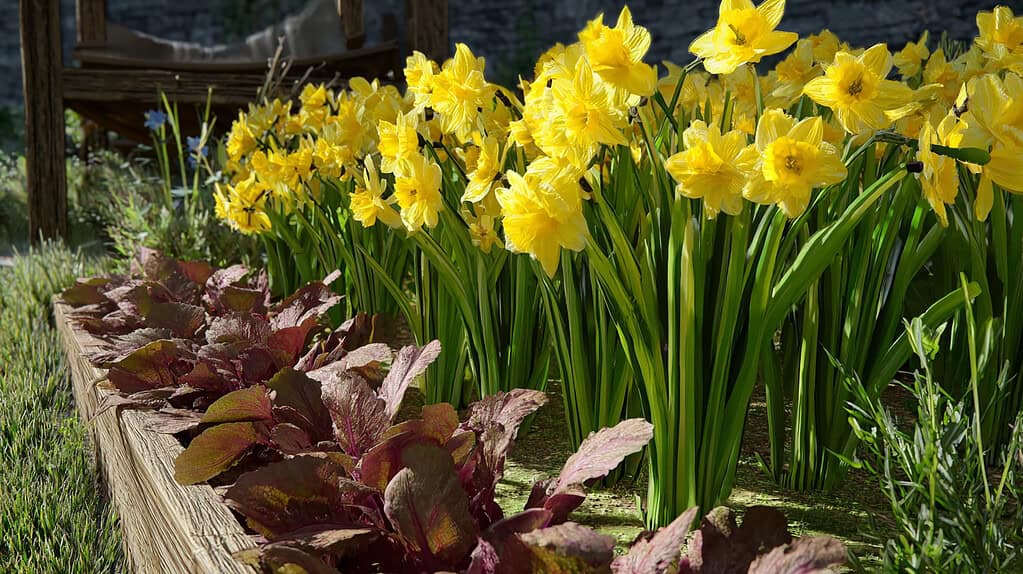
Daffodils are one of the easiest and most rewarding spring flowers to grow.
With the right approach, you can enjoy vibrant blooms year after year with very little maintenance.
Whether you're working with heavy clay soil, a shaded yard, or looking to extend your flower display, there are simple techniques that make a big difference.
In this article, I'll cover everything from planting and soil prep to cut-flower tips and unique varieties that bring more color and fragrance to your garden.
Why Daffodils Are Great – And What They Need to Thrive
Daffodils are hardy, long-lived perennials that return year after year with little effort.
They are also among the top long-blooming perennials, providing reliable color in your garden throughout the spring season.
They grow from bulbs and are well-suited for a wide range of garden styles – from borders and lawns to containers and naturalized areas.
Once planted correctly, they often multiply and spread, creating more blooms over time without needing to be replanted each year.
One of their biggest advantages is low maintenance. Daffodils are naturally resistant to most pests, including deer and rodents, and they rarely suffer from major diseases.
This makes them an excellent choice for both beginner gardeners and those who want reliable color with less work.
For daffodils to thrive, they need:
- Full sun to partial shade: They prefer 6 or more hours of sunlight daily. However, since they bloom early in spring, they can be planted under deciduous trees that leaf out later in the season.
- Well-drained soil: Soggy soil can cause bulbs to rot. Drainage is more important than soil fertility. If your soil is heavy or clay-based, it needs improvement before planting.
- A cold period: Daffodils require a chilling period in fall and winter to trigger proper flowering in spring. This makes them ideal for USDA zones 3–8.
- Minimal disturbance: Once planted, they can remain in the ground for years. Over time, they’ll form larger clumps unless divided.
When planted in the right conditions, daffodils don’t just survive – they return each spring stronger, more colorful, and often more abundant than the year before.
Read related post: Step-by-Step Guide to Growing Stunning Peony Flowers in Your Garden
Soil and Site Preparation for Daffodils
Healthy daffodils start with the right planting conditions, and soil quality plays the biggest role.
These bulbs cannot sit in wet soil for long periods, so improving drainage is the first priority. When the soil is too dense or stays wet after rain, bulbs are more likely to rot before they ever sprout.
Improving Clay Soil the Right Way
Clay soil holds moisture, compacts easily, and lacks the air pockets bulbs need. To make it suitable for daffodils, work organic matter into the soil at least 12 inches deep.
Well‑rotted compost is ideal because it increases drainage while adding structure.
For best results, consider using the Berkeley method of composting to create rich, evenly decomposed compost that improves soil texture without the risk of over-fertilizing.
Avoid adding sand to clay soil, as this can create a cement-like mix that drains even worse.
A well-amended planting area allows the roots to spread and prevents water from sitting around the bulb. This simple adjustment greatly improves long‑term growth and bloom quality.
Using Natural Drainage to Your Advantage
Good drainage does not always require fully reworking the soil.
If you have areas that naturally shed water – such as gentle slopes, raised edges of your yard, or small hillsides – these spots can make excellent planting locations.
Planting in raised beds is another reliable option and gives full control over soil texture and drainage.
Choosing the Best Light Conditions
Daffodils grow best in full sun, but they also do well in areas that become shaded later in spring. A common place to use is under deciduous trees.
Since daffodils bloom early, they get the sun they need before the tree develops its leaves. This lets you use areas that might otherwise stay empty or underused.
Soil Conditions Daffodils Prefer
- Loose, crumbly soil that drains well
- Neutral to slightly acidic soil, though they tolerate a wide range
- A planting area that doesn’t collect standing water
Preparing soil correctly sets the foundation for strong roots, better flowers, and bulbs that return reliably each year.
Read related post: How to Grow Lilies Successfully in Your Garden
When and How to Plant Daffodil Bulbs for Reliable Spring Blooms
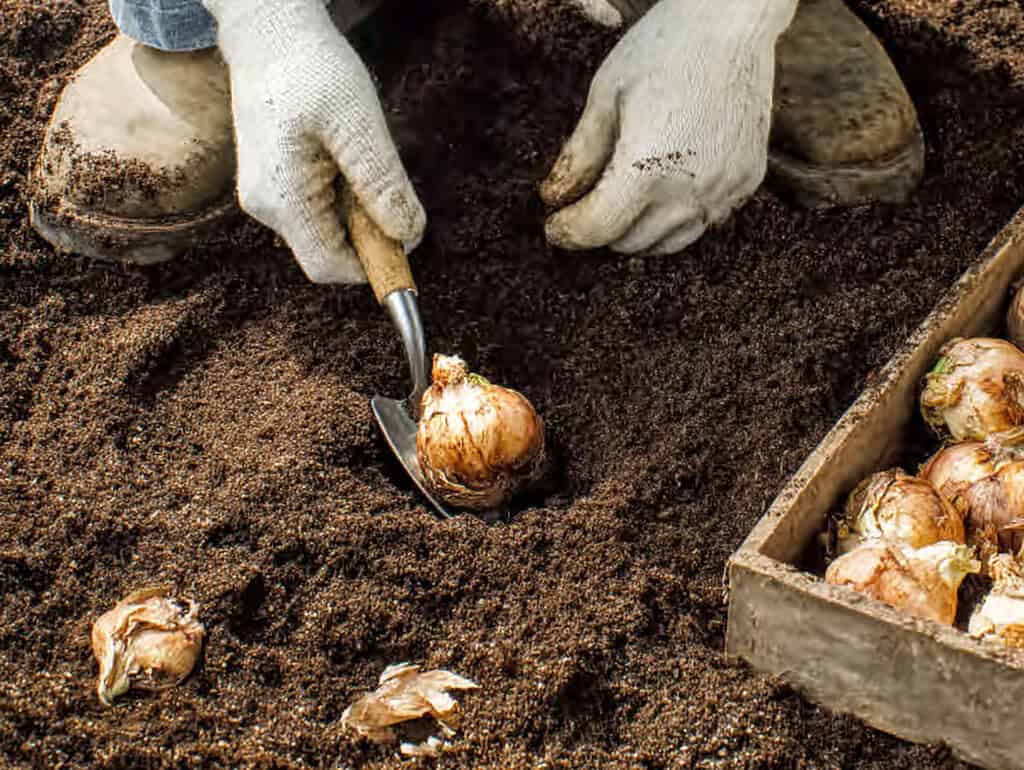
The best time to plant daffodil bulbs is in the fall – when the soil has cooled but before it freezes. This timing gives bulbs the cold period they need to root and prepare for spring flowering.
In most regions, this means planting between September and November, depending on your local climate.
Planting Depth and Spacing
Daffodil bulbs should be planted about 2 to 3 times deeper than their height, which usually means 4 to 6 inches deep.
This protects them from freezing and helps them stay firmly rooted. Space each bulb about 4 to 6 inches apart to give room for growth.
For a more natural look, avoid planting in straight rows. Instead, dig a wider hole and plant bulbs in small groups or clusters. This encourages a fuller, more eye-catching display when they bloom.
Orientation and Placement Tips
- Pointy side up: Always plant bulbs with the narrow tip facing up. The flat base goes down.
- Water after planting: Give the area a good soak after planting to help settle the soil and encourage root development before winter sets in.
- Don’t mulch too heavily: If you use mulch, keep it light so the soil doesn’t retain too much moisture.
Planting Timeline by USDA Zone
- Zones 3–5: Late September to early October
- Zones 6–7: October to early November
- Zones 8–9: November or early December
Timing is key. Plant too early, and the bulbs might sprout before winter. Too late, and they won’t root properly before the ground freezes.
When done at the right time, planting daffodil bulbs is a one-time effort that gives returns for many years.
Read related post: How to Plant, Water, and Care for Camellias for Long-Term Growth
Smart Daffodil Planting Techniques: How to Group, Cluster, and Naturalize Bulbs

While you can plant daffodils one by one, using strategic planting techniques will lead to a more colorful and natural-looking display.
Grouping bulbs, naturalizing them in lawns, or using overlooked garden areas can make a small number of bulbs look much more impressive.
Plant in Groups for Greater Visual Impact
Daffodils look best when planted in small clusters rather than spaced out evenly. Groups of 5 to 10 bulbs create bold splashes of color that stand out in the garden.
For larger areas, consider planting in loose drifts or irregular shapes rather than rows. This mimics how flowers grow in nature and creates a more relaxed, full look.
Space bulbs a few inches apart within each group, and leave a bit more space between the groups themselves.
Use Shade Timing to Your Advantage
Daffodils thrive in full sun, but because they bloom early, they can still do well in places that become shady later in the season.
A smart location is under deciduous trees – trees that drop their leaves in fall.
Since daffodils bloom before the tree canopy fills in, they still receive enough early sunlight to flower and recharge the bulb.
This makes shaded areas more useful and adds color where you might not expect it.
Naturalize Daffodils in the Lawn (With Patience)
Daffodils can also be grown right in the lawn. This is called naturalizing, and over time, the bulbs multiply to create a larger display. However, there are a few key rules:
- Avoid weed killers: Don’t use broad pre-emergent or post-emergent herbicides in those areas, or use only targeted spot treatments.
- Let foliage die back naturally: After blooming, the leaves must be left in place for about six weeks. That means mowing should be delayed until the foliage turns yellow and begins to wither.
This approach requires patience, but it creates a low-maintenance and long-lasting flower show each year.
Use Southern Exposure for Early Blooms
To encourage earlier flowering, plant daffodils on the south side of a house, fence, or hedge.
These areas warm up faster in late winter and give bulbs a head start. You may see blooms several days or even a week earlier in these spots compared to the rest of your garden.
Extending Your Daffodil Bloom Season: Best Cultivars for Early, Mid, and Late Spring Color
Daffodils don’t all bloom at the same time.
By choosing the right combination of early, mid, and late-season cultivars, you can stretch your daffodil display across several weeks (or even months) of spring.
This simple planning step turns a short burst of color into a long-lasting feature in your garden.
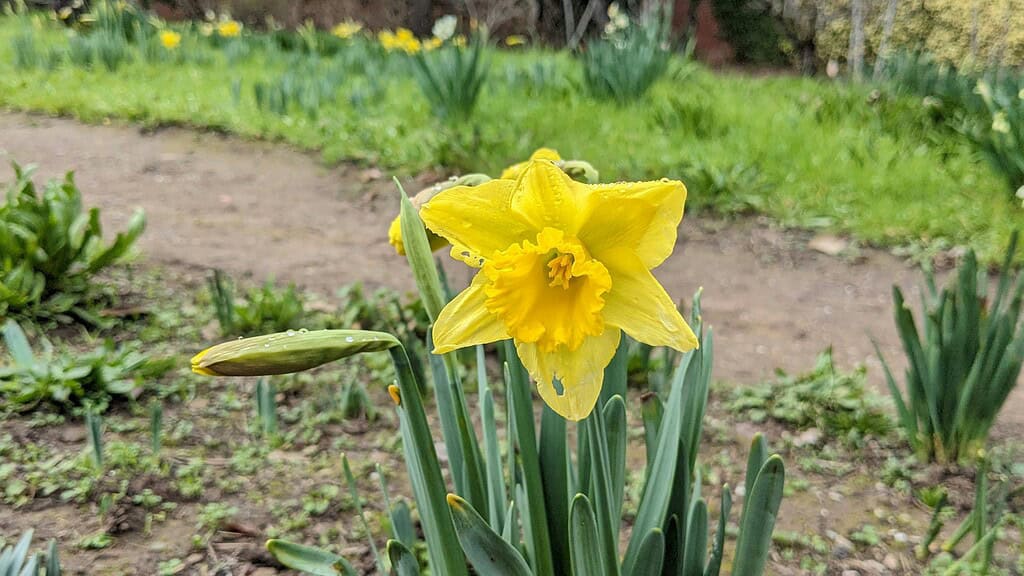
Start with Early-Season Varieties
Early daffodils bloom as soon as the ground begins to warm, often in late winter or early spring. These are perfect for areas that warm up quickly, such as southern-facing beds or near structures that retain heat.
Examples of early-bloomers:
- ‘February Gold’ – A compact daffodil that flowers very early and reliably
- ‘Rijnveld’s Early Sensation’ – Often blooms weeks before other daffodils
- ‘Jetfire’ – Small with a vivid orange cup and bright yellow petals
Follow with Mid-Season Daffodils
Mid-season varieties make up the bulk of daffodil blooms and offer a wide range of sizes and forms. These are great for filling borders and mixing with other spring bulbs or perennials.
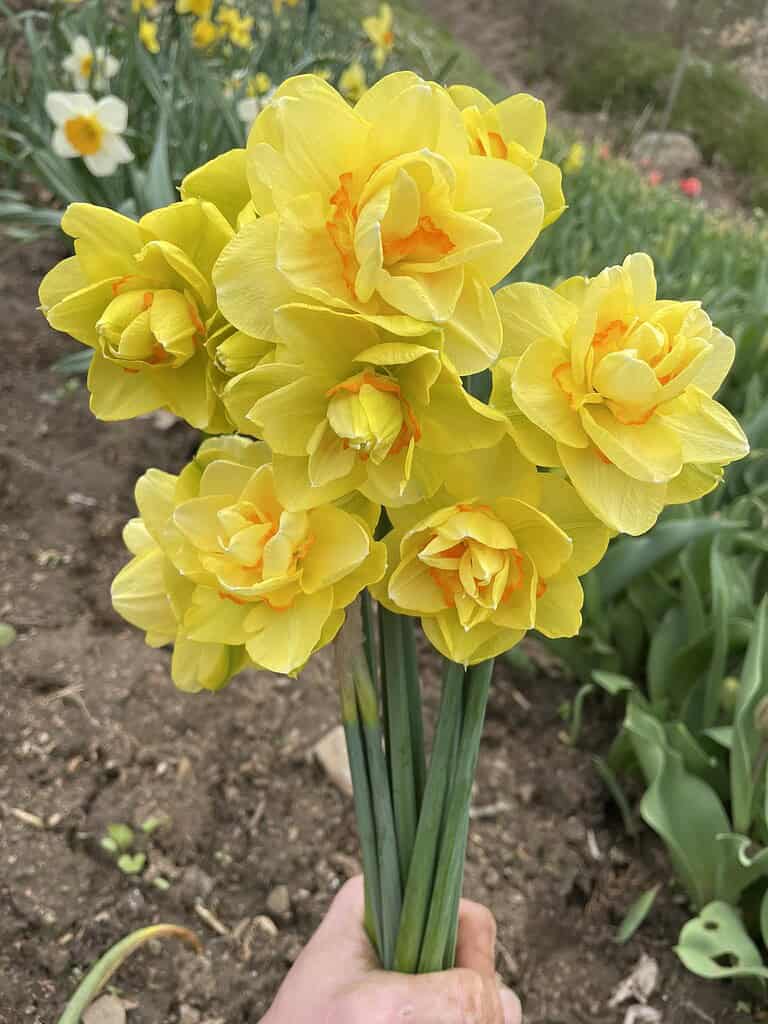
Examples of mid-season types:
- ‘Tahiti’ – A double daffodil with layers of yellow and orange
- ‘Carlton’ – Large, classic yellow blooms with strong fragrance
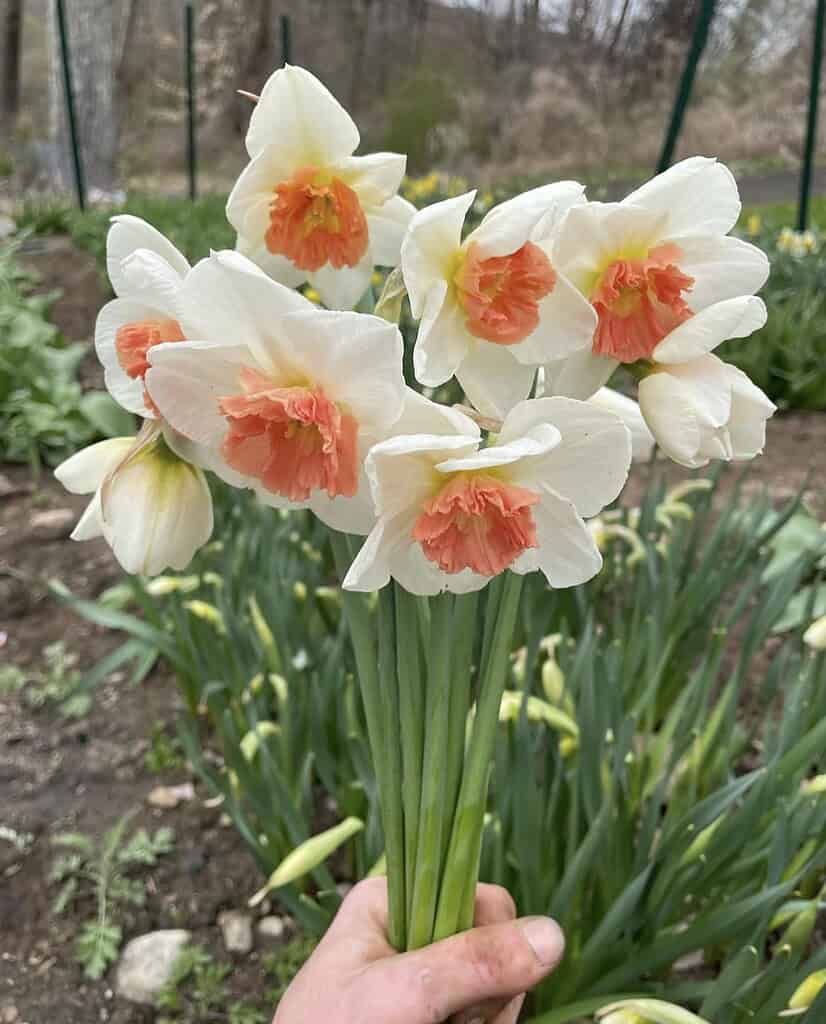
- ‘Pink Charm’ – White petals with a soft pink cup for added color diversity
Finish Strong with Late-Season Bloomers
Late-season cultivars extend the daffodil show well into late spring. These are ideal for areas that stay cooler or where you want to stagger blooms with other later-flowering plants.
Examples of late bloomers:
- ‘Le Torch’ – Striking red-orange center with soft outer petals
- ‘Actaea’ – A poeticus daffodil with white petals and a tiny red-rimmed cup
- ‘Cheerfulness’ – A fragrant, double-flowered variety with creamy petals
Try Unique Colors and Fragrant Cultivars
Beyond traditional yellow, daffodils come in a surprising variety of colors and forms. Including these in your garden adds depth, fragrance, and visual interest:
- Fragrant picks: ‘Cheerfulness’, ‘Sir Winston Churchill’, ‘Erlicheer’
- Atypical shades: Cream, orange, pink, or white (‘Thalia’ for all-white displays)
- Double or frilled forms: Add texture and stand out in borders or containers
- Moon garden options: ‘Thalia’ is excellent for white-themed night gardens
By mixing bloom times and exploring lesser-known cultivars, you can build a daffodil garden that evolves over time – giving continuous color and more variety than standard plantings.
Don’t forget to mix in some show-stopping yellow flowers to keep that classic daffodil brightness in your garden.
Read related post: 15 Enchanting Purple Flowers That Create a Magical Garden Feel
How to Maintain Healthy Bulbs and Get Better Blooms Next Year
After daffodils finish blooming, it’s easy to forget about them but this is when they begin preparing for next year’s flowers.
The post-bloom period is critical for recharging the bulb. Proper care during this time leads to stronger, more consistent blooms in future seasons.
Leave the Foliage Until It Fades Naturally
Once the flowers fade, the leaves will stay green for several weeks. During this time, the foliage is photosynthesizing and sending energy back to the bulb.
Cutting or tying the leaves too early weakens the bulb and often leads to fewer blooms the following year.
- Wait at least six weeks after flowering before cutting or mowing the foliage.
- Let the leaves turn yellow and begin to wither naturally. Only then should they be removed.
Hide Dying Leaves with Companion Plants
Daffodil leaves can look messy as they decline. To maintain a tidy garden, plant late-emerging perennials or bulbs in the same area.
These grow up just as the daffodil foliage fades and help mask the decline without disturbing the bulbs.
Good companions include:
- Daylilies
- Hostas
- True lilies
- Ferns
Feed Bulbs After Blooming
To help bulbs store enough energy, feed them after blooming ends but while the leaves are still green.
Recommended feeding:
- Bone meal – A natural phosphorus source that supports root and bulb health
- Low-nitrogen, high-potassium fertilizer – Look for a balanced fertilizer with low “N” (nitrogen) and higher “K” (potassium) to avoid excessive leaf growth and promote bulb strength
Avoid high-nitrogen lawn fertilizers, especially if naturalizing daffodils in turf.
Water if Spring is Dry
If spring weather is unusually dry – especially during the foliage phase – make sure daffodils receive enough water.
Late-blooming varieties are most at risk of aborting their flowers if they dry out during development.
- Water deeply once a week if rainfall is lacking
- Keep the soil moist but not soggy
Divide Overcrowded Clumps Every Few Years
Over time, daffodil bulbs multiply underground. While this is usually a good thing, too much crowding can cause reduced flowering – known as “going blind.”
To fix this:
- Wait until the foliage has died back completely
- Dig up the clumps carefully
- Separate the bulbs and replant them with enough space
This only needs to be done every 3 to 5 years in most gardens.
Read related post: How to Grow Hibiscus Flowers Easily at Home
Daffodil Pest Control: Natural Ways to Keep Rodents and Deer Away
One of the biggest advantages of growing daffodils is their natural pest resistance.
Unlike tulips and other spring bulbs that are often dug up or eaten, daffodils are usually left alone by most common garden pests.
This makes them a reliable, low-maintenance choice especially in areas with heavy deer or rodent activity.
Daffodils Are Naturally Pest-Resistant
Daffodils contain oxalic acid, a compound that makes them toxic or unappealing to many animals. The taste and chemical content deter:
- Deer
- Rabbits
- Squirrels
- Voles and other rodents
This built-in defense makes daffodils a smart choice for borders, open areas, or wildlife-heavy regions where other plants may struggle.
What to Do If Rodents Still Dig Them Up
While daffodils are rarely eaten, you might still see bulbs disturbed by curious animals – especially squirrels – who dig out fresh plantings out of habit rather than hunger.
To prevent this:
- Add sharp crushed shells or small gravel to and around the planting hole. The texture is unpleasant to dig through, which deters digging behavior.
- Avoid using bone meal at planting time, as the scent can attract animals looking for food.
- Consider covering freshly planted areas with chicken wire or mesh for a few weeks until the ground settles and interest fades.
Avoid Chemical Repellents Near Bulbs
Most daffodils don’t require sprays or deterrents, but if you use repellents elsewhere in the garden, avoid applying them directly over bulb areas – especially during growth or bloom periods.
Overuse of sprays can damage foliage or flowers.
Read related post: 15 Lush Green Flowers to Create a Peaceful, Nature-Rich Garden
How to Harvest Daffodils for Cut Flowers and Keep Them Fresh Longer
Daffodils also make excellent cut flowers when harvested and handled properly. However, they need special care due to a sap they release that can damage other flowers in a mixed bouquet.
Following a few simple steps will help your daffodils last longer in the vase and stay looking fresh for several days.
Pick at the Right Stage: The “Goose-Neck” Phase
For the longest vase life, harvest daffodils when the buds are fully colored but still slightly nodding – this is known as the goose-neck stage.
At this point, the flowers haven’t fully opened, but they’re mature enough to finish blooming in the vase. Flowers picked too early may not open fully, while those picked too late fade faster.
Snap or Snip? How to Cut Daffodils
You can cut daffodils with sharp snips or snap them off at the base using your fingers.
Snapping is often faster and gives a slightly longer stem. Either method works, but make sure to harvest gently to avoid damaging the bulb or nearby foliage.
Condition Daffodils Separately Before Arranging
Daffodil stems release a clear sap that can shorten the life of other flowers in mixed arrangements. To avoid this:
- Place freshly cut daffodils in a separate container of cool water for at least 30 minutes to 2 hours before combining them with other flowers.
- This allows the cut ends to callous over, stopping the sap from leaking.
Important: If you recut the daffodil stems later while arranging, you'll need to recondition them again in clean water before placing them with other flowers.
Vase Care Tips
- Use clean, cool water – no flower food is needed for daffodils.
- Avoid frequent stem recutting unless you plan to recondition them again.
- Keep the vase out of direct sunlight and away from heat sources.
With proper harvesting and conditioning, daffodils can last five to seven days in a vase, bringing bright spring color indoors.
Ready to Grow Your Own Daffodils?
Daffodils are one of the most dependable spring flowers you can grow.
With the right soil preparation, thoughtful planting, and a bit of post-bloom care, you’ll enjoy vibrant blooms that return year after year.
The key is to match each stage – planting, blooming, and maintenance – with proven techniques that fit your garden conditions.
Whether you're improving clay soil, choosing the right cultivars, or harvesting for fresh arrangements, these small decisions make a noticeable difference.
A daffodil garden doesn’t require a lot of work – but it does reward the gardener who plans ahead. Once established, they multiply, resist pests, and keep your garden bright and colorful each spring.
Have a daffodil growing tip or question of your own?
Comment down below – we’d love to hear how daffodils are growing in your space.
Ready To Transform Your Garden?

Are you looking for the best way to layout your garden beds? Maybe you're feeling a bit stuck on how to make the most of your space?
We’ve got you covered! Check out our 101+ Garden Bed Layout Ideas for your next raised bed project. This guide is filled with creative and practical ideas that can help you design a garden that fits your style, whether you’re just starting out or have been gardening for years.
Get your copy today and get inspired to bring your gardening dreams to life.