Gardening doesn’t require acres of land or perfectly built raised beds. In fact, some of the most productive home gardens start with something much simpler: a few buckets.
A bucket garden is one of the easiest and most affordable ways to grow vegetables, herbs, and flowers in small spaces.
Whether you live in an apartment with a balcony, a house with a small patio, or simply want to make use of a sunny corner of your yard, bucket gardening allows you to grow fresh food almost anywhere.
The beauty of bucket gardening is its flexibility. Buckets are portable, inexpensive, and easy to maintain. You can control soil quality, manage pests more easily, and move plants to chase sunlight when needed.
In this guide, you’ll learn exactly how to start an easy bucket garden in small spaces, from choosing containers to planting and maintaining your crops so you can start harvesting fresh food from your patio or balcony.
Why Bucket Gardening Works So Well in Small Spaces
Bucket gardening has become increasingly popular among homesteaders and urban gardeners for good reason.
First, buckets allow you to grow food without digging into the ground. If your yard has poor soil, limited space, or no garden area at all, buckets solve the problem instantly.
Second, bucket gardens are incredibly budget-friendly. Many gardeners start with simple 5-gallon buckets from hardware stores or food-grade containers from local bakeries.
Third, buckets give you more control over your plants' growing environment. You can adjust the soil mix, monitor moisture levels, and move containers when weather conditions change.
Finally, bucket gardens are perfect for beginners. With only a few containers to manage, it’s easier to learn watering routines, fertilizing schedules, and plant care without feeling overwhelmed.
Step by Step Guide to Start Bucket Gardening
Below are the essential steps for starting a bucket garden. This simple method makes it easy to grow vegetables even if you only have a small space.
Step 1: Choose the Right Buckets
Not all buckets are the same, especially when you plan to grow food.
The most common choice for bucket gardening is a 5-gallon bucket, which offers enough soil depth for many vegetables.
When selecting containers, keep these tips in mind:
- Choose food-grade buckets if you plan to grow edible crops.
- Avoid buckets that previously held chemicals, paint, or industrial products.
- Look for sturdy plastic containers that won’t crack in sunlight.
A 5-gallon bucket works well for many vegetables, but smaller containers can also work for herbs and leafy greens.
Best bucket sizes for common plants:
- Tomatoes: 5-gallon bucket
- Peppers: 3–5 gallon bucket
- Cucumbers: 5-gallon bucket with trellis
- Lettuce and spinach: 2–3 gallon bucket
- Herbs: 1–3 gallon bucket
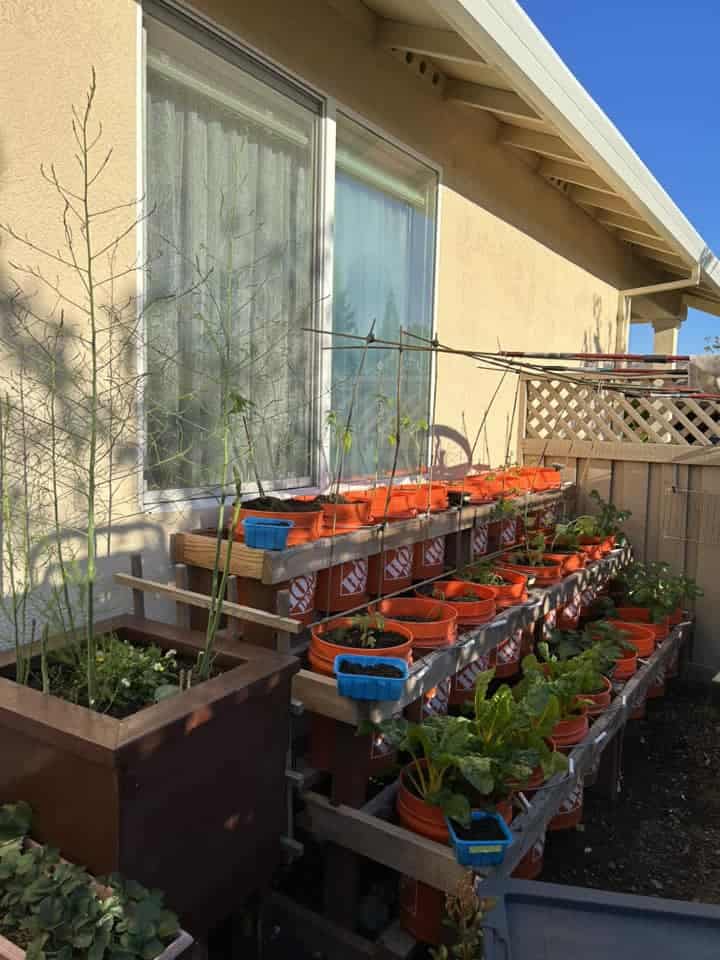
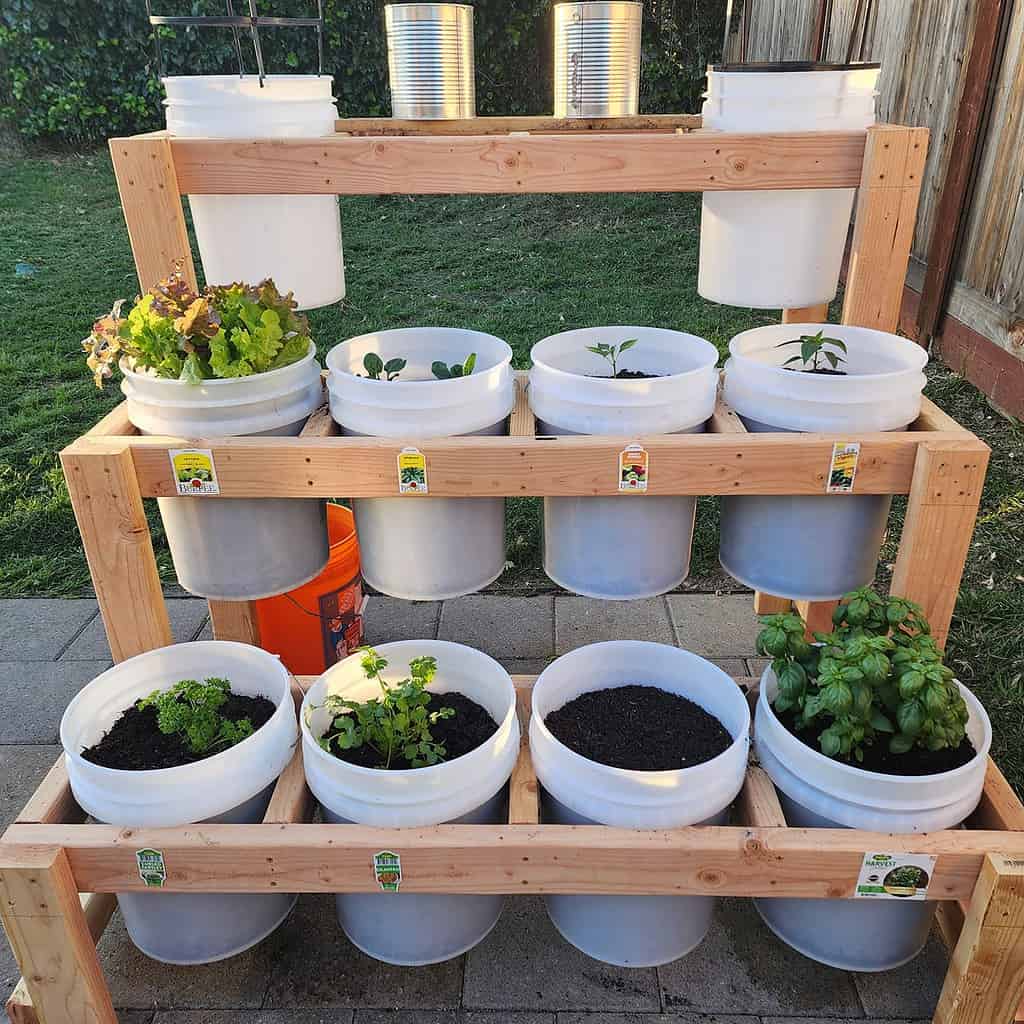
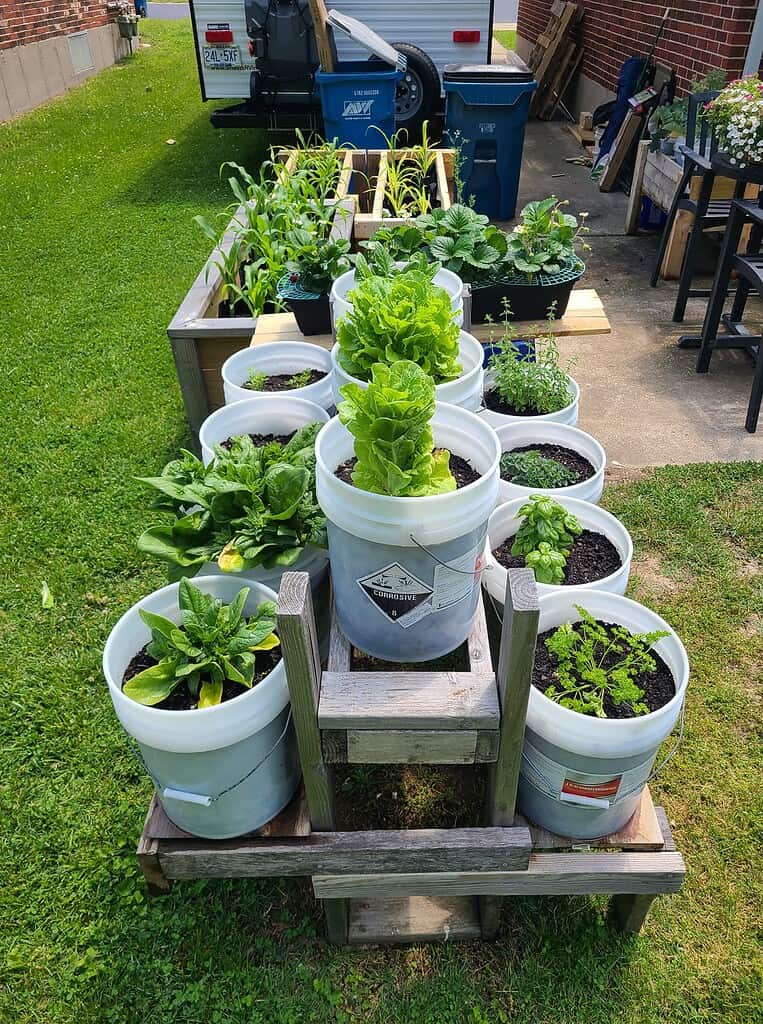
If you're short on space, you can also arrange buckets vertically on plant stands or shelves.
Step 2: Add Proper Drainage
One of the biggest mistakes beginners make in container gardening is forgetting drainage.
Plants need oxygen around their roots. Without proper drainage holes, water builds up in the soil and suffocates the roots, eventually causing rot.
To fix this, simply drill holes in the bottom of each bucket.
A good drainage pattern includes:
- 6–10 holes in the bottom of the bucket
- 3–4 small holes around the lower sides
These holes allow excess water to escape while keeping the soil moist but not waterlogged.
To prevent soil from falling out, place a coffee filter, mesh screen, or small piece of landscape fabric inside the bucket before adding soil.
Avoid the common myth of adding gravel or rocks at the bottom. This doesn’t actually improve drainage and can sometimes make soil stay wetter.
Step 3: Use the Right Soil Mix
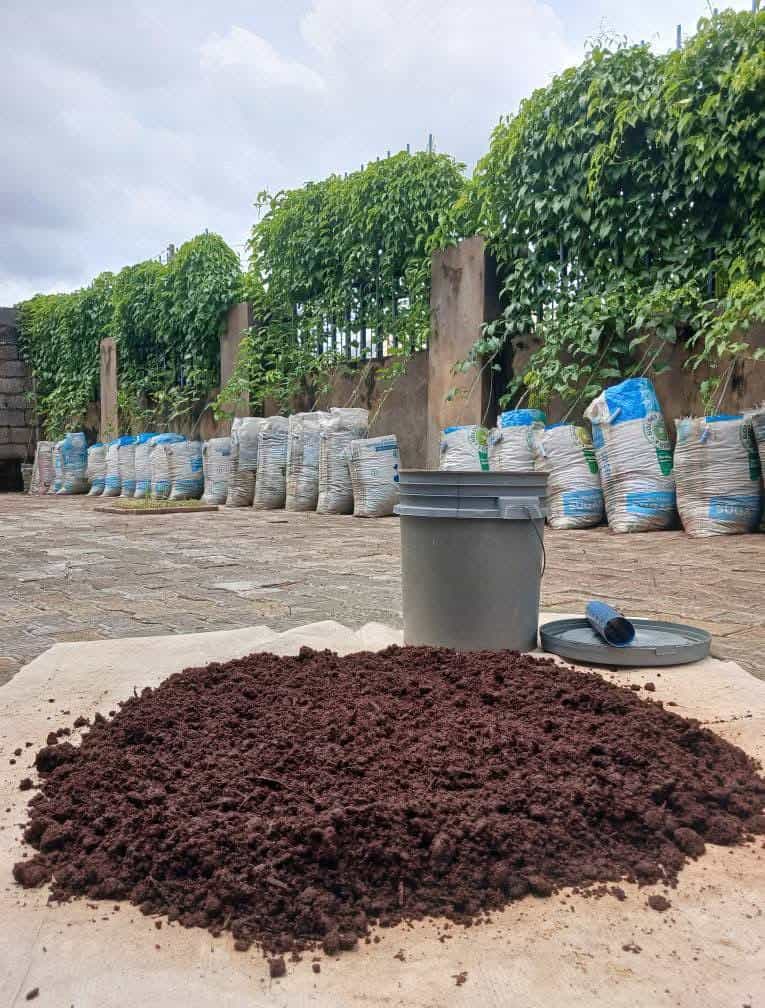
Another key to a successful bucket garden is choosing the right growing medium.
Regular garden soil is usually too dense for containers. It compacts easily and prevents proper airflow around plant roots.
Instead, use a lightweight potting mix designed for container gardening.
If you want to make your own mix at home, this potting soil mix recipe explains the exact ingredients and ratios for healthy container plants.
A simple DIY soil blend works well for bucket gardens:
- 1 part compost
- 1 part coco coir or peat moss
- 1 part perlite or vermiculite
This mixture provides the perfect balance of drainage, moisture retention, and nutrients.
Before planting, lightly moisten the soil mix so it absorbs water evenly.
Fill each bucket about one inch below the rim so watering won’t spill over the sides.
Step 4: Choose the Best Plants for Bucket Gardening
Many vegetables thrive in bucket gardens, especially compact or fast-growing varieties.
If you're new to container gardening, start with plants that are known to perform well in containers.
This guide on starting a container vegetable garden also shares helpful tips for choosing crops that adapt well to small spaces.
Easy Vegetables for Bucket Gardens
Some of the easiest crops to grow in buckets include:
- Tomatoes
- Peppers
- Cucumbers
- Lettuce
- Spinach
- Radishes
- Carrots
- Green onions
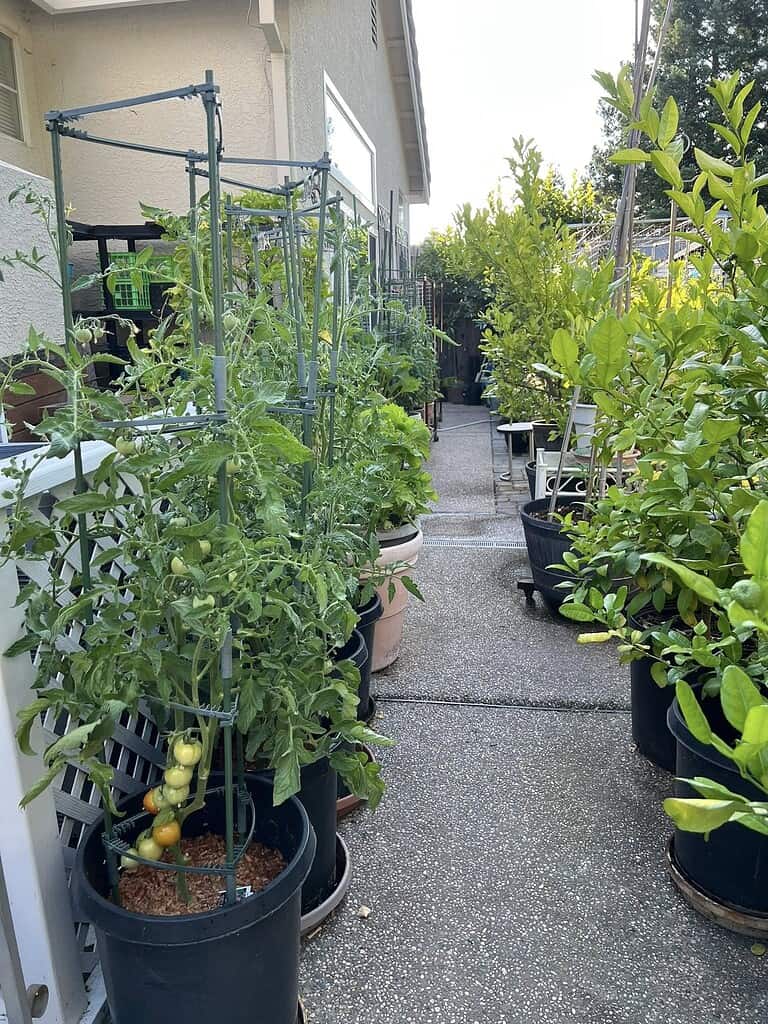
Tomatoes are especially popular for bucket gardening because they produce a large harvest from a single plant.
Plant one tomato plant per 5-gallon bucket and add a cage or stake for support.
If you're looking for more crop ideas, these vegetables that grow well in buckets are perfect for small container gardens.
Leafy greens such as lettuce and spinach grow quickly and can even be harvested multiple times throughout the season.
Herbs That Grow Well in Buckets
Herbs are some of the easiest plants to grow in small containers.
Great options include:
- Basil
- Chives
- Parsley
- Thyme
- Oregano
- Mint
Many gardeners keep herb buckets close to the kitchen door so fresh herbs are always within reach.
Step 5: Plant Your Bucket Garden
Once your buckets are prepared and filled with soil, it's time to plant.
You can start your garden with seeds or seedlings depending on the crop.
Seedlings are often easier for beginners because they skip the early germination stage.
Follow these simple planting steps:
- Dig a small hole in the center of the bucket.
- Place the seedling in the hole and gently cover the roots with soil.
- Firm the soil lightly around the base of the plant.
- Water thoroughly until water drains from the bottom.
If you're planting seeds, follow the spacing guidelines on the seed packet to avoid overcrowding.
For climbing plants like cucumbers, install a trellis or stake immediately to prevent root damage later.
Step 6: Water Your Bucket Garden Properly
Container plants dry out faster than plants in the ground.
Because buckets hold a limited amount of soil, they may require more frequent watering—especially during hot weather.
A good rule of thumb is to check the soil daily.
Stick your finger about one inch into the soil. If it feels dry, it’s time to water.
When watering:
- Water slowly and deeply.
- Continue until water drains from the bottom holes.
- Avoid splashing water on the leaves when possible.
During summer, bucket gardens may require daily watering, especially if they sit in full sun.
Adding a thin layer of mulch on top of the soil can help retain moisture and reduce watering frequency.
Some gardeners also build a self-watering planter to make container watering easier.
Step 7: Fertilize for Healthy Growth
Because containers hold limited nutrients, bucket gardens benefit from regular feeding.
As plants grow and you water frequently, nutrients wash out of the soil over time.
To keep plants productive, begin fertilizing about 2–4 weeks after planting.
Common options include:
- Liquid organic fertilizer
- Compost tea
- Slow-release granular fertilizer
Fruiting crops such as tomatoes, peppers, and cucumbers benefit from feeding every two to three weeks during the growing season.
Always follow fertilizer instructions carefully to avoid overfeeding.
Step 8: Manage Pests Naturally
Small container gardens are easier to manage when pests appear.
Check plants weekly for signs of damage such as:
- holes in leaves
- sticky residue
- curling foliage
Early detection makes pest problems much easier to control.
Simple natural pest solutions include:
- spraying plants with water to remove insects
- hand-picking caterpillars
- applying insecticidal soap if needed
This guide on natural pest control solutions for gardens shares additional ways to protect plants without harsh chemicals.
Healthy plants grown in good soil are naturally more resistant to pests.
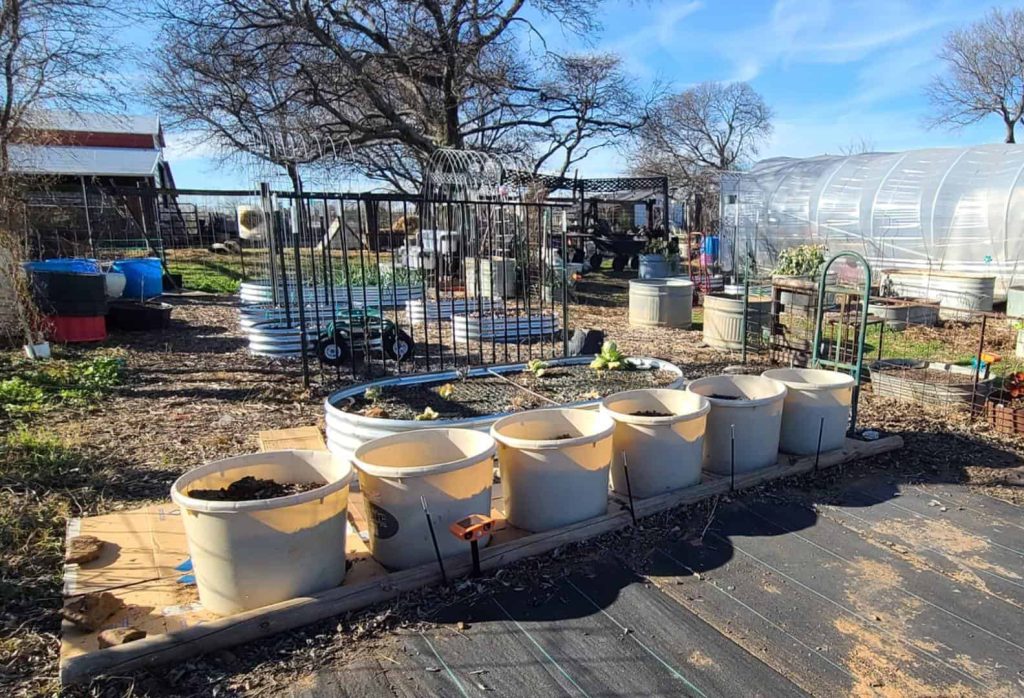
Simple Bucket Garden Layout Ideas for Small Spaces
One of the best parts of bucket gardening is its flexibility.
Even tiny spaces can support productive gardens when containers are arranged creatively.
Here are a few easy layout ideas:
- Balcony Garden. Line buckets along the railing where they receive the most sunlight.
- Patio Garden. Group buckets together in a corner to create a mini garden cluster.
- Vertical Bucket Garden. Use plant stands or shelves to stack containers and maximize space.
- Kitchen Herb Station. Place several herb buckets near your back door for easy harvesting.
The key is ensuring plants receive at least 6 hours of sunlight daily.
Start Your First Two-Bucket Garden Today
Starting a bucket garden doesn’t require a huge investment or perfect planning.
In fact, the easiest way to begin is to keep things simple.
Start with just two buckets:
- One 5-gallon bucket with a tomato plant
- One bucket with fast-growing lettuce or herbs
Once you experience your first harvest, expanding your garden becomes easy and exciting.
Bucket gardening proves that you don’t need a large homestead to grow your own food – just a little sunshine, good soil, and a few containers.
Have you tried bucket gardening before, or are you planning your first one this season?
Share your experience in the comments below! Tell us what you’re planting in your bucket garden – we’d love to hear your ideas and help you grow a thriving small-space garden.
Plan Your Garden With Confidence!

Ever start planting… and then realize halfway through that things feel a little scattered?
A simple plan changes everything.
When you sketch your layout first, you can see what fits, what flows, and what actually makes sense for your space. It saves time, money, and a whole lot of second-guessing later.
Our free Garden Planner helps you map out beds, organize plant spacing, rotate crops, and keep track of seasonal tasks – all in a clean, printable format you can actually use.
Whether you’re designing a low maintenance front yard or planning your full homestead garden, this gives you a clear starting point.
Less chaos. More clarity. A garden that works.
FAQs
Can bucket gardens survive heavy rain?
Yes, bucket gardens can handle rain, but too much water can cause root problems if drainage is poor. Make sure buckets have enough holes in the bottom and avoid letting them sit in standing water. Elevating buckets slightly on bricks or pot feet helps excess rain drain quickly.
How long does bucket garden soil last?
Container soil typically lasts one growing season before it starts losing structure and nutrients. Many gardeners reuse it by mixing in fresh compost and potting mix the following year to restore nutrients.
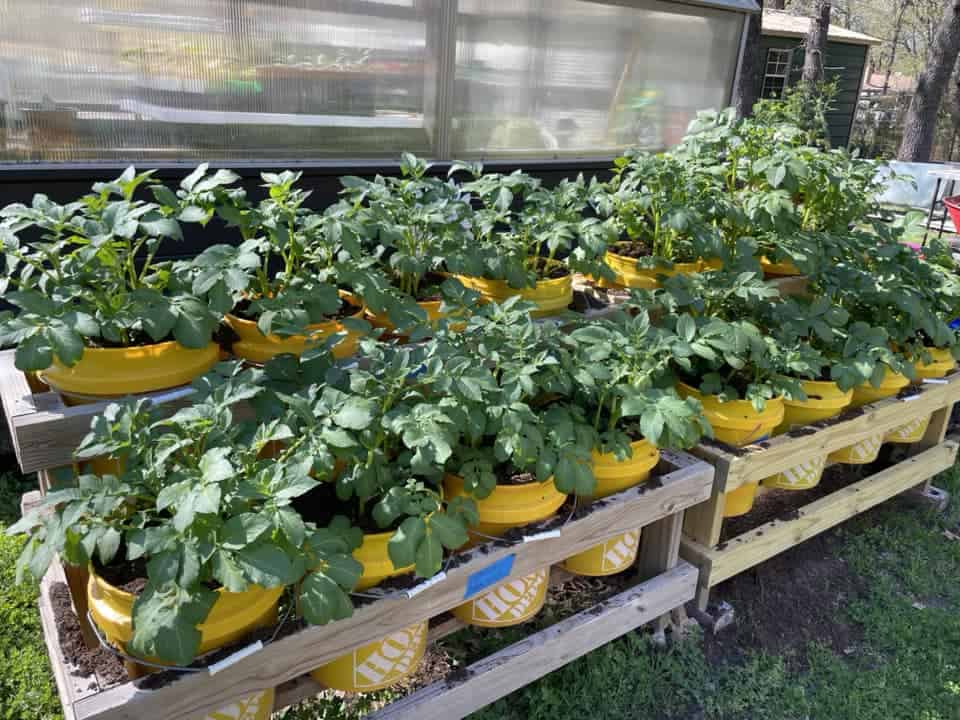
Can I grow potatoes in buckets?
Yes! Potatoes grow extremely well in buckets. Use a 5-gallon container, add several inches of soil, plant seed potatoes, and gradually add more soil as the plant grows. This method encourages more potato production.
How do I keep bucket plants from overheating in summer?
Dark containers can heat up quickly in strong sunlight. You can reduce heat stress by placing buckets in partial afternoon shade, wrapping them in burlap, or using light-colored containers that reflect heat.
What is the easiest vegetable to grow in a bucket?
Lettuce is often the easiest crop for bucket gardening. It grows quickly, tolerates partial shade, and can be harvested multiple times. Herbs like basil and chives are also excellent beginner choices.