Cold weather can be tough on chickens if their coop isn’t properly prepared.
Winter brings challenges like frostbite, frozen water, and poor air quality that can lead to health problems in your flock. But with the right setup, chickens can stay warm, dry, and active all season.
In this article, you’ll learn 9 practical and safe ways to winterize your chicken coop.
From blocking drafts to managing moisture and keeping water from freezing, each tip helps protect your chickens from the cold without relying on risky solutions like heat lamps.
Whether you're new to chicken keeping or want a better plan for winter, this guide covers everything you need to know to get your coop ready before the temperature drops.
How Cold Affects Chickens

Before winterizing your coop, it’s important to understand how chickens handle cold weather. Knowing what actually puts them at risk helps you focus on what matters most.
How Chickens Stay Warm in Winter
Chickens are well-equipped to tolerate cold temperatures. Their feathers act as natural insulation, trapping warm air close to their bodies.
At night, they fluff up their feathers and huddle together on the roost to conserve heat.
As long as they stay dry and out of the wind, most healthy chickens can handle freezing temperatures without issues.
Moisture Is More Dangerous Than Cold
Moisture is a bigger threat than the cold itself. When damp air builds up in the coop, it can settle on combs, wattles, and feet – increasing the risk of frostbite.
Wet bedding and condensation also lower the coop’s internal temperature. Chickens can survive cold, but not when combined with high humidity or wet conditions.
That’s why ventilation and dry bedding are more important than trying to heat the coop.
Signs of Cold Stress and Frostbite
It's important to monitor your flock for early signs of cold-related problems:
- Pale or blackened tips on combs or wattles (frostbite)
- Lethargy or reluctance to leave the coop
- Hunched posture with feathers tightly held (not fluffed)
- Shivering or labored breathing
If you notice these signs, check the coop's ventilation, bedding, and wind protection immediately.
9 Simple (and Practical) Steps to Winterize Your Chicken Coop
Winter weather brings unique challenges for backyard chicken keepers, but with the right setup, your flock can stay warm, dry, and healthy.
These 9 practical steps will help you prepare your coop for freezing temperatures, reduce cold-related stress, and make daily care easier during the colder months.
1. Block Wind and Seal Drafts in Your Chicken Coop
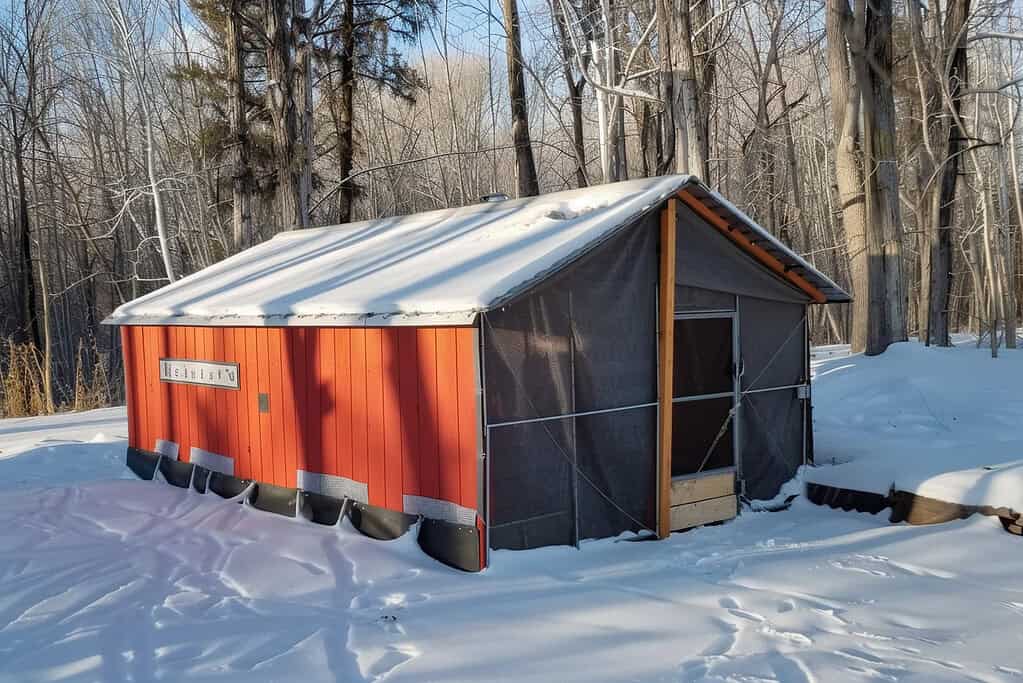
Wind chill is one of the most damaging elements for chickens in winter. Even if temperatures aren’t extreme, a strong wind can strip away body heat and lead to cold stress or frostbite.
The first step to protecting your flock is stopping cold air from blowing through their coop and run.
Use Wind Barriers Around the Run
Start by blocking wind around the chicken run or any exposed area where chickens spend time during the day.
- Construction plastic is a solid choice. It’s easy to install, lets light through, and creates a mild greenhouse effect without overheating.
- Straw bales are a natural option that also adds insulation.
- Tarps work as well but can block too much light and retain heat if dark-colored.
Focus on the north and west sides, which usually take the brunt of cold winds in most regions. You don’t need to enclose the entire run – blocking the wind where it hits hardest is usually enough.
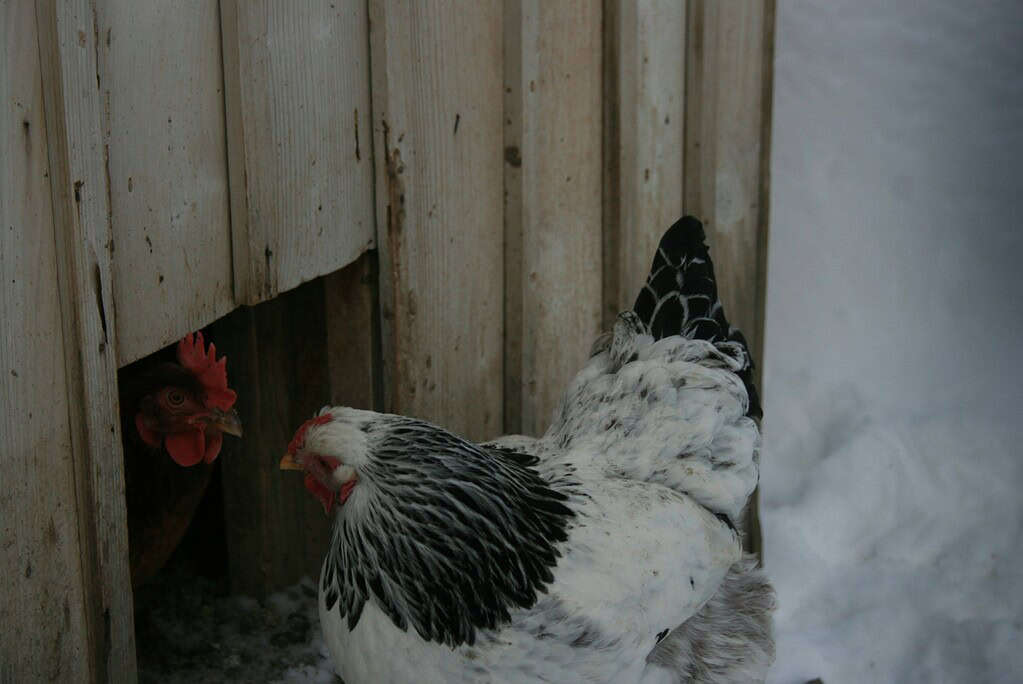
Seal Up Drafts Inside the Coop
Walk through your coop and check for any small gaps, especially around windows, doors, and corners.
- Use wood, foam, or caulk to fill cracks that let in cold air.
- Hang a cloth or tarp flap over the chicken door to reduce wind during the day while still allowing access.
The goal is to eliminate unwanted drafts while keeping planned ventilation intact. Airflow should happen through intentional vent placements, not through cracks and holes.
If you’re planning a coop upgrade before winter, you might also like these practical chicken coop ideas for functional, easy-to-maintain designs.
2. Add Ventilation Without Letting in Cold Air

Keeping your coop warm is important, but controlling moisture is even more critical.
Without proper ventilation, warm air inside the coop can trap humidity from chicken breath, droppings, and wet bedding.
This leads to damp conditions, ammonia buildup, and frostbite – even if the coop feels warm.
Ventilation is Important in Winter
When humid air can’t escape, it condenses on cold surfaces and settles on chickens’ combs, wattles, and feet. This raises the risk of frostbite.
Ventilation allows that moist air to exit the coop while bringing in fresh, drier air. A well-ventilated coop stays drier and warmer overall – even in freezing temperatures.
Where to Place Vents
The best place for ventilation is up high, above the roosting bars. This allows warm, moist air to rise and escape without creating a direct draft on your chickens.
- Leave these high vents open year-round.
- Avoid placing vents or openings at bird level, especially near the roosts.
If needed, cover parts of larger windows with clear plastic or plexiglass to reduce airflow without fully blocking light or ventilation.
How to Reduce Moisture Inside the Coop
Even with good vents, you still need to manage moisture at the source:
- Keep bedding dry – change it often or use the deep litter method correctly.
- Remove wet or soiled spots daily.
- Use nipple waterers or enclosed water systems to minimize spills and evaporation.
Look for signs of poor ventilation, such as frost buildup on windows or a strong ammonia smell. These are clear indicators that air isn't moving as it should.
3. Use the Right Bedding to Keep the Coop Warm

The type of bedding you use in your chicken coop plays a big role in how well it holds warmth and stays dry during winter.
Good bedding adds insulation, reduces moisture, and keeps your chickens comfortable as temperatures drop.
Best Bedding Materials for Winter
Not all bedding types perform the same in cold weather. Here are reliable options that help insulate the floor and absorb moisture:
- Hemp bedding is a top choice for winter. It’s dense, low-dust, long-lasting, and naturally resistant to pests like lice and mites. Its structure traps warm air better than lighter materials.
- Wood shavings (pine) are also widely used and affordable. They provide decent insulation but may need to be replaced more often.
- Straw, dried leaves, or pine needles offer additional insulation but can become compacted or moldy if they get wet.
- Sand can work in some dry climates but doesn't insulate as well as organic materials.
How to Use the Deep Litter Method
The deep litter method is especially useful in winter. Instead of removing bedding completely, you layer fresh bedding on top of droppings, allowing natural composting to occur.
This process generates a small amount of heat and keeps the floor insulated.
- Stir the bedding regularly to help with composting.
- Add dry bedding on top whenever the surface looks soiled or damp.
- Monitor for ammonia buildup – if you smell it, add more bedding or stir more often.
Properly managed, deep litter creates warmth without requiring added heat, and it reduces your cleaning workload during freezing weather.
Straw Paths in the Run
Most chickens dislike walking on snow. Spreading straw in the run helps create dry walking paths and encourages them to stay active outside. It also insulates the ground and supports the composting process outdoors.
Roost Bar Tips to Prevent Frostbite
Chickens roost with their feet flat, not curled. To protect their toes from frostbite:
- Use 2×4 roosting bars with the wide side facing up, so their bodies fully cover their feet while they sleep.
This small change can make a big difference in keeping them warm overnight.
If you’re setting up or upgrading your roosts, check out my full guide on roosting bars for chickens for more setup tips and ideas.
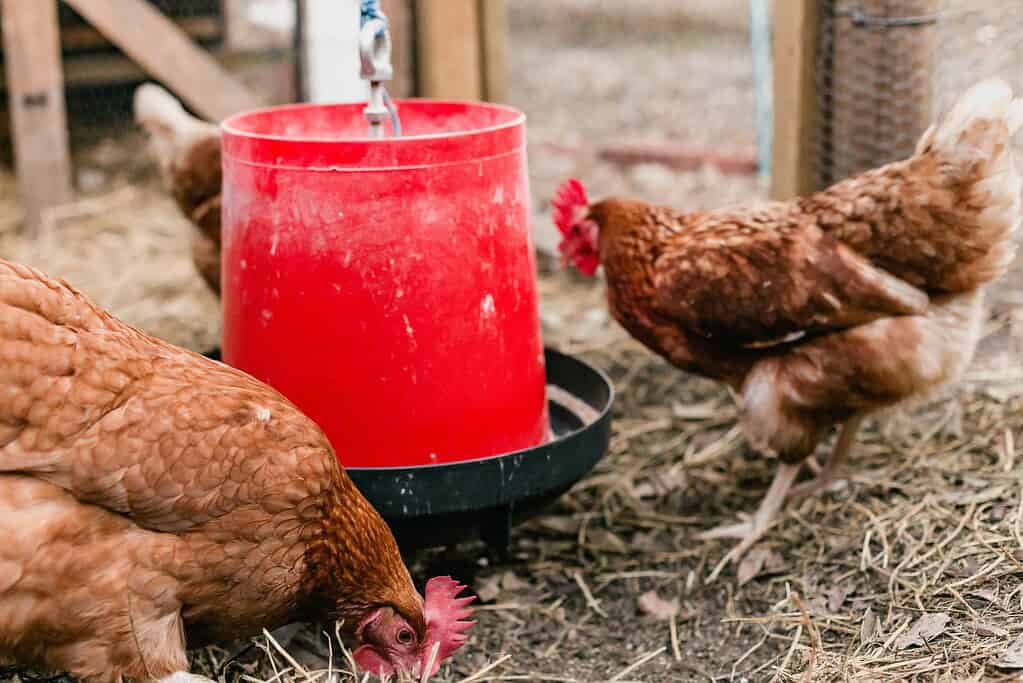
4. Keep Chicken Water from Freezing in Winter
Fresh, unfrozen water is essential year-round. But in winter, keeping water from freezing can be one of the biggest challenges in chicken care.
Dehydration is a serious risk – especially in freezing temperatures, when chickens may be eating more dry feed and need access to water at all times.
Electric Options for Preventing Frozen Water
Electric solutions are the most reliable, especially in areas where temperatures stay below freezing for long periods:
- Heated water bases: These sit under traditional plastic water founts and keep water just above freezing. Many models are thermostatically controlled, so they only run when needed.
- Heated pet dishes: These are simple to use, easy to clean, and work well in the chicken run.
- Heat tape or cables: These can be wrapped around water lines or containers but should be rated for outdoor use and protected from pecking.
If you use electric solutions, make sure all cords are safely secured and kept out of reach. Always use outdoor-rated extension cords and plug into GFCI outlets for safety.
Non-Electric Solutions for Milder Climates
In areas with short or mild cold spells, you can try a few non-electric tricks to slow down freezing:
- Black rubber bowls placed in sunny areas absorb solar heat and freeze more slowly.
- Float a small ball or plastic bottle in the water – even a slight breeze keeps it moving, which delays ice formation.
- Use a solar cover or small greenhouse shelter over the waterer to trap daytime warmth.
- Drop ping pong balls into a tub of water – the motion can help keep surface ice from forming quickly.
While these non-electric methods may not work in extreme cold, they can reduce how often you need to break ice in milder weather.
Keep Water Clean and Dry
Whatever method you use, keep waterers off the ground and away from areas where bedding or droppings can get in.
Use nipple water systems or bell drinkers to reduce spills, which also helps keep bedding dry and prevents moisture buildup in the coop.
If you’re thinking of setting one up yourself, check out my guide on DIY Chicken Watering System for easy, low-cost ideas that work year-round.
5. Use Safe Heat Sources Only When It’s Really Cold
Most chickens can handle cold weather without any extra heat – especially if they’re dry, well-fed, and protected from wind and drafts.
But there are times when supplemental heat might be necessary, and it must be done safely.
When Supplemental Heat Might Be Needed
Heat is not a replacement for good coop design. But in some cases, it can help prevent cold stress:
- When temperatures stay well below freezing for several days or nights
- During sudden, sharp drops in temperature before chickens have had time to acclimate
- If your flock includes sick, older, or smaller birds that struggle to maintain body heat
- In cases of cold stress, which can affect a chicken’s metabolism and immune system
Even in these situations, heat should be used to maintain a stable temperature, not to make the coop warm and cozy.
Safe Ways to Add Heat to a Chicken Coop
If you decide to use heat, choose options that reduce fire risk and allow chickens to move away if they get too warm.
- Poultry-safe heating panels: These are flat, low-wattage panels that radiate gentle heat without exposed elements.
- Small animal heating pads: Can be mounted on walls or placed in safe corners. Use only pads designed for livestock or pets.
- Enclosed heat boxes or ceramic heaters: These can help raise ambient temperature slightly without a flame or exposed bulb.
Always mount heating devices out of reach of birds and bedding. Never block ventilation to “trap” heat – that only creates moisture problems.
Avoid Heat Lamps at All Costs
Heat lamps are one of the leading causes of coop fires.
When combined with dry bedding like straw or wood shavings, they pose a serious risk. Even a secure lamp can fall or shift, especially if chickens fly or bump into it.
The short-term warmth is not worth the long-term danger.
Be Cautious About Power Outages
If your chickens become dependent on heat, a sudden power outage can do more harm than good. Their bodies may not be able to adjust quickly to a drop in temperature.
If outages are common in your area, it may be safer to winterize your coop well and skip supplemental heat entirely.
6. Feed Chickens for Warmth and Winter Energy
Chickens burn more calories in cold weather to maintain body heat, so their nutritional needs change during the winter.
Supporting their diet with the right types of feed and treats helps them stay warm and healthy without relying on artificial heat.
Extra Calories Are Important in Winter
When temperatures drop, chickens use more energy to keep their body temperature stable.
If their feed doesn’t meet those energy demands, they may become stressed, lose weight, or stop laying eggs.
Giving them extra calories – especially in the evening – can help them generate heat through digestion while they roost.
Best Cold-Weather Feed and Treats
Stick with a balanced layer feed as your base, but add a few energy-dense items to support them in the cold:
- Cracked corn: A great supplement to offer in the late afternoon. It’s high in carbohydrates, which break down slowly and help generate internal heat overnight.
- Black oil sunflower seeds (BOSS): High in fat and protein, which supports feather health and adds fuel for warmth.
- Oats, cooked rice, or scrambled eggs: Occasional additions that boost energy intake without overloading them with junk.
- Mealworms or grubs: Provide quick protein and enrichment during the day.
Avoid high-sugar or processed treats – they don’t offer lasting energy and can lead to imbalances.
Want to skip store-bought mixes? Check out this homemade chicken feed recipe for a healthier, customizable option for your flock.
Feeding Tips for Winter
- Scatter treats outside on dry ground or in straw-covered areas to encourage movement and foraging.
- Offer warm water with feed when possible – hydration supports digestion.
- Feed in clean, dry areas to avoid wet or frozen feed, which chickens will avoid.
Keeping your flock well-fed and active helps their bodies do the work of staying warm – naturally and safely.
7. Winterize the Chicken Run for Cold Weather
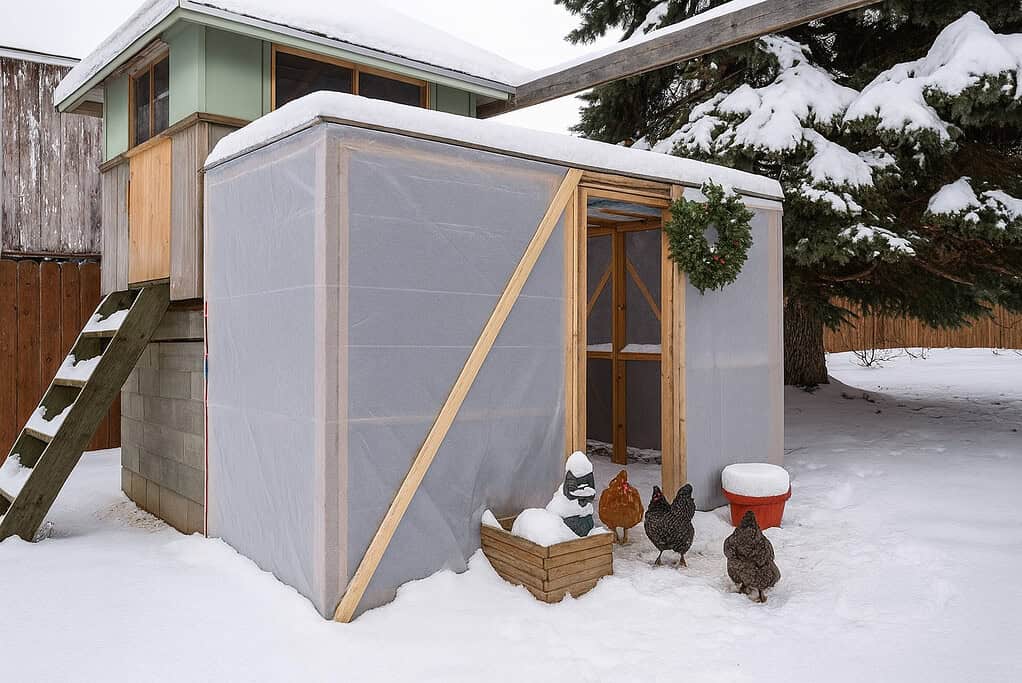
The chicken run needs just as much attention as the coop when preparing for winter.
A properly winterized run allows chickens to stay active outside without being exposed to snow, wind, or freezing rain.
Ways to Prepare the Run:
- Cover part of the run with construction plastic, greenhouse panels, or a tarp roof to block precipitation and wind.
- Lay down straw, wood chips, or dry leaves to insulate the ground and make it walkable.
- Use wind blocks along the outer sides, especially on the north and west exposures.
A dry, sheltered run encourages movement, scratching, and foraging – even in freezing temperatures.
8. Reinforce Predator Protection During Winter
Predator activity often increases in winter as food becomes scarce. Raccoons, foxes, weasels, and even rats are more persistent and may try to break into the coop or run.
Winter Predator-Proofing Tips:
- Inspect the coop and run structure for holes, gaps, or loose panels.
- Make sure doors and latches are secure and tight-fitting (you can also automate coop access with a secure setup like the Chickcozy Solar Automatic Chicken Coop Door – we reviewed it in detail here).
- Bury hardware cloth at the base of the run if digging predators are a concern.
- Use game cameras if needed to monitor for nighttime activity.
- Check after snowfalls – melted paths or prints can reveal hidden access points.
Reinforcing defenses before winter reduces stress and keeps the flock safe when they’re most vulnerable.
9. Create a Winter Maintenance Plan
Once the coop is winterized, ongoing care is essential to keep it functioning well all season.
Daily Tasks:
- Check that vents are clear and not iced over.
- Replace or stir wet bedding to avoid moisture buildup.
- Confirm that waterers aren’t frozen or leaking.
- Look over wind barriers and covers for damage after storms or strong winds.
Weekly Tasks:
- Remove any built-up droppings if you’re not using the deep litter method.
- Check for signs of rodents, mold, or damp spots inside the coop.
- Inspect the structure for leaks or new drafts caused by weather shifts.
Having a simple checklist helps catch small issues before they become big winter problems.
Get Your Coop Winter-Ready Before the First Freeze
Preparing your chicken coop and run for winter is about health, safety, and survival.
By following these 9 simple steps, you’ll create a dry, draft-free, well-ventilated space that supports your flock through freezing temperatures.
Focus on blocking wind, sealing drafts, managing moisture, and protecting access to food and water.
With proper winterizing, you reduce the risk of cold stress, frostbite, and predator attacks – giving your chickens the best chance to stay productive and healthy all season long.
Have winter prep tips of your own or questions we didn’t cover?
Comment down below and share your thoughts with fellow chicken keepers!
FAQs
1. Should I insulate the walls of my chicken coop?
Adding insulation can help retain warmth, but it’s not always necessary. If your coop is well-ventilated and draft-free, most chickens stay warm without wall insulation. If you do insulate, cover the material completely to prevent pecking.
2. Can I close off all vents during extremely cold nights?
No. Even on the coldest nights, some ventilation must remain open – preferably up high – to allow moisture to escape. Closing all vents increases the risk of frostbite due to trapped humidity.
3. How do I keep chicken feet dry in snowy or muddy runs?
Use straw, wood chips, or old boards to create dry walkways. Regularly add fresh material to prevent buildup of wet or frozen spots that can cause foot problems like frostbite or bumblefoot.
4. What should I do after a snowstorm hits the coop or run?
Clear snow from the roof, especially if it’s flat or lightly sloped. Check for leaks, sagging panels, or damage to wind barriers. Make sure vents are not blocked by snow or ice buildup.
5. Is it okay to use plastic sheeting inside the coop?
Plastic can trap moisture if used incorrectly. It’s fine to use outside the coop as a wind block or roof cover, but avoid lining the interior unless there’s airflow behind it to prevent condensation and mold growth.
Planting Guides for This Article
Get exact planting dates, frost schedules, and growing tips for your zone: